The Digital Vault ~ Papers, Papers, Come and Get Your Papers

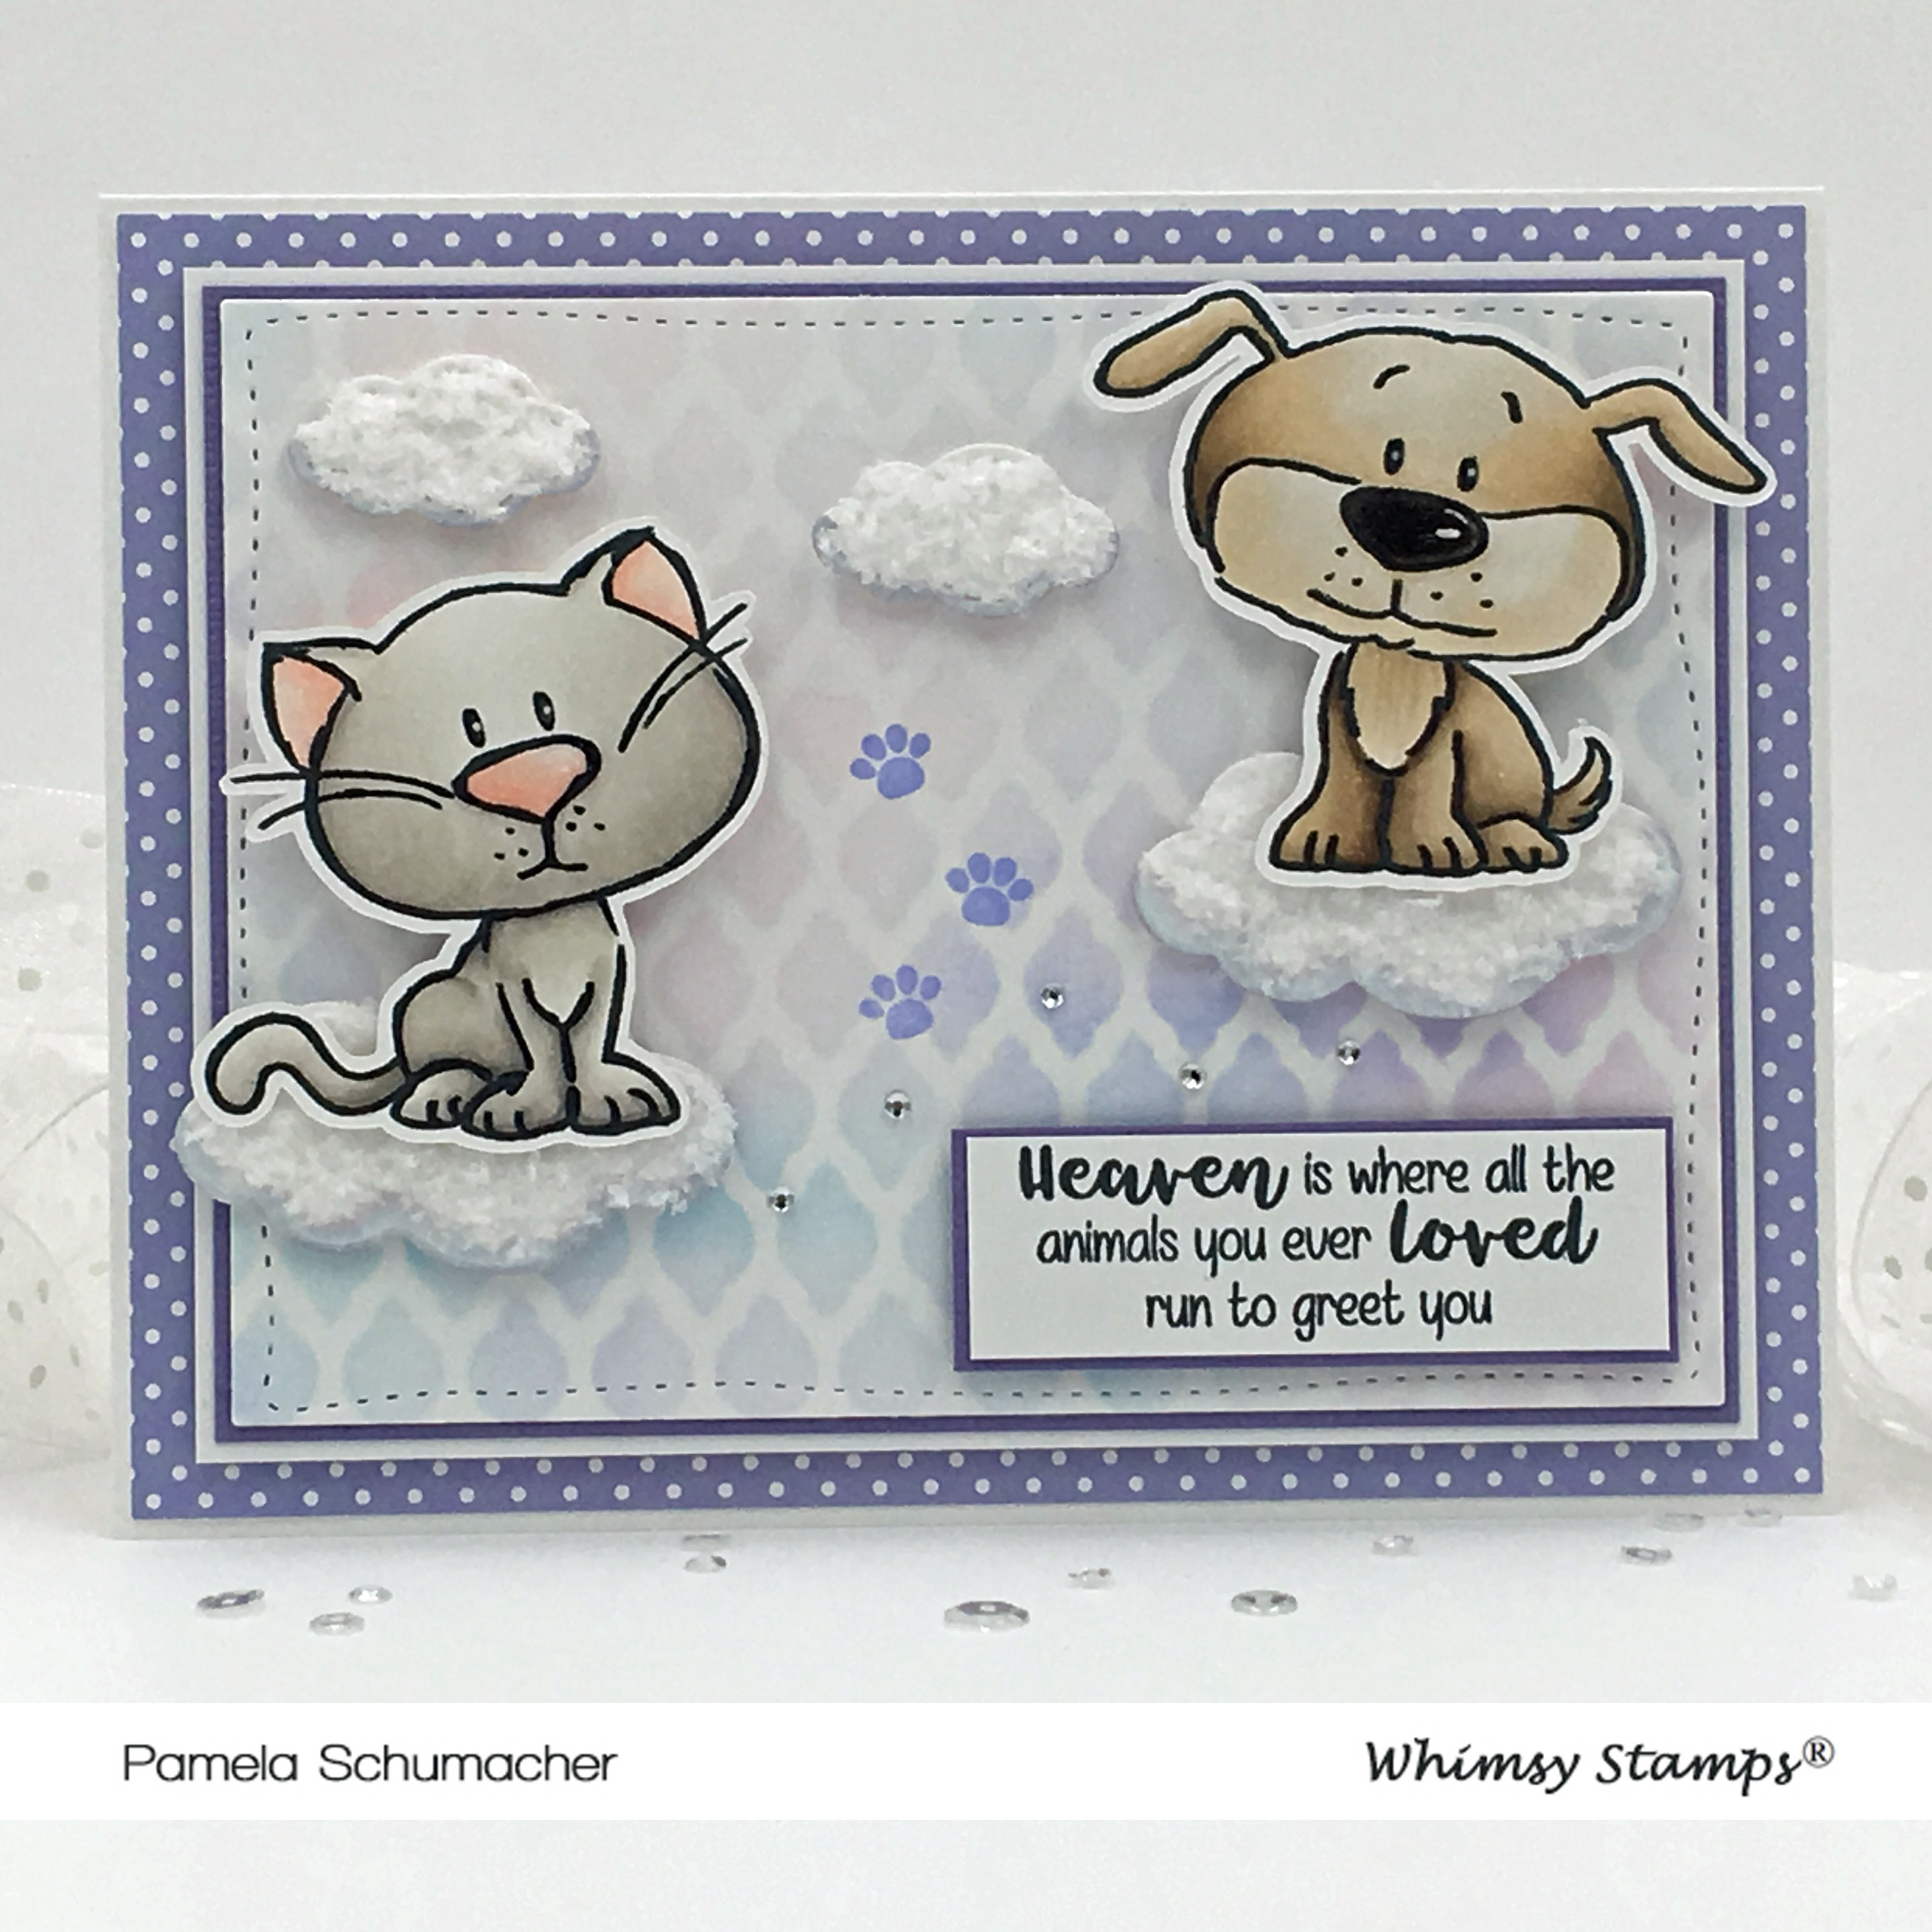
Hehe, that was said in my best East London accent of course! Welcome back to our final showcase of the month from the Digital Divas. These girlies have been working some magic with the gorgeous papers that were part of our January New Release. So I'm going to share a few of these fabulous makes with you tonight.


using the pretty red with pink hearts paper for this elegant design.


using the pink with white hearts paper for this enchanting anniversary creation.


using two gorgeous papers from the Hearts A Flutter set for this adorable creation.


using the pink gingham and hearts paper for this super cute creation.


using the lovely striped paper from the Oh, Boy set for this adorable creation


using two of the fabulous Oh, Boy! papers for this super cute creation.


using the lovely lemon gingham paper from the Oh, Boy! set for this sweet creation.


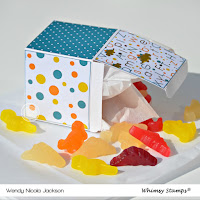
using three papers from the Oh, Boy! set and two from the Hearts A Flutter set for this Lolly Box.


I've linked all the girls personal blogs, so for more details on their creations, the stamps they've used and other Whimsy Stamps goodies, click through to their blogs. I'll be back with our fabulously exciting New Release tomorrow, so see you then. Hugs and happy crafting xoxo


A Girls Best Friend - special guest - Pamela Schumacher


Hello everyone!

Just this side of heaven angels watch over all of our little fur babies that have crossed over the rainbow bridge.

Today I am sharing another guest design team project for Whimsy Stamps using the adorable clear stamps set called A Girl's Best Friend. As I created this little card all sorts of sweet memories flooded my heart...a little piece of my heart and soul crossed that bridge with our fur babies.


~Copics~
Cat: W4/3/2/1/0/00-BV23-R30/00/000
Dog: E77/44/43/42/41/40-W9/8/7/5
White gel pen and a glaze pen.


The background was created using Whimsy's Formal Lattice Stencil and distress oxide ink pads (Shaded Lilac, Tumbled Glass, and Spun Sugar). I added white Flower Soft to the clouds to give them a puffy look. Once dry I attached the animals and clouds with foam tape.


The gorgeous dies are also from Whimsy Stamps.

Thanks so much for joining me today!

Until next time ~ Pam xx


A Girl's Best Friend Hand Stitched Nested Rectangels Stitched Cloud Dies formal_lattice_display_grande

Out of This World


Hi, everyone!  Toni here ready to blast off with my first post on the Whimsy Stamps blog! Come join me for the ride!

I've used WS A Boy's Dream and the Wonky Window Die from the new January release to create a super cute mixed media appreciation card.  I cut the Wonky Windows twice: once in black and once from an acrylic pull panel that I had embossed using Dreamweaver Glossy White Embossing Paste and the WS Speckled Hearts Stencil.  Isn't that shine fantastic?


I sponged the base lavender panel with Distress Oxide to create a bit of an ombre pattern before embossing sentiments from A Boy's Dream. I used Ranger Super Fine Detail White Embossing Powder which is my absolute fav. Be sure if you're using it over Oxides, you allow the Oxides to dry so the powder doesn't stick to it.  Been there, done that!

I used the below Copics to color up the images before adhering them. I love this combo, don't you?!

https://whimsystamps.com/search?q=copics

Thanks for stopping by!  See you soon!

Pretty in Plaid...

Hello everyone!

I hope 2019 is being kind to you so far!

I'm starting the year off by showing you my favourite card made with January new release goodies!
I have used the beautiful background stamp
and

To make my card I stamped the Buffalo Plaid Background Rubber Cling Stamp with an embossing pad and heat embossed it in white (The white heat embossed ink resists the colour from the Distress Inks).

Then I blended Distress Inks on top of the embossed plaid background - I used Evergreen Bough, Worn Lipstick, Shaded Lilac and Scattered Straw which are quite delicate and look gorgeous together.

I used two square dies together to die cut a white frame and fixed the frame to the background.

Next I die cut white card with the Thanks Word with Shadows Die Set and blended Evergreen Bough Distress Ink over the word thanks.  I fixed that to the stitched edged die cut shadow and then fixed the die cuts to the bottom right hand side of the card design as shown.

Finally I added some glitter dots to the card design in similar colours to the Distress Ink.
I think this is just so pretty and delicate and is an effect I will definitely use again!


While you're here be sure to have a look round our 
Whimsy Inspirations Blog
to see all the gorgeous creations by the Creative Team, and then pop to
Whimsy Stamps
for some essential retail therapy! (;


Monster Love

It's Monster Love!

Oh my!  Look at those two doe eyes monsters!  Aren't they perfect for each other?  
Hahahahahahahah!
New Clear Set From Whimsy.  Below are all the links. 
Colors used V05, 06, 09 and 01 YG01, 03, 17 You don't always need a lot of markers to make a cute card.

Angel Celeste

Hello everyone!  It's Rachel here and I have a gorgeous rubber cling stamp called Angel Celeste to share with you today. (Affiliate links used.)


To start, I first used my MISTI stamping tool to stamp my image onto a sheet of Neenah Classic Crest Solar White 110lb Card Stock.  I then used Copic Markers to color my image.

  • Skin: E0000, E000, E21, E11, E04
  • Hair: YR20, YR21, YR24, E35, E37
  • Wings: 0, C00, C0, C1, C2, C4
  • Mint Green: G0000, G000, G00, G02, W2, W5
  • Cloud: B0000, B000
  • Pink: RV000, RV00, RV52, RV55
  • Blue Stars: B12

Once finished, I then masked off a circle over the top part of my image so that it would look like a moon once I colored my background.  I used various shades of blue, blue greens and violet Copic Markers and followed a wonderful video tutorial provided by Alyce from Kit and Clowder in order to color the celestial background of my card.


Once my image was colored and dry, I then trimmed it down to approximately 5.25" x 5.25" and adhered the gorgeous stitched square frame from the Shaker Maker Combo Die Set.  I then placed some 3D Foam Adhesive Tape over top of this first frame and added some shimmery shaker embellishments from the All is Calm shaker gemstone set inside of this foam frame.  I just love how these little gemstones went perfectly with the stars that Angel Celeste has falling out of her hands!


Lastly, I added a sheet of acetate over the foam tape so that it covered the entire portion of my card. I then added one more frame from the Shaker Maker Combo Die Set on top.  I added a sentiment from the sweet Bunny Balloons Clear Stamp Set.


Thanks so much for stopping by!  Wishing you all a wonderful weekend!

The Unpampered Stamper


Angel Celeste

Shaker Maker Combo Die Set

Bunny Balloons

All is Calm

Howling Night Valentine?

Hmmm, Valentine's Day, Anniversary/Love, or Halloween card?


I started out with a navy blue card base and cut a Rectangle Shaker Maker die for the black frame. I also cut a black mound from the Grass and Cloud die. 


I made a pencil mark where I wanted to stamp the Howling Night wolf and stamped him with black Versafine ink.


I stamped the moon with white craft ink and sponged it in a little more ink to fill it in some.


 I cut the Evergreen Trees and sponged on some dark green ink on the left edges only then added a little touch of the white craft ink the the right edges only.


The sentiment was stamped with silver Delicata ink and popped up on foam tape.


I actually made this card at Halloween time but never posted it because I thought it could easily be a Valentine's Day card but what do you think...Halloween or Valentine?

Howling Night Clear Stamps Shaker Maker Rectangle Die Set Evergreen Trees Die Set Grass and Cloud Edger Die Set

Thanks for stopping by...see you soon,