3 cards with the Flower Puffs Background Set

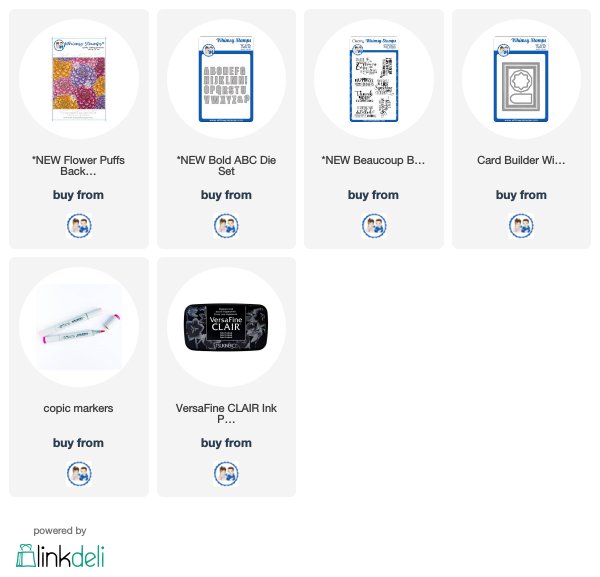
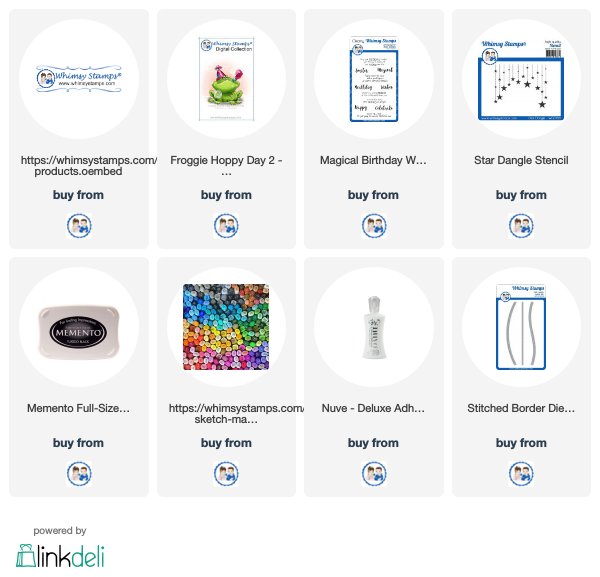
Hi friends. Alanna here and I'm happy to be posting on the Whimsy blog. I have 3 cards to share with you today, all using the gorgeous Flower Puffs Background stamp. Note that all Whimsy Stamps products are linked and listed below.

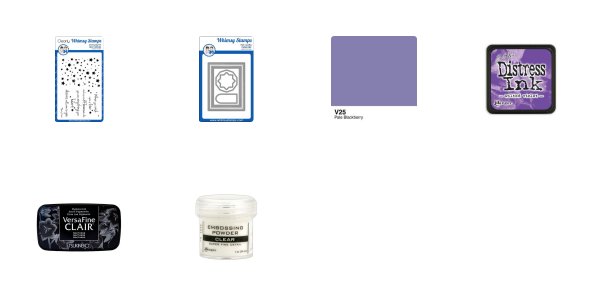
For my first card, I made an alcohol ink background with various shades of reds, pinks and purples. I then heat embossed the Flower Puffs Background image onto my background, making sure it was completely dry.

I will mention that the Yupo paper which my background is on did want to curl and bend up with the heat embossing. This was attempt 2. I only applied the heat for a couple of seconds at a time, took the heat gun off, and then repeated this process. This left me with a panel that I could use and I absolutely love the way this turned out.

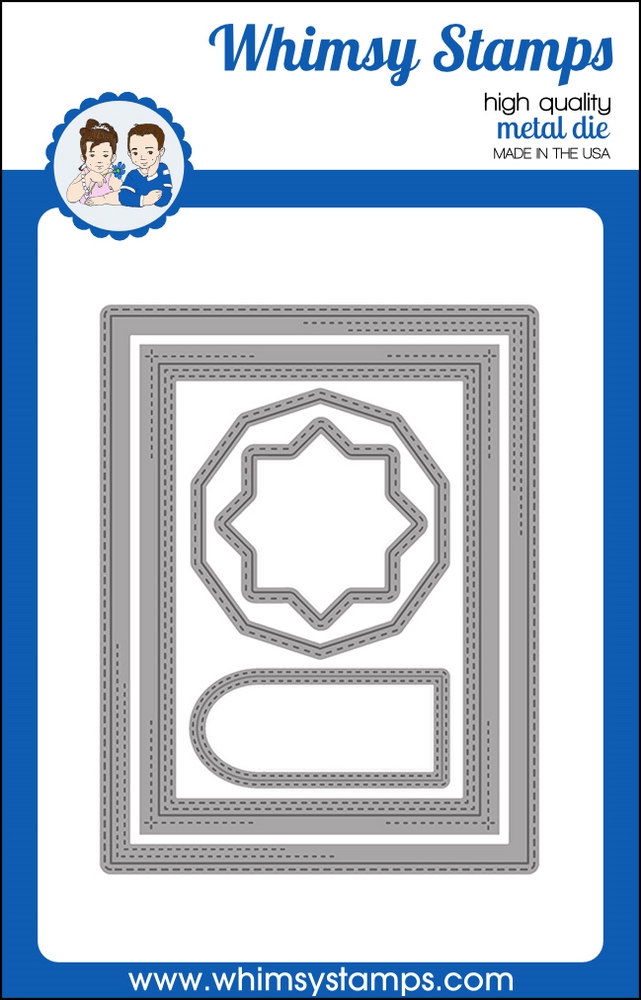
I finished off the card by stamping one of the sentiments from the Beaucoup Bouquet Sentiments stamp set onto a piece of red card stock that I die cut with one of the dies from the Card Builders Windows die collection.


For my second card today, I stamped the Flower Puffs Background onto a piece of white card stock. I then used the Bold ABC's die collection to spell out the word Thanks. I added each of the letters to some low tack tape to keep them together and then ran this through my Big Shot directly into my panel. 

I then ran the letter dies through my machine 4 more times. I colored the very first layer that I had cut out and stacked all the letters for an eclipse type card.

For my last card today, I started by stamping the Flower Puffs Background onto some water color card stock. This time, I colored the images by just scribbling some of my Zig Clean Color Real Brush Markers onto the panel. I then spritzed it with water and let it dry. I love the soft feeling of the watercolor.

I then did the same thing I did above with the Bold ABC dies but this time lined my letters up on two lines. I die cut my panel and then used the dies to die cut a piece of white fun foam to achieve the extra dimension.

I adhered the letters back on and that finishes off this eclipse/hidden sentiment card.


I hope I've inspired you to create with your background images. I'd love to hear if you have this Flower Puffs background stamp and how you have used it.   Crafty hugs!

Are You An Ocean Child?


I'm having so much fun with all the great beachy themed products Whimsy Stamps has released the past couple of months.  Here is one of my favorite mermaid images from the Let's Be Mermaids clear stamp set.


I stamped the seaweed and bubbles on my main card base with Memento black ink and colored them with Copic markers.  I also used Copics to color in the sand and water in the background.  


The mermaid was stamped separately, colored with Copics and fussy cut (cut out by hand).


For the frame I used the Mermaid Scales stencil and sponged on some green and blue ink onto a full piece of card stock.  Then I cut out the opening using the largest oval from the Stitched Oval die set.  Now I have a leftover piece to use on another project later ;). 


The sentiment was stamped with Versafine black ink.  The mermaid was popped up on foam tape and tucked into the corner.  I left her foot and fin loose which creates  movement when you see the card in real life.


For the final touch I added some Glamour Dust (love) to the mermaid fin and the bubbles.  


Let's Be MermaidsMermaid Scales StencilBasic Stitched Ovals Die Set DecoArt® Glamour Dust
Memento Full-Size Ink Pad - Tuxedo BlackVersafine Full-Size Ink Pad - Onyx Black

I welcome you to come and visit my blog anytime...and I hope you are having a great summer!  
See you soon,


Penguin Fishing

Hi all,


It's me Hester


Did you see the new release digital stamps this moth!

They are gorgeous.


This time I made a combination of new digi stamps and old.
I made this box card, I made it with the silhouette cameo.

You can find the product that I use below

Till next time


Penguin Fishing - Digital Stamp  Goldfish Gertie - Digital Stamp  Goldfish Gunther - Digital Stamp  Aqua Breeze Papers - Digital Papers 

Beach Scene

Hello it is Michelle here with some inspiration for you 

Today I have used a Stamp called Beach Scene 


There is more details on my blog 

Thank you for stopping by 


Flower Puffs and Pennants!


My card today features stamps from the July release (can you believe it's almost AUGUST?!): the Flower Puffs Background (an amazing 5 3/4 x 5 3/4!) and the Shaker Maker Pennant Dies. I made a two color background using Seedless Preserves and Wild Honey Distress Oxide Inks, and then embossed the Flower Puffs Background with VersaMark Ink and Black Embossing Powder.

I stamped my sentiment from the You Are stamp set, and then cut it out using the smallest Pennant Die. I cut it out five more times, and stacked only the border around the main little pennant, and then adhered it to my card using Wonder Tape. The inside is stamped with YOU from the You Are stamp set. I added a little bit of gold thread for accent to follow the line of the pennant.

Thanks for taking a peek! 


*NEW Flower Puffs Background*NEW Shaker Maker Pennant Flags Die SetYou AreDistress Oxide Ink Pad - Seedless PreservesDistress Oxide Ink Pad - Wild Honey
Wonder Tape
Black Embossing PowderVersaMark Full-Size Ink Pad - Original (Clear)

I Like Big Mutts

I created this card using one of the newer Background sets from Whimsy Stamps called Puppy Paws Background.  This stamp leaves such a precise stamped image...I think I had too much fun using it.

Combining it with the new clear stamp set Soul Mutts I decided to do some fancy masking.  This doggie is standing next to a little girl.  I masked her off on the actual stamp and inked up the stamp blocking the ink from getting on her...then remove the mask and stamped the image.  To get the dogs overlapping I also had to create a second mask to cover the stamped dog on the card.  I did mention it was fancy masking didn't I?  I am super pleased with this card.  Do you know someone who would like a card like this?  Better get your clear set from the store while its still there.


Wish Upon a Star with Copic Markers


Have you ever made a Copic marker scribble background for one of your cards? It’s exactly what it sounds like: grab a few markers and scribble over a stencil until you like the look.

The beauty of this technique is you don’t need to make a smooth blend since the streaky look is what you’re aiming for. And it’s a fast option if you need to make several cards, too.

 For the card today, I needed a little something to go behind this sentiment stamp called Wish Upon A Star. It was so funny - every time I read the words, the song got stuck in my head. I would be humming it for hours afterward!


To put this together, die cut a rectangle from a scratch piece of paper, line it up over your card front, and tape it down with some low tack painter’s tape or Post-It® Tape. Grab two to three Copic markers (I used V20, V22, and V25) and scribble back and forth until you get a look you like, then lift off your rectangle stencil.

Don't worry if the ink bled around the edges, that's part of the beauty.

Stamp the stars with a light colored coordinating ink. I used Wilted Violet since it's a muted color. Then, stamp your sentiment with Versafine CLAIR in Nocturne (heat emboss with Detail Embossing Powder if you like), and trim the panel with your favorite frame die. I love the one that comes in the Card Builder Windows Die Set.


Finally, mat your card front with coordinating cardstock and adhere to your card base.

Thanks for reading today. If you liked this card, please share the love by pinning to Pinterest!

❤️  Niki • cardstoq.com • @cardstoq (on Instagram, Pinterest & Twitter)

Flower Puffs Background Stamp ….. watercoloured this time

Hello!  My card today features the uberlicious Flower Puffs background stamp from Whimsy Stamps which I’ve watercoloured.

I heat embossed the stamp with white embossing powder after stamping onto hot press watercolour paper.  I then used the wet on wet technique to colour the flowers.  So, so quick and easy to do as opposed to the hours I spent colouring this card.  I finished this simple but elegant card off with a silk ribbon bow and a sentiment from the Beaucoup Bouquet Sentiments stamp set, some pearls and a couple die cut butterflies.


Bev-Rochester-Flower-Puffs-Background-&-Beauciup-Bouquet-Sentiments


I die cut a circle from the coloured piece and popped the circle up on some craft foam before gluing back into place.  This gives the illusion of a separate piece cut and coloured.  I think you can see the general idea of the dimension in the photo below


Bev-Rochester-Flower-Puffs-Background-&-Beauciup-Bouquet-Sentiments1


I LOVE that one stamp can give so many different looks!


Products from Whimsy Stamps
flower_puff_BG_1024x1024 Beaucoup_Bouquet_sentiments_display_redo_1024x1024

Whimsy - Froggie Hoppy Day 2 by Rhea


Ok, seriously, who doesn't love a frog with an attitude!  For sure, I do!  Hey Mr. Froggie, are you asleep with your eyes open or are you in a trance?  Dude, do something, would you?  Yeah, I am digging him a lot!  You can find Froggie Hoppy Day 2 in the digi section at Whimsy Stamps.


Now, there are a couple other items I used from the Whimsy store.  I used Magical Birthday Wishes for the sentimentStar Dangle Stencil for the background of the square,  and Stitched Border Die Trio for the top banner.  Thanks for visiting today!

I would share with you the Copic Colors and the Prisma Pencils I used, but honestly,  I have no idea, because I think I had hot flashes when I was coloring him.  Wow, I just realized I made a masculine birthday card with a feminine sentiment on it....I just choked on my coffee!!!  I will find a man friend and dare him to give it to his wife.  I will keep you posted.

PassionatePaperCreations.blogspot.com