Goodbye November ~ Digital Diva's Round Up

Crafty friends,
December is almost upon us!
But before we share our creations to bring in this special month
Let's take a pause and drink in some of the gorgeous creations
from our talented Digital Diva's for the month of November.
Just between you and me, I'm totally crushin' on their talent!

You know who else has me absolutely swooning?
Our incredibly talented Whimsy Stamps artist


Yep, ya'll know her images are the cutest,
but did you know she has colouring skills that set the bar for the rest of us?!
You know what they say "a picture speaks a thousand words"...


The Diva's and I would like to say a
HUGE thank you, to our amazing artist Crissy.
We are seriously so blessed to create with your stunning images!

Whimsy friends, I'll let you in on a lil' secret too,
ALL of Crissy's Digital Images are about to be
in our Cyber Monday super sale!

So if you've had a few on your wish list,
snap them up, no better time!

Now to share what the Diva's got up to in November with Crissy's gorgeous images,
grab a cuppa and take your time, we love when you visit!


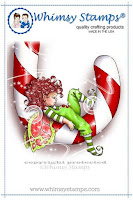
 Click through to Hester's blog for this kinetic cutie in action!


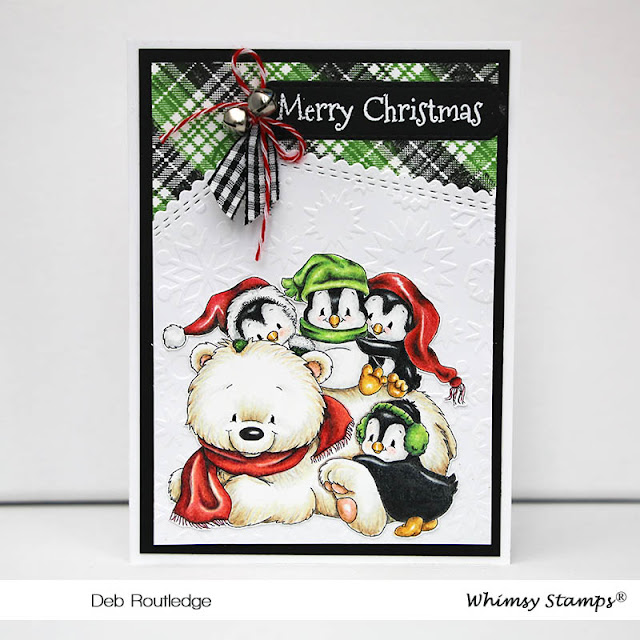
Here are a few Diva creations using images that were released in October


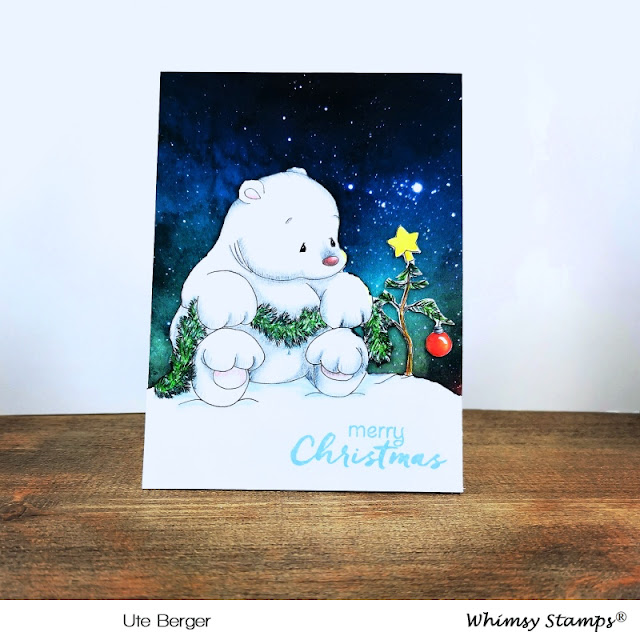
Ute's scene is utterly enchanting with this sweet Polar Bear's Christmas Tree image.


This sweet Christmas image of Crissy's is oh so perfect for celebrating a baby's first Christmas!


Fa La La Llama Clear Stamps

Check out this adorable creation by our Claudia using a gorgeous clear stamp set. Love the pink!


Thank you for popping in to visit today,
we hope you leave here inspired and ready to create.
We will be back very soon with our December New Releases!
Remember to stop in and check out our Cyber Monday deals,
no better time to buy from our fabulous digital collections.

Hugs and happy crafting,


Special Guest - Adelle Emery

Hello, friends. Adelle here again with my second project for Whimsy Stamps. Today, I am sharing a Christmas card made with the adorable Santa's Train stamp set. There are so many adorable train cars to choose from that you could have quite the long card if you choose to use them all.


I used (a lot of) Copic markers to make this card. I was going to ink a background, but as soon as I stamped the steam coming from the train I realized I’d try something different (for me) and do it with Copics. That, and the thought of cutting masks for the steam made me dizzy. I really like how it turned out!


First, I stamped the train and cars on a panel of white cardstock. Then, I chose (again, a lot) of Copic markers to color the scene.

Copics: R39, R29, R24, R22 (Reds), YG67, YG17, YG25, YG23 (Greens), Y28, Y18, Y15, Y13 (Yellows), E55, E53, E47, E49 (Browns), E97, E21, E00, R32 (Skin), B26, B24, B12 (Blues for presents), and B6, B4, B2, B1, B00, B0000 (Blues for sky).


After coloring, I added a track for the train, some connectors for the cars, and then I cut the panel down and popped it up on a white card base. I also added stars in the sky with a white gel pen and stamped a sentiment from the set in black.
Thanks for having me as a guest!
~Adelle

Wintry Scene


Brrrrrr! Fall is well under way with Thanksgiving this week if you're from the US, but there's always the chance of early snow, which is what I envisioned as I worked up this card using the Wintry Cabin rubber stamp.


I stamped the image with VersaFine Onyx Black and watercolored it with Zig Real Brush Markers. I thought of adding clear Wink of Stella but instead used a white pigment pen to add falling snow.

I used a Copic N1 on the Forest Majesty birch trees and Distress Oxide Vintage Photo on the deer from that die set. I love that the deer come in a variety of different sizes so I had no problem finding the perfect one for my card.


I stamped the sentiment with Versamark and embossed it with Ranger White Super Fine Detail Embossing Powder.

Did you notice I had popped up the deer on foam dots? My husband really liked the texture of the card--the embossed sentiment, the trees and the deer.  Who knew he could be so observant--lol.


Black Friday


Gingerbread Greetings!...

Hello everyone!


Sue here!

Today's card is sweeeeeet! - and involves gingerbread - so what's not to like!!! (;

I have used another of the 
new release stamp sets,

I stamped and coloured those toooo cute Gingerbread Greetings houses with Copics and cut them out.

I blended Peacock Feathers and Tumbled Glass Distress Oxide over a piece of smooth Bristol Vellum Card and splattered it with water and white gesso.  Then I die cut the card with the fabulous Slimline Marquee Die.

I die cut a piece of white glitter card with the same die and assembled the die cuts as shown placing the white card inside the Marquee Die apertures.

I fixed the whole thing to a white glitter card background and added the Gingerbread Greetings 
houses in a row along the Marquee Die. I stuck them down with Crafty Foam Tape so that the design didn't look too flat.

I stamped a sentiment from the Gingerbread Greetings Clear Stamp Set onto white card with black ink and die cut it with a Quick Strips Die.

I fixed the sentiment to the top left hand side of the card design.


Copics used - 
Gingerbread Houses (Cuteness Overload)! (;
BV31, E30, E11, YR31, YR21, E34, E97, E37, E79, R89, R29
Big hugs and thanks to lovely Elaine (Marker Geek) for the colour combo inspiration!


Please have a good look around the Whimsy Inspirations Blog  at the gorgeous new release cards by the rest of the Whimsy Stamps Creative Team – and then follow that with a trip to Whimsy Stamps store for some essential retail therapy!

Happy Crafting!
From Sue…xxx

*NEW Gingerbread Greetings Clear Stamps  Slimline Marquee Die Quick Strips Die Set Crafty Foam Tape White