2nd Annual Whimsy Stamps 31 Nights of Halloween - GRAND PRIZE Entry

Good evening my DAH-lings, Franken Schmutz here with some SMASHING news.  Me and all my frightful friends at Whimsy Stamps welcome you to join us for our 31 Nights of Halloween extravaganza. 


Get ready for Whimsy's creepy Creative Team and spooky Special Guests sharing 31 haunted Halloween projects and inspiration.  
Over $250 in prizes with frightful fun all month long!!
Come celebrate with us at 6pm EST each night for a new project and random night giveaways. 

GRAND PRIZE $100 Whimsy Stamps Shopping Spree!!

TO ENTER...
💀  Share our Halloween event banner on any/all social media and TAG at least one friend
💀  Link your posts back here on the Whimsy blog with the linky tool below
💀  Each new post counts for one entry
💀  Enter as many times as you'd like between now and 10/30/18 by 11:55pm

The more individual posts you share the more chances you have to have win so share all day, everyday, everywhere!
All prize winners will be announced on Halloween Night right here on the Whimsy Blog.  
All winners must claim their prizes by 11/7/18.

Have a frightfully good time and good luck
Mwaaahaahaha!

I hope you have a hauntingly, frightfully, fun Halloween!! Thanks to everyone who participated and who shared our 31 Nights of Halloween event with your friends and family, we hope you've had a great time!

And now for the WINNERS of all our prize giveaways...

Night 0 – GRAND PRIZE winner $100 Whimsy Shopping spree WINNER: #60 Sue Drees  
Night 1 - $25 Whimsy Gift Certificate: Beverly S.
Night 6 – Candy Corn Paper Door kit:  Denise Bryant
Night 11 - $20 Whimsy Gift Certificate: Meghan Kennihan 
Night 15 – Clear Stamp Set of your choice: Malia
Night 21 - $20 Whimsy Gift Certificate: Susan Smith                          
Night 26 – Peekaboo die of your choice: Arianna Barbara 
Night 29 – winner #1 Ahoy Matey Clear Stamp set plus 1 Crissy Armstrong digi image of your choice (excludes limited editions images): Michelle Uhlenhake
Night 29 – winner #2 Crissy Armstrong digi image of your choice (excludes limited edition images): Bunny

Please contact whimsystamps@gmail.com to claim your prize. Please put 31 Nights Winner in the subject line. Prizes must be claimed by 11/7/18.


World Cardmaking Day Events

Be sure to join us Saturday, October 6th for a day of fun to celebrate World Cardmaking Day! Some of our team members will be holding an inspirational blog hop with a chance to win prizes. And we are planning some events and games over in our Whimsy Stamps and Inspirations Facebook group that day too. PLUS, we have some freebies and other goodies in store that you won't want to miss. Stop by our Facebook group and join if you aren't a member yet. See you next Saturday!

Special Guest Crystal Thompson

Hello there! Crystal Thompson here as a special guest for Whimsy Stamps.
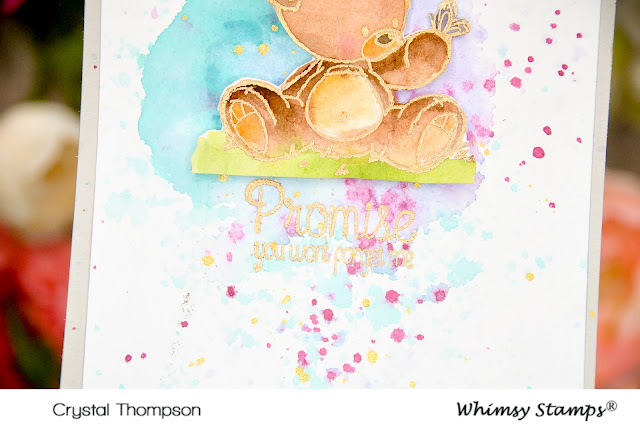
Today's very sweet post using the super cute stamp set called Teddy Best Friends from Whimsy Stamps.

The bears on this stamp set were just begging to be water colored, so with that in mind I decided to keep the card on a Clean and Simple vision with minimal embellishment.


To make this card, I heat embossed the bear image with gold embossing powder on regular 110lb white cardstock. 


 Once the image had dried up, I went ahead and hand cut around the image, and set aside.


 Now for my background , I have a piece of light kraft cardstock cut 4.25 in by 5.50in. Then I layered a white cardstock that is .25 in smaller than my base.


Once everything was layered, with a clean brush I drew a circle on the cardstock with clean water, then dropped some lilac water.  Once that dried, I water colored a blue circle, and splattered blue watercolor. Before it all dried, I did a few flickers of dark pink.


Once everything has dried, I heat embossed the sentiment in gold embossing powder Promise You Won't Forget Me. To add some sparkle with gold spray, I added flickers to the entire card.To finish up, I placed the bear with foam adhesive above the sentiment. I love the way this card turned out, very soft and subtle yet clean. Now don't go anywhere yet, I have a second card with a different technique.


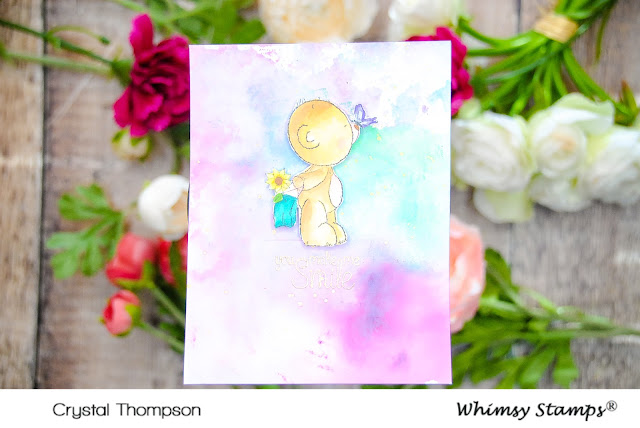
For this card, the background is using the ever popular ink smooching technique, however I did it with some different ink that made this look kinda like alcohol blends. Let me tell you how I did this. 


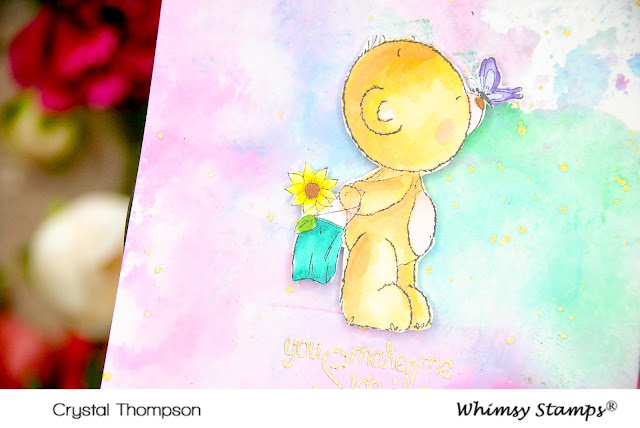
Since the background on this is a background was too busy, I thought the bear should be simple and colored with Copics.


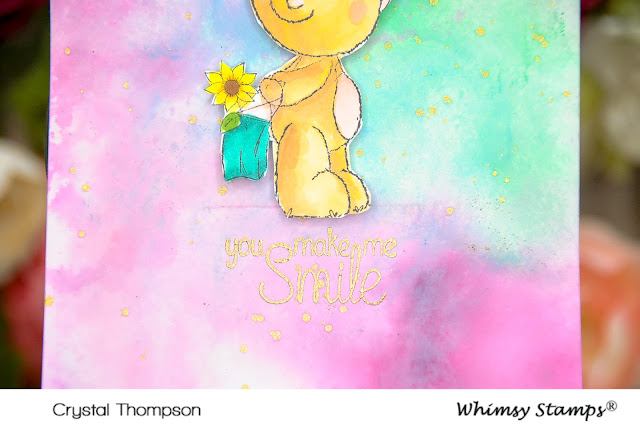
 To make the background, I used Distress Oxides. I thought the formula would work well to smooch and it would react different to a dye ink. On a piece of acetate I swirled Cracked Pistachio, Worn Lipstick, Wilted Violet and Broken China. Then I added a couple drops of water on the acetate. I did not blend blend the colors, just add the drops. Then on the cardstock that is to be smooched, I added a wash of clean water with my large brush. Then I smooched the paper onto the colors and lifted. I had some white left on my cardstock, so I turned the page and smooched again. Then allow it to air dry for about 5 minutes.


Once it was dried up, I heat embossed the sentiment in gold embossing powder. Then added gold splatters.


To finish off the card, the little bear was added to the center of the card with foam adhesive. 
I really liked using both techniques on the backgrounds as it allows to work on one card, while the other dries up. 
Didn't I say this stamp set was the cutest?! 

Which one is your favorite?
Thanks so much for stopping by!
Crystal 

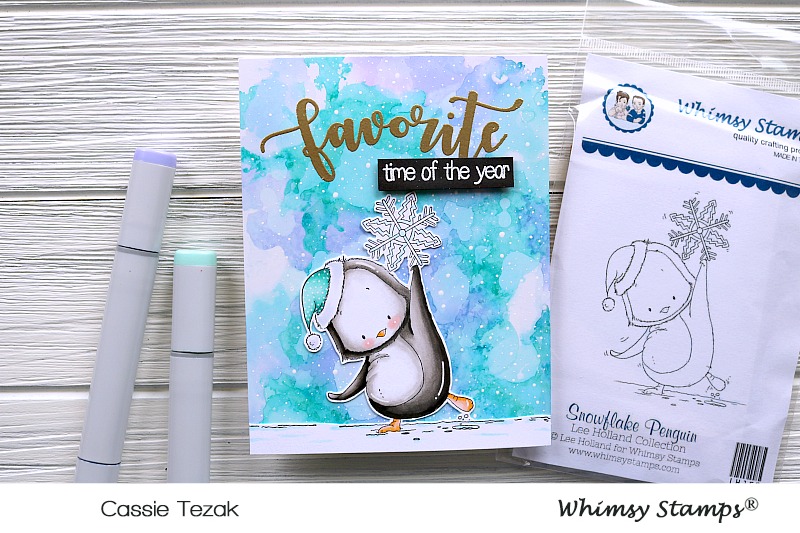
You're My Favorite Snowflake Penguin - Special Guest - Cassie Tezak

IMG_2067 


I'm back to share my last post with Whimsy Stamps as a guest designer. It's been so fun working with Whimsy and being able to use their awesome products! I can't believe it's over already!! Today I'm jumping seasons and sharing a winter card using some of there awesome products. Let's take a look!

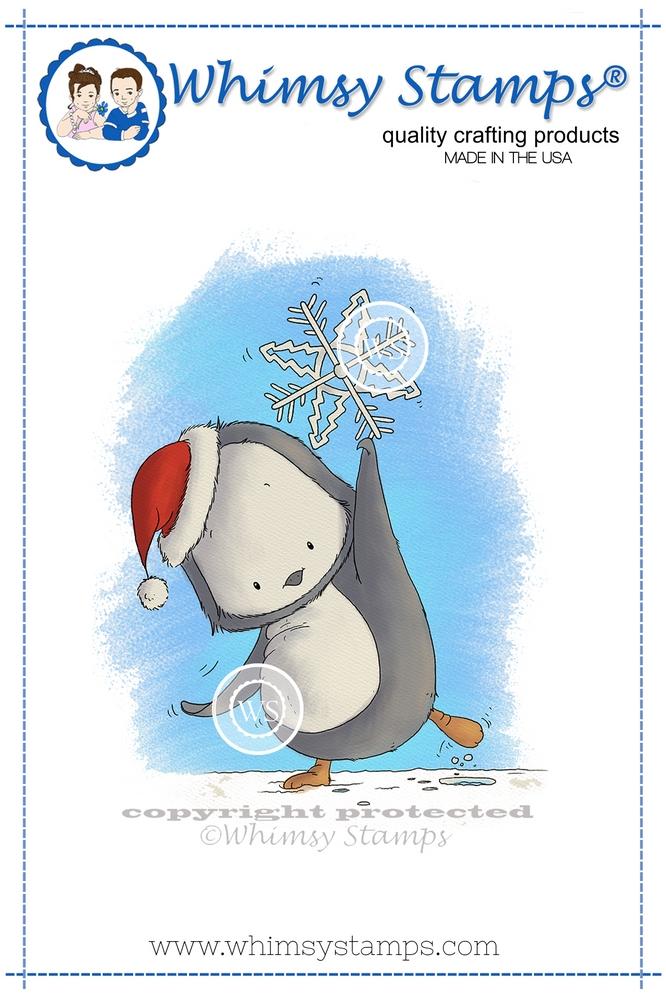
I just love this penguin stamp called Snowflake Penguin. It had been such a long time since I'd used red rubber stamps prior to working with Whimsy Stamps, and it was so great to be able to use them again! They stamp like a dream. I colored him in with my Copic markers. Because I wanted the ground to extend past where the actual stamp went I used my Copic multiliner to draw in some more snow/ground so that it would cover the width of my card.

IMG_2068
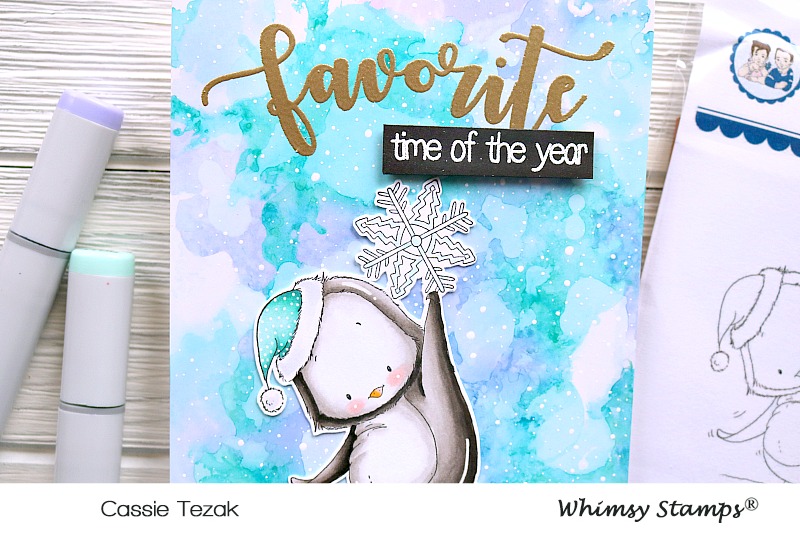
I fussy cut the little guy out and set him aside. To create my background I used some purple and blue alcohol inks to create this arctic looking sky. I love the way it turned out! I heat embossed the word Favorite from the You're My Favorite stamp set with gold embossing powder at the top of the alcohol ink piece. I love this scripty font.

IMG_2071
To finish the sentiment I stamped "time of the year" with VersaMark ink as well and heat embossed white embossing powder over top. I trimmed that down and added it to the card with foam tape. I adhered my fussy cut penguin over the alcohol panel and, of course, I had to add some white gel pen accents.

And that is it for my last post as a Whimsy Stamp guest designer! Like I said, I can't believe this month is over! It was so fun working with these adorable products, and I'm thankful to have been given the opportunity to do so! Thanks so much for stopping by today, and I hope to see you again soon!!

snowflake_penguin_color_display_1024x1024 Youre_My_Favorite_store_display_1024x1024

If Frank Ain't Happy, Ain't Nobody Happy

Only a few days left until our October Release Days begin! You are going to LOVE what's coming! But until then, I want to share something from the September Release that I just LOVE!

I love this Web Background! It has such depth to the image, and stamps beautifully the first time!

For today's card, I decided to use a purple ink, instead of black, and I think it looks really cool. I used Wilted Violet ink for the background color. 
I stamped Frank from Franken Schmutz with VersaFine Onyx Black and then colored him using Copic markers. The Bold Banner Die was the perfect size for my sentiment. I used the perforated tabs to bend in in a forward arc so that it stands out. 
The Happy Large Word Die is cut from glitter green paper and matches the background layer in such a sparkly, fun way! The black panel was cut using the Hand Stitched Nested Rectangles.
His expression is so funny. Stay tuned for more Whimsy fun this weekend, and then be sure to stop by October 1 for some NEW things!

A Girl And Her Pumpkin Digital Stamp

Hi everyone Michelle here on the blog today to show you one of the September release Digital Stamps You can find the whole release HERE in the Whimsy Stamps Shop 

This cutie is called A Girl And Her Pumpkin 


Thank you for stopping by 


Autumn Stained Glass Blooms + Coloring With Copics

I’ve always loved the look of stained glass. Mosaics, too. I find the bright, translucent colors and thick dark lines make such a beautiful contrast – delicate and bold at the same time.

For today’s card, I added some autumn color to this lovely stained glass design with Copic Sketch markers.

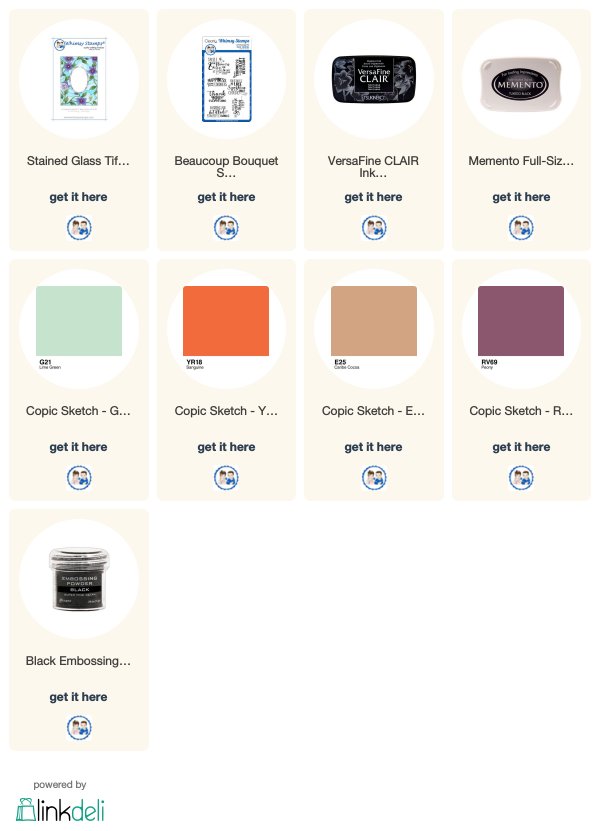
To start, I stamped the Stained Glass Tiffany Window image onto a piece of smooth white cardstock using a MISTI and black Memento Ink. I left the stamp in place for later and made a note of the position of my cardstock since I was going to re-stamp the lines for embossing.


Then, I went ahead and colored everything in (except for the very center oval). The color list is:

Flowers: YR18, R05 with Y19 centers
Leaves: Y19, RV69
Vines: E25
Background: G20, G21, G43
Outer Oval: RV69


Next, I dusted the cardstock all over with an Anti Static Pouch and re-stamped the lines with Versafine CLAIR in Nocturne. Then, I sprinkled Black Embossing Powder over it, tapped off the excess, and embossed it with a Heat Tool.


After that, all I had left was to add a sentiment in the center of the oval. I found this really nice one in the Beaucoup Bouquet Sentiments set that was just perfect to go along with the stained glass flower design.

I wasn’t sure of the size at first, though, so I used a little trick to test drive how the words would look: I have a piece of acetate that I use to position and “try on” sentiments before I actually stamp them. It’s saved me from several do-overs in the past!


I liked the placement and how it looked, so I went ahead and finished the stamping portion of the card.


Then it was just a matter of trimming the edges, blackening them with a Copic marker (#100) and adhering the card front to a black cardstock mat with Foam Circles. Finally, I attached the whole thing to a white card base.


Thanks for reading today! Happy coloring!


Delightful Daisies

Hello, today I’m sharing a card using the sublime Delightful Daisies background stamp and the Notched Squares Die set.  I coloured the background stamp with copic markers.

I kept the additions to a minimum, this stamp does ALL the talking!  I adhered 3 of the Happy large word die cuts together and finished off with the birthday sentiment from the Happy Sayings stamp Set. 


bev-rochester-whimsy-stamps-delightful-daising-bgackground


bev-rochester-whimsy-stamps-delightful-daising-background1


Products used from Whimsy Stamps


delightful daisies color display notched square die set display HAPPY_20large_20word_20die_medium Happy_Sayings_medium

Country Porch


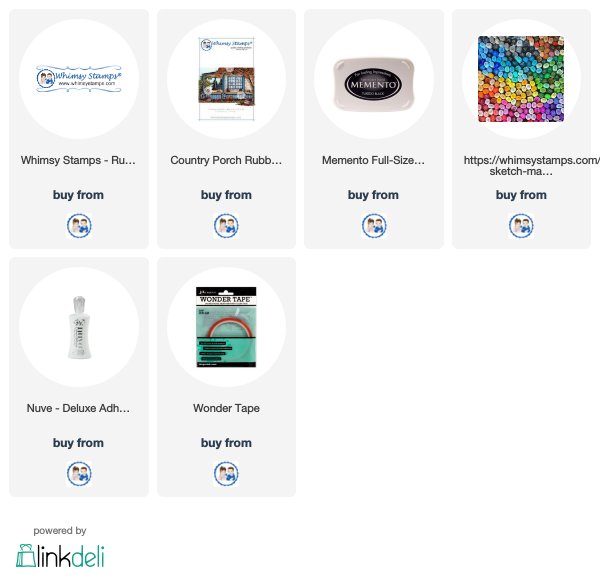
When People think I live in New York, they think big city.  Nope!  Most of New York is a beautiful countryside with quaint little historical towns everywhere.  And this house looks a lot like ours and many others in our town.  Well, it will in another few weeks.  This Whimsy Stamp is called Country Porch.  And it is AWESOME!  Coloring all the details was so much fun for me.
You could color the tree in fall colors as well.  That would really brighten it up and change the entire picture, wouldn't it?


Thanks for stopping by today and be sure to join the Whimsy Challenges on the Whimsy Blog


Give Thanks

Hello friends!  It's Vicki here!  Autumn has officially started and I love thinking about those fun Fall memories that I've had with my kids growing up.  We used to go to a local orchid and pick out the pumpkins that we would carve out for Halloween.  They had such fond memories of the place that they enjoy going back there as adults!  This image really reminded me of those special memories:

This is the very sweet digital image called "A Girl and Her Pumpkin" released for this month by Crissy Armstrong.  I've got her colored in with Copic markers and stenciled some clouds in the background.  I cut her out with the "Hand-Stitched Nested Rectangle dies" and mounted her over some fun Fall glittery leaves and a strip of burlap ribbon.  I've taken the "Painted Sayings clear stamp set" and stamped some of the images with white ink in the background and then I took the words and gold heat embossed them over the vellum and cut it out for a banner in the bottom right portion of my card.  Lastly, I've added some gold sequins and filled the centers with a gold Stickles glitter.

Hope you are enjoying all things Autumn!  Thanks for stopping in!

Here are the Whimsy Stamps products that I've used on my card today: