Kowabunga


Hi there, Whimsy fans!  Have you seen the Whimsy Build an Island dies? What's not to love?!  There's everything you need to create a fun summer/vacation themed card. Ooh, a retirement card!


I started my card by swiping Ranger Alcohol Pearl Inks across a glossy card base.  The resulting sheen is exactly what I was looking for to represent the sun setting on a hot summer day where it's starting to get a bit hazy as the temperature cools.


I cut out the Build an Island dies and created my little scene.  The clouds I sponged lightly with Distress Oxide Worn Lipstick and a bit of Mustard Seed.

The Snark Attack sentiment is stamped with Versamark and embossed with Ranger White Super Fine Detail Embossing Powder. Fall is my personal favorite season but summer is a close second!


Feel free to check out my other creations on my blog, Frankie Helps Craft, or on Instagram.  Have a great rest of your week!

Let's celebrate...

Hello friends

Almost July!  I can hardly believe it!  The year is flying by so quickly!

Today's product is so clever it makes two cards for you!


To make this card I die cut a rectangle of kraft card with the 

Next I blended Distress Oxides in Spiced Marmalade, Picked Raspberry, Peacock Feathers and Wilted Violet over a piece of kraft card and die cut it with the 
- I saved all the squares as they are needed for the second card!

I flicked water and Perfect Pearls over the coloured kraft card and dried it with a heat tool.  I then fixed the die cut to the rectangle base set aside earlier.

I used the 
to create the sentiment from kraft card and a leftover piece of inky card. 

Finally I stamped the Happy Birthday sentiment from the 
onto kraft card and die cut it with the 

I fixed both sentiments to the card design as shown

To make this card I die cut a rectangle of kraft card with the 

Then with the 
I die cut another piece of Kraft card and fixed it to the first rectangle.

I then placed all the little squares left over from the first card I made into the gaps left by the 

I used the 
to create the sentiment from kraft card and a leftover piece of inky card. 

Finally I stamped the Happy Birthday sentiment from the 
onto kraft card and die cut it with the 

I fixed both sentiments to the card design as shown.

So there you have it - two really straightforward cards to make with very little waste!

Be sure to have a look around our
to see all the gorgeous Creative Team inspiration, and then pop straight to
to engage in some essential retail therapy!
from Sue...xxx


 Checker Background Die Quick Strips Die Set

*NEW Celebrate Word and Shadow Die Set You're My Jolly Clear Stamps

Distress Oxide Ink Pad - Peacock Feathers


Gnomies Shadow Box Card

Hello everyone!  I hope your day is off to a good start!  It's Rachel here and I'm happy to share with you today a fun little Shadow Box Card that I created using the new and super cute Gnomies Clear Stamps Set. (Affiliated links used at no extra cost to you.)


To start, I first created my Shadow Box which measures 4" across x 4.25" tall when standing and 5.5" x 4.25" when folded flat so that it fits perfectly into a standard A2-sized envelope.  I used the gorgeous Pierced and Stitched Circles Die Set to diecut the front circular window in this box.


I then stamped all of my images with Memento Tuxedo Black Ink onto a sheet of Neenah Solar White 110lb Card Stock and used Copic Sketch Markers to color them.

Copic Colors Used:
  • Reds: R14, R27, R46, R89
  • Yellows: Y02, Y06, Y13, E34
  • White: 0, C00, C1, C2, C4
  • Blues: B0000, B12, B16
  • Skin Tone: E0000, E000, E21, E11, E04


I then added a few scenic accessories to the inside of my card.  For the grass, I used the Grass and Cloud Edger Die Set to cut some grass from green card stock.  I also added a white picket fence using the amazing Kinetic Curved Hills Die Set.  I love how much detail this fence has with all of the gorgeous stitching! 


 For the sky, I blended a piece of Neenah Card Stock with Tumbled Glass and Peacock Feathers Distress Ink Oxides.  Lastly, I heat embossed my sentiment with Fine Detail White Embossing Powder onto a strip of dark green card stock and attached it to the front of my card with liquid adhesive.


Thanks so much for taking the time to drop by!  You can check out all of the other amazing items from the June Release HERE.  I hope you all have a wonderful day!

Rachel


Gnomies Clear Stamps SetCloud and Edger Die Set
Pierced and Stitched Circles Die SetKinetic Curved Hills Die Set

 
https://rachelalvaradodesigns.com/


~ May All Your Dreams Come True ~

Hello My Crafty Peeps!

Nicolette here sharing with you a card showcasing Whimsy Stamp's new Sleepy Sloths Clear Stamp Set and their new super fun Zig Zag Stitched Rectangles Die Set.  This sleepy little sloth is dreaming BIG dreams. Isn't he precious?!


To complete this scene, I used the Pierced Border Trio Die Set to create the hills and the smallest circle die from the Pierced and Stitched Circles Die Set for the moon.  The adorable teeny tiny stars come from the shaker bits die plate that comes in the Shaker Maker Rectangle Die Set.  The banner is from the Quick Strips Die Set.  I love all the banner choices there are to choose from in this set.

Whimsy Stamps ~


~ Copics ~
Sloth:  E51 E34 E35 E37 E57 C5 C7
Face:  E50 E51 E00 R000 R00 R01
Nose:  C0 C1 C3 C5 C7
Branch:  E31 E35 E57
Leaves:  YG03 YG17 YG67

**I participate in Whimsy Stamp's affiliate program.  That means I receive a commission when products are purchased through links here on my blog. (At NO additional cost to you).  This allows me to be able to make more projects to share and hopefully inspire you!  From the bottom of my heart, I appreciate your support!!!

I would love for you to follow me on my blog, Stella Rue Studios or on Instagram, @stellaruestudios!

Happy Stamping!

Life is Sweet....


Good morning! Michele here with a summery card using Whimsy's new set called, Ants at a Picnic.  It is such a darling set! 
I stamped this cute image with black Memento ink and colored it with Copic markers.  I added glossy accents to the seeds.  Once they were dry, I added a white highlight with a gel pen. 
I used the new  background stamp, Checkerboard Doodles in Picked Raspberry Distress ink. I used the Zig Zag stitched Rectangle die to cut the image out. I layered it over the background with Crafty Foam tape.  I added a gingham ribbon and a teeny heart from the Sparkletz Love collection. 

Thanks so much for stopping by today!

Supplies:
*NEW Ants at a Picnic Clear StampsZig Zag Stitched Rectangles Die SetSparkletz - Love HeartsDistress Ink Mini Pad - Picked Raspberry
Glossy AccentsMemento Full-Size Ink Pad - Tuxedo Black*NEW Checkerboard Doodles Background Rubber Cling Stamp

The Digital Vault ~ Summer Dudes

Hey Whimsy friends,
it's time for a Digital Vault update
and man have we got a couple of cuties
to showcase for you today!

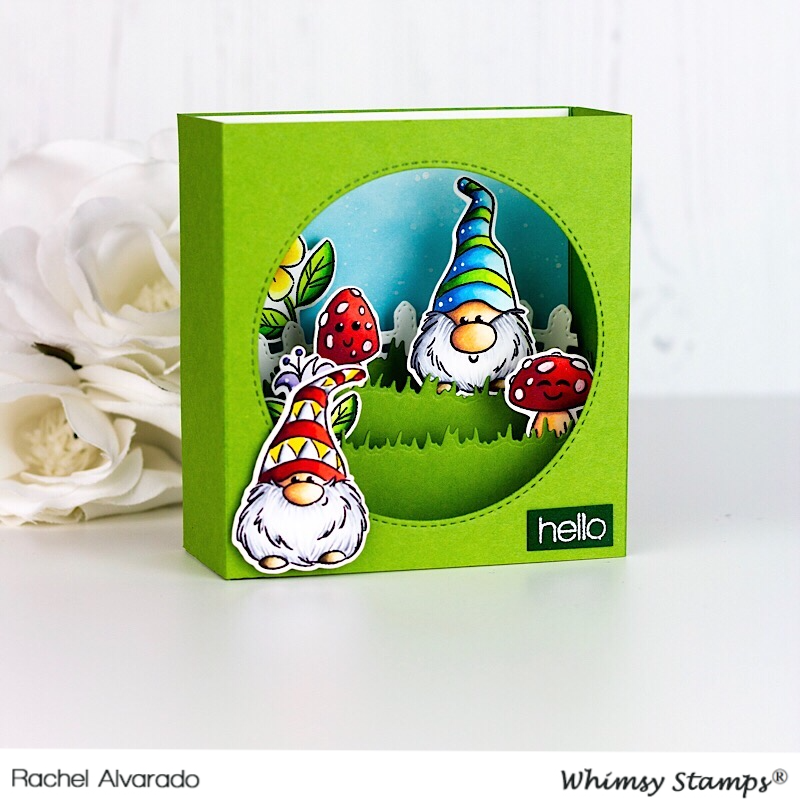
We have had the cutest Summer 'dudes'
to showcase this month, I think the whole team
has a bit of a crush on these two!

They are from our Pollycraft Collection
here at Whimsy Stamps and each month we
have a couple more cuties to add to the growing collection.

This month, we have the sweetest Summer images
and these two captured all our hearts and attention

The Divas have designed the most fun creations
with these two cuties, you're seriously gonna LOVE them!


CC Designs Digital Ranges


Curly


Dude


Quite the gorgeous line up I'm sure you'll agree!

We want to take this opportunity to thank all the team
for their amazing creations this past term and to wish those we
are saying goodbye to a wonderful next step in their crafty adventures.
We are so grateful for the time you spent here at Whimsy with us,
and Michelle, Pam, Michelle and Vicki, you will be missed.
Hugs and love to you all.

We have three new members joining our team in July
So please let me take this opportunity
to welcome them to the team


We also have the lovely Kerys designing with us now.
Kerys joined the team in June and we're thrilled to have her!


We are super excited to have you all designing with us this term
and can't wait to see what magic you create with our fabulous Whimsy Digital images.


Head on over to the store via the banner above to check out the full June digital release.
You can click through on the thumbnails below to head straight to Curly and Dude.

The Divas will be back in July
with our New Digital Release and man oh man
 you don't wanna miss this one!

Until then, make sure you stop by the store
to check out a heartbreakingly wonderful Mini Release
Andrea has full detes of this here

Hugs and happy crafting,