
Hello everyone,
Oh my word - these Tuesdays come round quickly don't they! - I swear time is speeding up! (:
It's Sue here to day to share a sweet (VERY sweet)! (; tutorial!
I'm going to keep you guessing today so if you don't read ahead you'll have a nice surprise - unless you can guess what I've made!
If like me you adore Mer-May then Whimsy Stamps has got you covered!!
I decided to try something a little different with two of the fabulous Whimsy Stamps mermaid stamp sets.
and the

Ingredients from Whimsy Stamps
To create the inky background for my project I used (Watercolour) Sparkle Pens but you could use any sort of watercolour pens or watercolour medium for this technique.
Black Stazon Ink
Mini Mister or Spray Bottle
Precision Scissors
Cocktail Sticks
Glue (I used a cold glue gun)

First I placed a piece of cling wrap on my glass mat and scribbled and dotted some inks in blue, turquoise and pink onto it.

I then sprayed water onto a piece of A4 watercolour card.

I then placed the inky cling wrap onto the card, pressed it down and scrunched it up slightly.

I took the cling wrap away and this was the effect...

I repeated this with a different selection of mermaid type colours!

I ended up with two inky deliciously inky backgrounds.
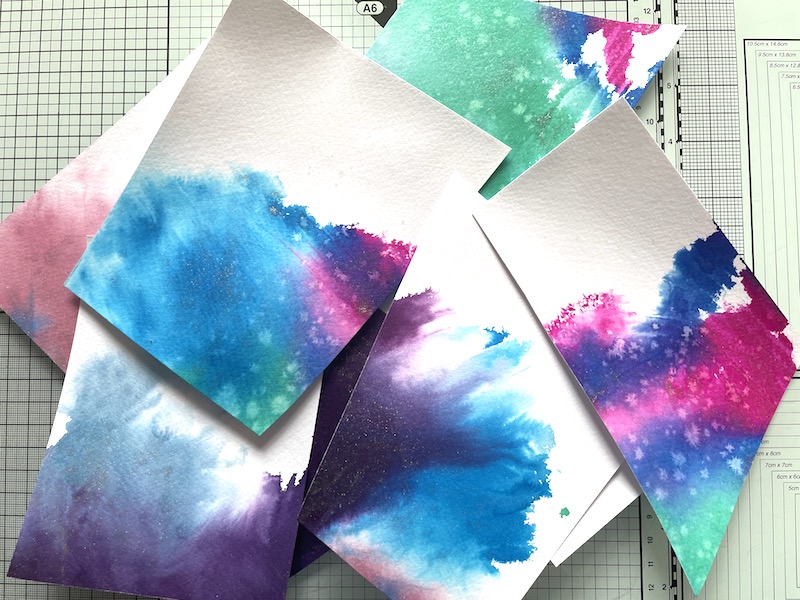
Then I randomly cut the card up into about odd shaped pieces - don't overthink this, just dive in with the scissors, random is best! I cut the card into about eight pieces in total.

I then stamped the mermaid tail from the Mermaid Dreams stamp set onto the inky card.

I use Stazon Ink for this as it works best on top of watercolours. It doesn't bleed and it leaves a crisp outline.

I stamped six tails in total and the gorgeous mermaid from the Lets Be Mermaids stamp set. (You can see I also stamped the seashells but I decided not to use them this time)

I then fussy cut the mermaid tails (not my favourite part but I'm getting better at it -( I'm a bit of a muppet because I have a Scan n Cut - I'm just too lazy to get it out and set it up)!
Make sure you keep all the off cuts - you will need them later!

I coloured the mermaid with Copic Markers
Hair - E47, E39, YR27, YR24, YR21

Skin - R20, E04, E11, E00, E000

Tail - B39, BG07, BG15, BG01, BG11, YG00, White Gel Pen

I then fussy cut her...

Here's where you need the offcuts I said to save earlier! - I used the smallest and second smallest dies from the Wavy Nested Frames Die Set to cut shapes from the tail offcuts.

I then stamped a selection of sentiments from the Mermaid Dreams and Lets Be Mermaids stamp sets onto them (again with Stazon Ink)

Here is my lovely selection of tails, sentiments and a mermaid!

I used a glue gun to fix a cocktail stick to the back of each shape. (You could use PVA but I'm impatient and I used the glue gun because it dries so quickly)!

...so, if you have n't already read ahead, can you guess what these are for! (; ...

...well I did say it was a sweet tutorial! (:

I had a bit of a time deciding which stamp set to use for the cupcakes! I uuuummed and aaaaaahed over using...

or

...and I already have a few more ideas up my sleeve for halloween! (;
Thank you so much for popping by today! I hope you've enjoyed my tutorial, it would be great to see your projects so remember to share them with us!
look after yourselves and those you love!
Happy creating from Sue...xxx


