


Welcome, crafty friends! Lisa here, spooky special guest, bringing you night 25 of the 31 Nights of Halloween Blog Celebration! I hope you've been joining in the nightly fun!

I have two Halloween cards to share featuring the Kinetic Dies and Boo to You Stamps along with a video tutorial. Step-by-step instructions are below, and you can view the video tutorial here or over on my YouTube channel.
HOW TO
- Stamp and color images; I used COPIC makers.
- You can fussy cut the images or use a ScanNCut; it just makes things easier.
BACKGROUNDS
- Die-cut two pieces of masking paper using a round die and position on the watercolor paper
WITCH CARD
- Add Distress Ink in the color Black Soot to the edges of the paper, follow with Picked Raspberry ink, and blend the colors together, remove the masking paper.
- Using a blender detail tool, add Squeezed Lemonade and Fossilized Amber ink to the moon.
- Add splatters to the card panel.
FRANKENSTEIN CARD
- Add Distress Ink in the color Black Soot to the edges of the paper, follow with Shabby Shutters ink and blend the colors together.
- Using Distress Oxide inks in the colors Weathered Wood, Hickory Smoke, Squeezed Lemonade, and Mustard Seed watercolor the moon.
ASSEMBLING CARDS
(see video)
- Die-cut the hidden slider track


Die-cut pieces from the No See Kinetic Dies using black cardstock.


Don't forget the foam dots; one goes between these circles allowing everything to move along the hidden slider track.
- Assemble the pieces using liquid adhesive

- Add 3D mounting foam to the back of the panel, make sure the mounting foam does not interfere with the movement of the parts, then attach to a 4.25" x 5.5" card base, make sure everything is moving freely.
- Die-cut the fence from the Kinetic Curved Hills Die Set
- Stamp and heat emboss the sentiment onto the fence before adding it to the card base.
- Add 3D mounting foam to the back of the die-cut fence; adhere to the card base to cover the slider track.
- Glue witch to the slider; I used a mini action wobble
- Die-cut headstones and bat from the Dracula's Coffin Die Set
- Add headstones behind the fence right about the hidden slider track; make sure the headstones don't interfere with the movement of the slider.
- Add foam strips to the back of a bat and add to the card.
- Add sequins to the moon and finish off with details using a white gel pen.


Thanks for stopping by tonight. Be sure to come back tomorrow night at 6PM for more BOO-tiful projects and frightful fun!
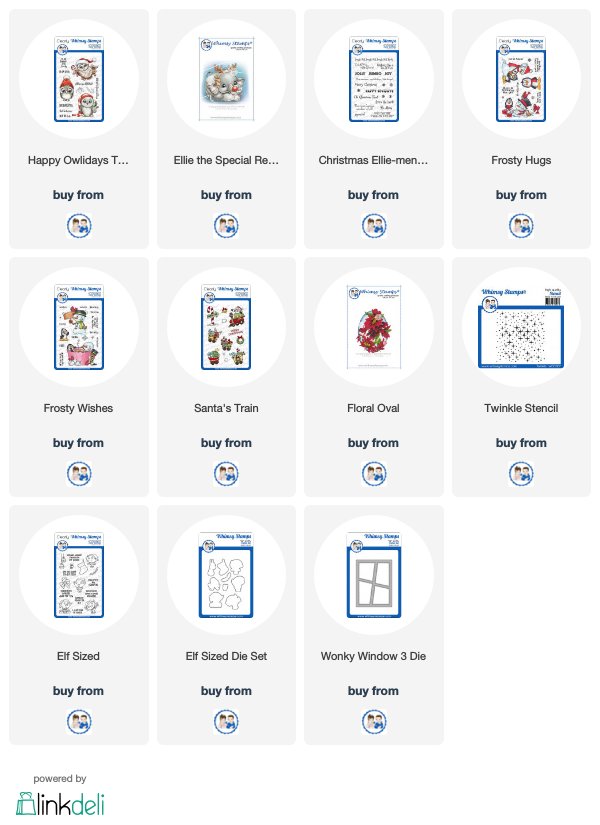
Thank you, Lisa, for these amazing projects! Today is extra special because we're having a mini release of some fun, holiday products. You can see all of the new products below.
Special Whimsy Weekend Release


Two wonderful cards. Love your coloring. [Bunny]`
ReplyDeleteLove these!
ReplyDeleteThese are awesome!
Thank you!
DeleteAdorable! I Love your coloring!!!!!!!!!!!!!
ReplyDeleteThank you!
DeleteAwesome backgrounds and colors! I love these spooky scenes you created, and your coloring is fabulous! Excited to check out this mini release too! That Wonky Window 3 Die looks like fun!
ReplyDeleteThank you.
DeleteAwesome Halloween cards (and such a fun mini release)! Thank you for the tutorial. I've never tried cards like these before.
ReplyDeleteThank you.
DeleteThe silly Frankenstein's Monster is so cute. I like his tooth!!
ReplyDeleteThanks! He is so cute, right? That tooth is too much.
DeleteSPOOK-tacular cards Lisa!
ReplyDeleteLOVE your colouring, colours and COOL interactive designs - WOW!
Thank you for sharing your CREATIVE INSPIRATION and tutorial :)
Thank you!
DeleteFaBOOlous Halloween cards, gorgeous coloring, love the layers
ReplyDeleteand most of all, the fun interactiveness.
Thank you!
Deletethanks for sharing such a clear technique video - so many wonderful tricks to make these fun interactive cards run smoothly - awesome cards
ReplyDeleteThank you. Always my pleasure.
DeleteGorgeous coloring Lisa! So super bright and fun Halloween cards. I so appreciate you listing the Copic markers you used. It's always nice to find new color combinations to try out.
ReplyDeleteThank you.
DeleteI am in awe of your two cute projects! Love your coloring and overall design of these CUTE creations! :)
ReplyDeleteThese are both so stinkin' ADORABLE Lisa, and great tutorial too! Thanks so much for being a WONDERFUL special guest for us! HAPPY HALLOWEEEEEN!
ReplyDeleteThank you for having me! I had so much fun joining in the celebration.
DeleteEek, I just LOVE these! Your backgrounds are AWESOME!
ReplyDeleteGreat cards they are amazing and thank you for the tutorial! Love all of it!
ReplyDeletewow, they are stunning and I love these incredible colours.
ReplyDeleteLisa, both of your cards are stunning and I love the great color details that you get! I think I am using my Copic markers incorrectly! Ha! HA! I am excited to watch your video and see up close and personal how you did this. But your directions here are fantastic and thanks for the hints too! I enjoyed your guest appearance and hope to see you again!
ReplyDelete