Welcome, crafty friends! Lisa here, spooky special guest, bringing you night 25 of the 31 Nights of Halloween Blog Celebration! I hope you've been joining in the nightly fun!

I have two Halloween cards to share featuring the Kinetic Dies and Boo to You Stamps along with a video tutorial. Step-by-step instructions are below, and you can view the video tutorial here or over on my YouTube channel.
HOW TO
- Stamp and color images; I used COPIC makers.
- You can fussy cut the images or use a ScanNCut; it just makes things easier.
BACKGROUNDS
- Die-cut two pieces of masking paper using a round die and position on the watercolor paper
WITCH CARD
- Add Distress Ink in the color Black Soot to the edges of the paper, follow with Picked Raspberry ink, and blend the colors together, remove the masking paper.
- Using a blender detail tool, add Squeezed Lemonade and Fossilized Amber ink to the moon.
- Add splatters to the card panel.
FRANKENSTEIN CARD
- Add Distress Ink in the color Black Soot to the edges of the paper, follow with Shabby Shutters ink and blend the colors together.
- Using Distress Oxide inks in the colors Weathered Wood, Hickory Smoke, Squeezed Lemonade, and Mustard Seed watercolor the moon.
ASSEMBLING CARDS
(see video)
- Die-cut the hidden slider track


Die-cut pieces from the No See Kinetic Dies using black cardstock.


Don't forget the foam dots; one goes between these circles allowing everything to move along the hidden slider track.
- Assemble the pieces using liquid adhesive

- Add 3D mounting foam to the back of the panel, make sure the mounting foam does not interfere with the movement of the parts, then attach to a 4.25" x 5.5" card base, make sure everything is moving freely.
- Die-cut the fence from the Kinetic Curved Hills Die Set
- Stamp and heat emboss the sentiment onto the fence before adding it to the card base.
- Add 3D mounting foam to the back of the die-cut fence; adhere to the card base to cover the slider track.
- Glue witch to the slider; I used a mini action wobble
- Die-cut headstones and bat from the Dracula's Coffin Die Set
- Add headstones behind the fence right about the hidden slider track; make sure the headstones don't interfere with the movement of the slider.
- Add foam strips to the back of a bat and add to the card.
- Add sequins to the moon and finish off with details using a white gel pen.


Thanks for stopping by tonight. Be sure to come back tomorrow night at 6PM for more BOO-tiful projects and frightful fun!
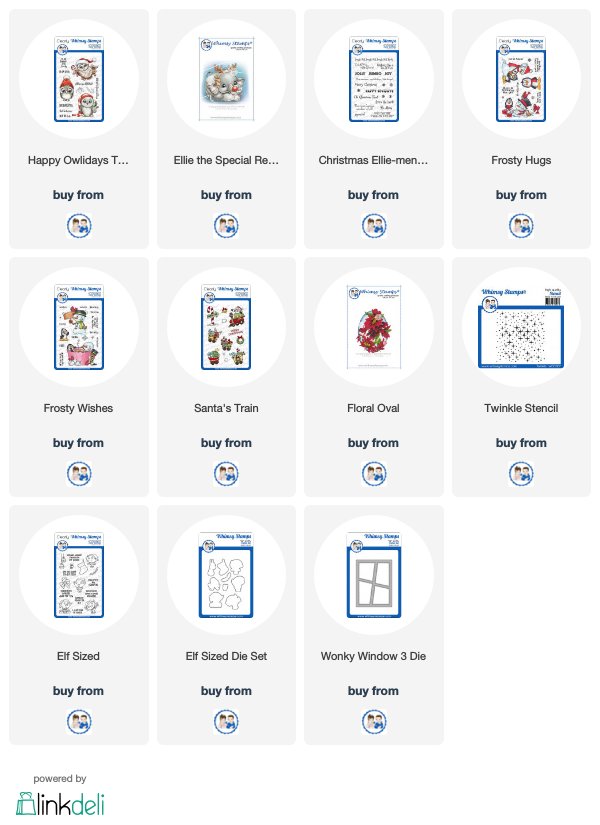
Thank you, Lisa, for these amazing projects! Today is extra special because we're having a mini release of some fun, holiday products. You can see all of the new products below.
Special Whimsy Weekend Release