Showing posts with label Marina Fedotova. Show all posts

Mazarine Butterfly Fairy

Hi Everyone, it's Faye here today :)

Spring is coming and this always has me reaching for more zingy colours. This month, I thought I would play with Mazarine Butterfly Fairy, she's one of my fave's.


As I've coloured her a few times now, I thought I'd give her hair a little dress coordinated twist! Sometimes turquoise hair is the answer. Who cares what the question is.


I've coloured her with Copics, fussy cut her and teamed her with some FaDoodles and two of Deb's awesome sentiment sets, You're my Favorite and Painted Sayings.


Whimsy Goodies Used...

Mazarine Butterfly Fairy Rubber Cling StampFaDoodles Clear StampsYou're My Favorite Clear StampsPainted Sayings

Thanks so much for stopping by... Have a great day.

There might be angels...

Hello everyone!

It's Sue here today to show you one of February's fabulous new releases from wonderful

The card I am sharing with you is made with the utterly gorgeous
Angel Nevaeh Rubber Stamp
by Marina Fedotova
To make this card I stamped gorgeous Angel Nevaeh with black ink.  
I die cut her with a Hand Stitched Nested Rectangles Die slightly off setting her to the left hand side.

I coloured Angel Nevaeh with Copic Markers as shown.
Skin V12, E93, E000, R20
Hair YR23, E99, E29
Frock B39, B37, B34, V12, V15, V17 White Gel Pen
Wings BG000, V00
Stars Blue Copic Glitter Pen

Next, I die cut a Stitched Cloud and used it to mask the background and apply Tumbled Glass Distress Ink.

Then I tore a strip of vellum and embossed it with a clouds embossing folder.  I layered the strip and the coloured image onto a piece starry design paper.

I added the sentiment from the beautiful Beaucoup Bouquet Clear Stamps Sentiment Set.

Finally I embellished the background with some super sparkly
Thank you for popping by!

Be sure to pop to 
to see the gorgeous DT creations there and then to 
to engage in some essential retail therapy!

love from Sue...xxx

Faye the Fairy

Hi Everyone, it's Faye here today :)

This month I thought I'd share a card I designed for Making cards Magazine. I was given a photo of some beautiful winter scenery to use as inspiration.


Now I realise Faye the Fairy isn't really a wintery image, but I wanted to play with her so I made the colours reflect the season instead!


I love colouring on kraft card with Copics. It gives such a gorgeous effect. Just remember the fibres in this kind of card are looser than smooth cardstock, so the ink is going to move more freely. Not a problem if you are aware of it, as you can adjust your colouring accordingly.

Whimsy Goodies Used...

Faye the Fairy Rubber Cling Stamp

Thanks so much for stopping by... Have a great day.

Mazarine Butterfly Fairy - special guest - Pamela Schumacher

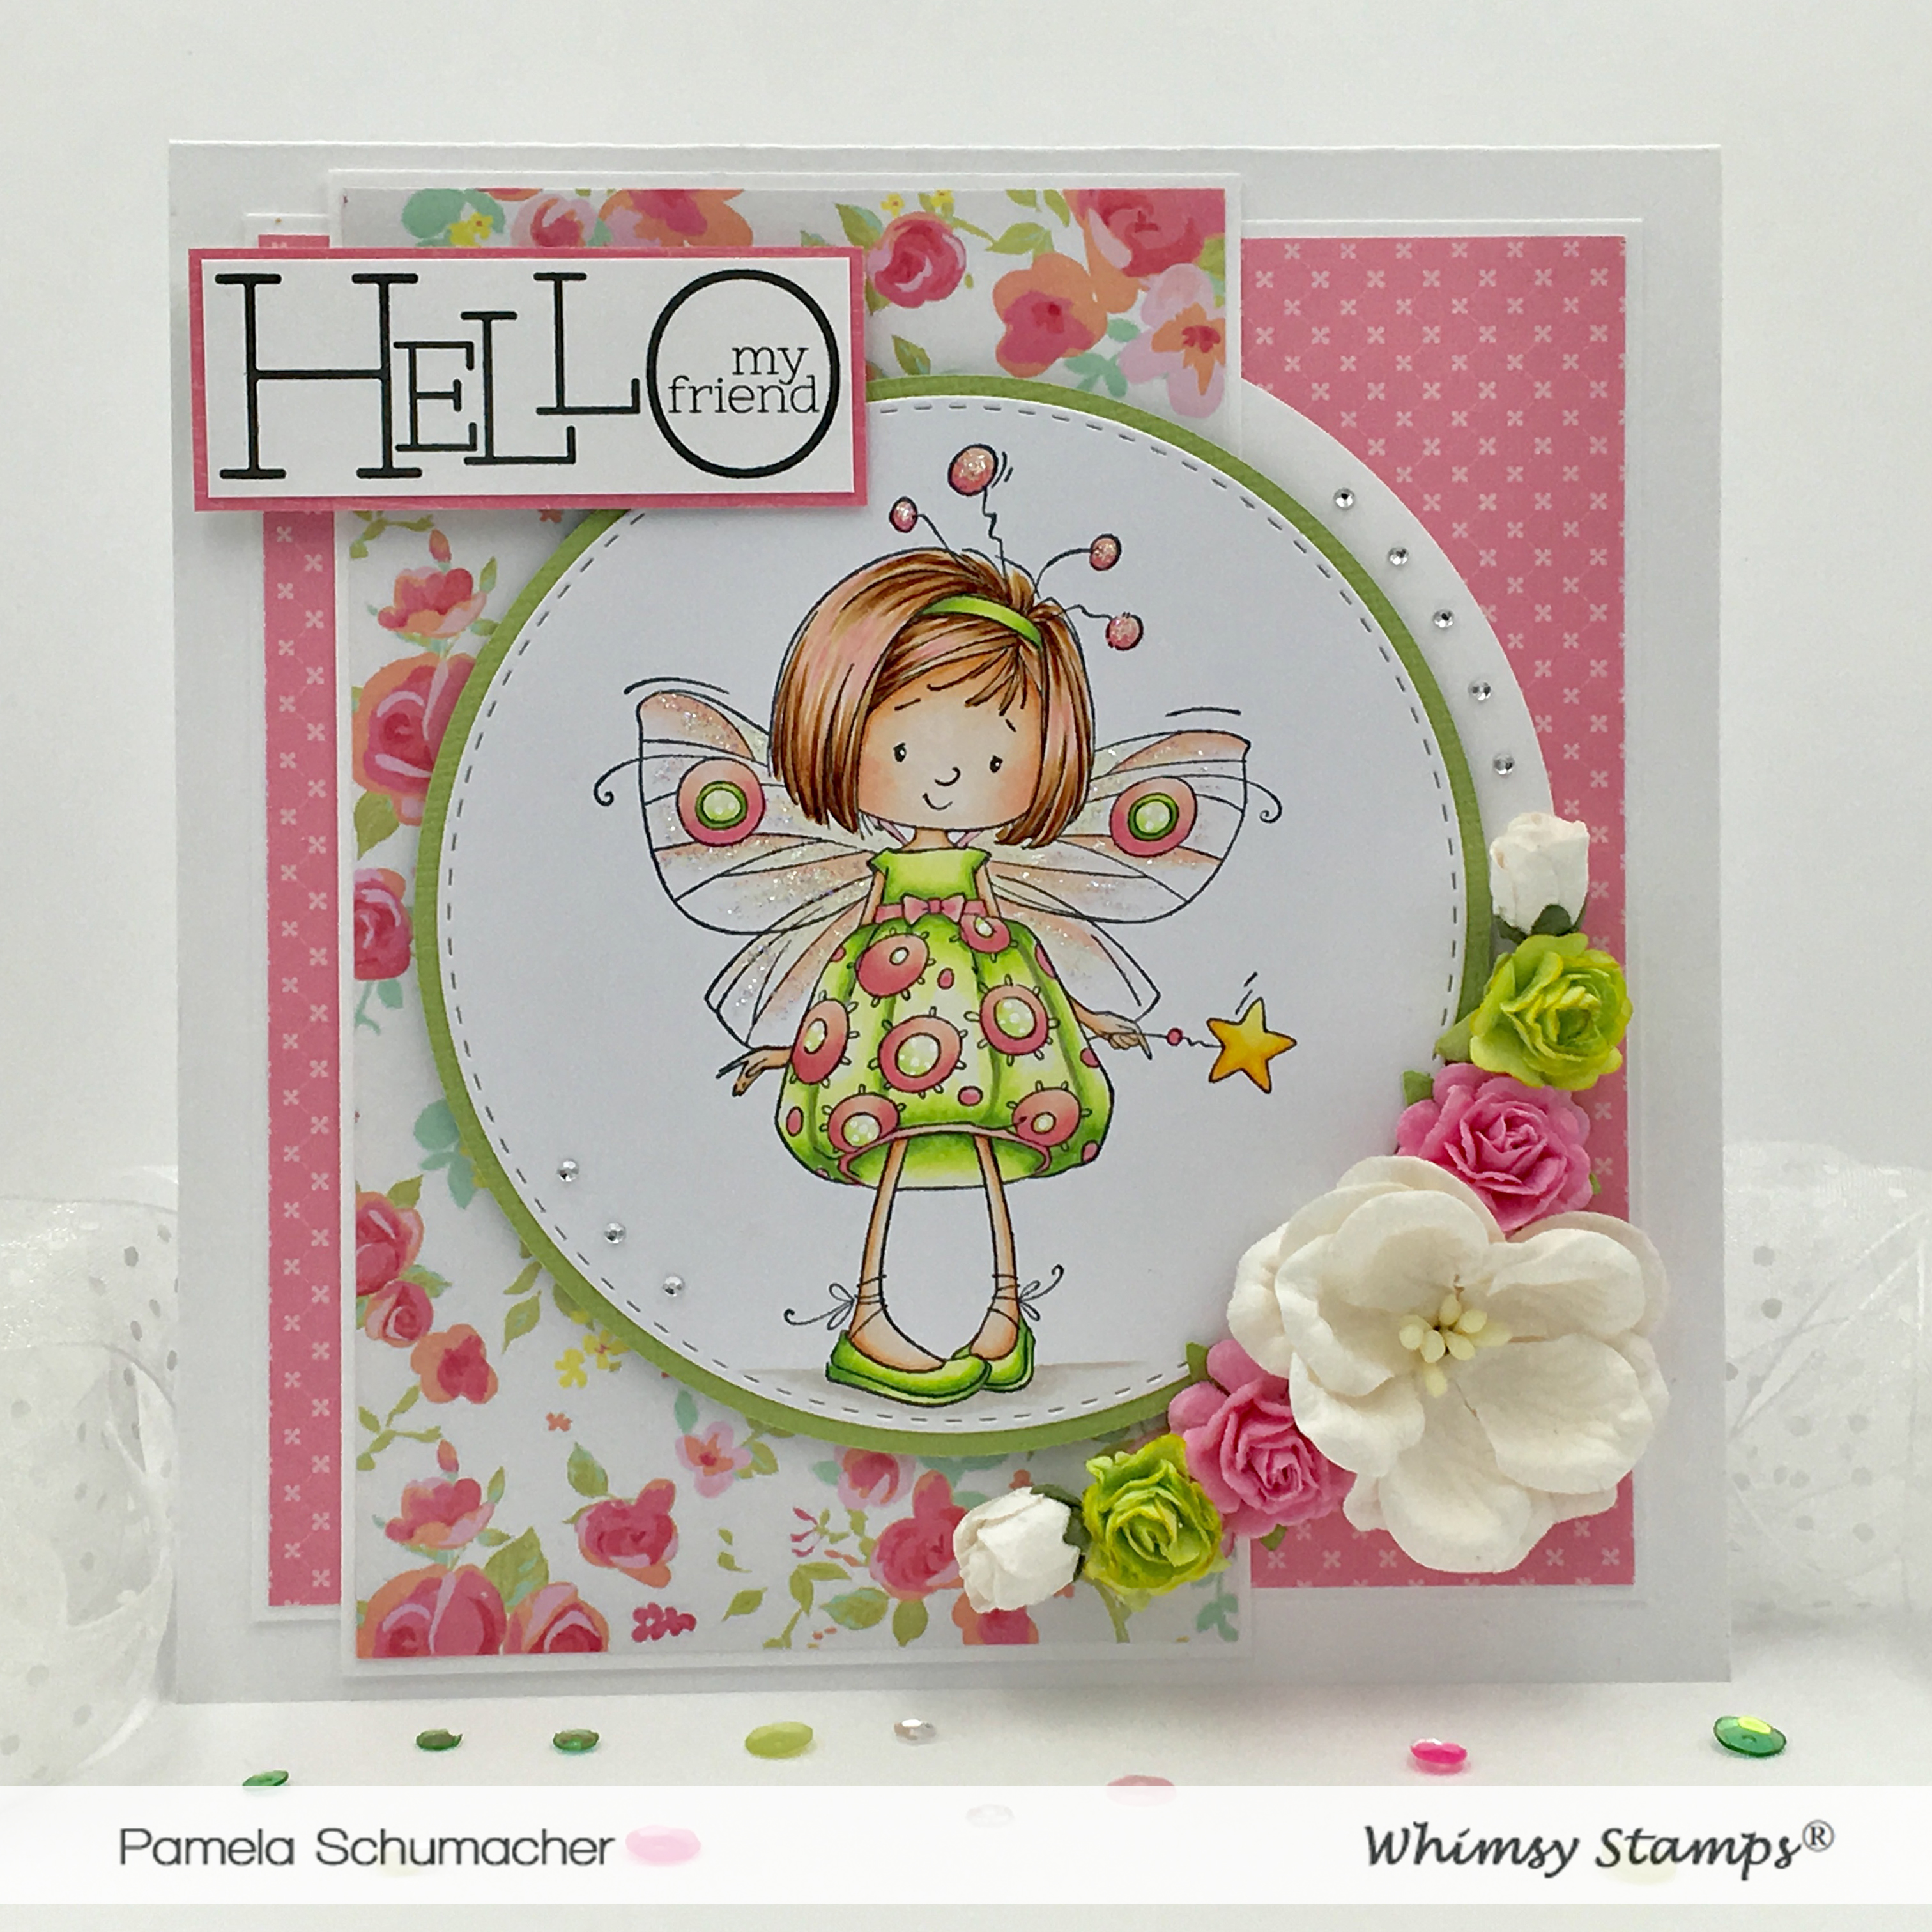
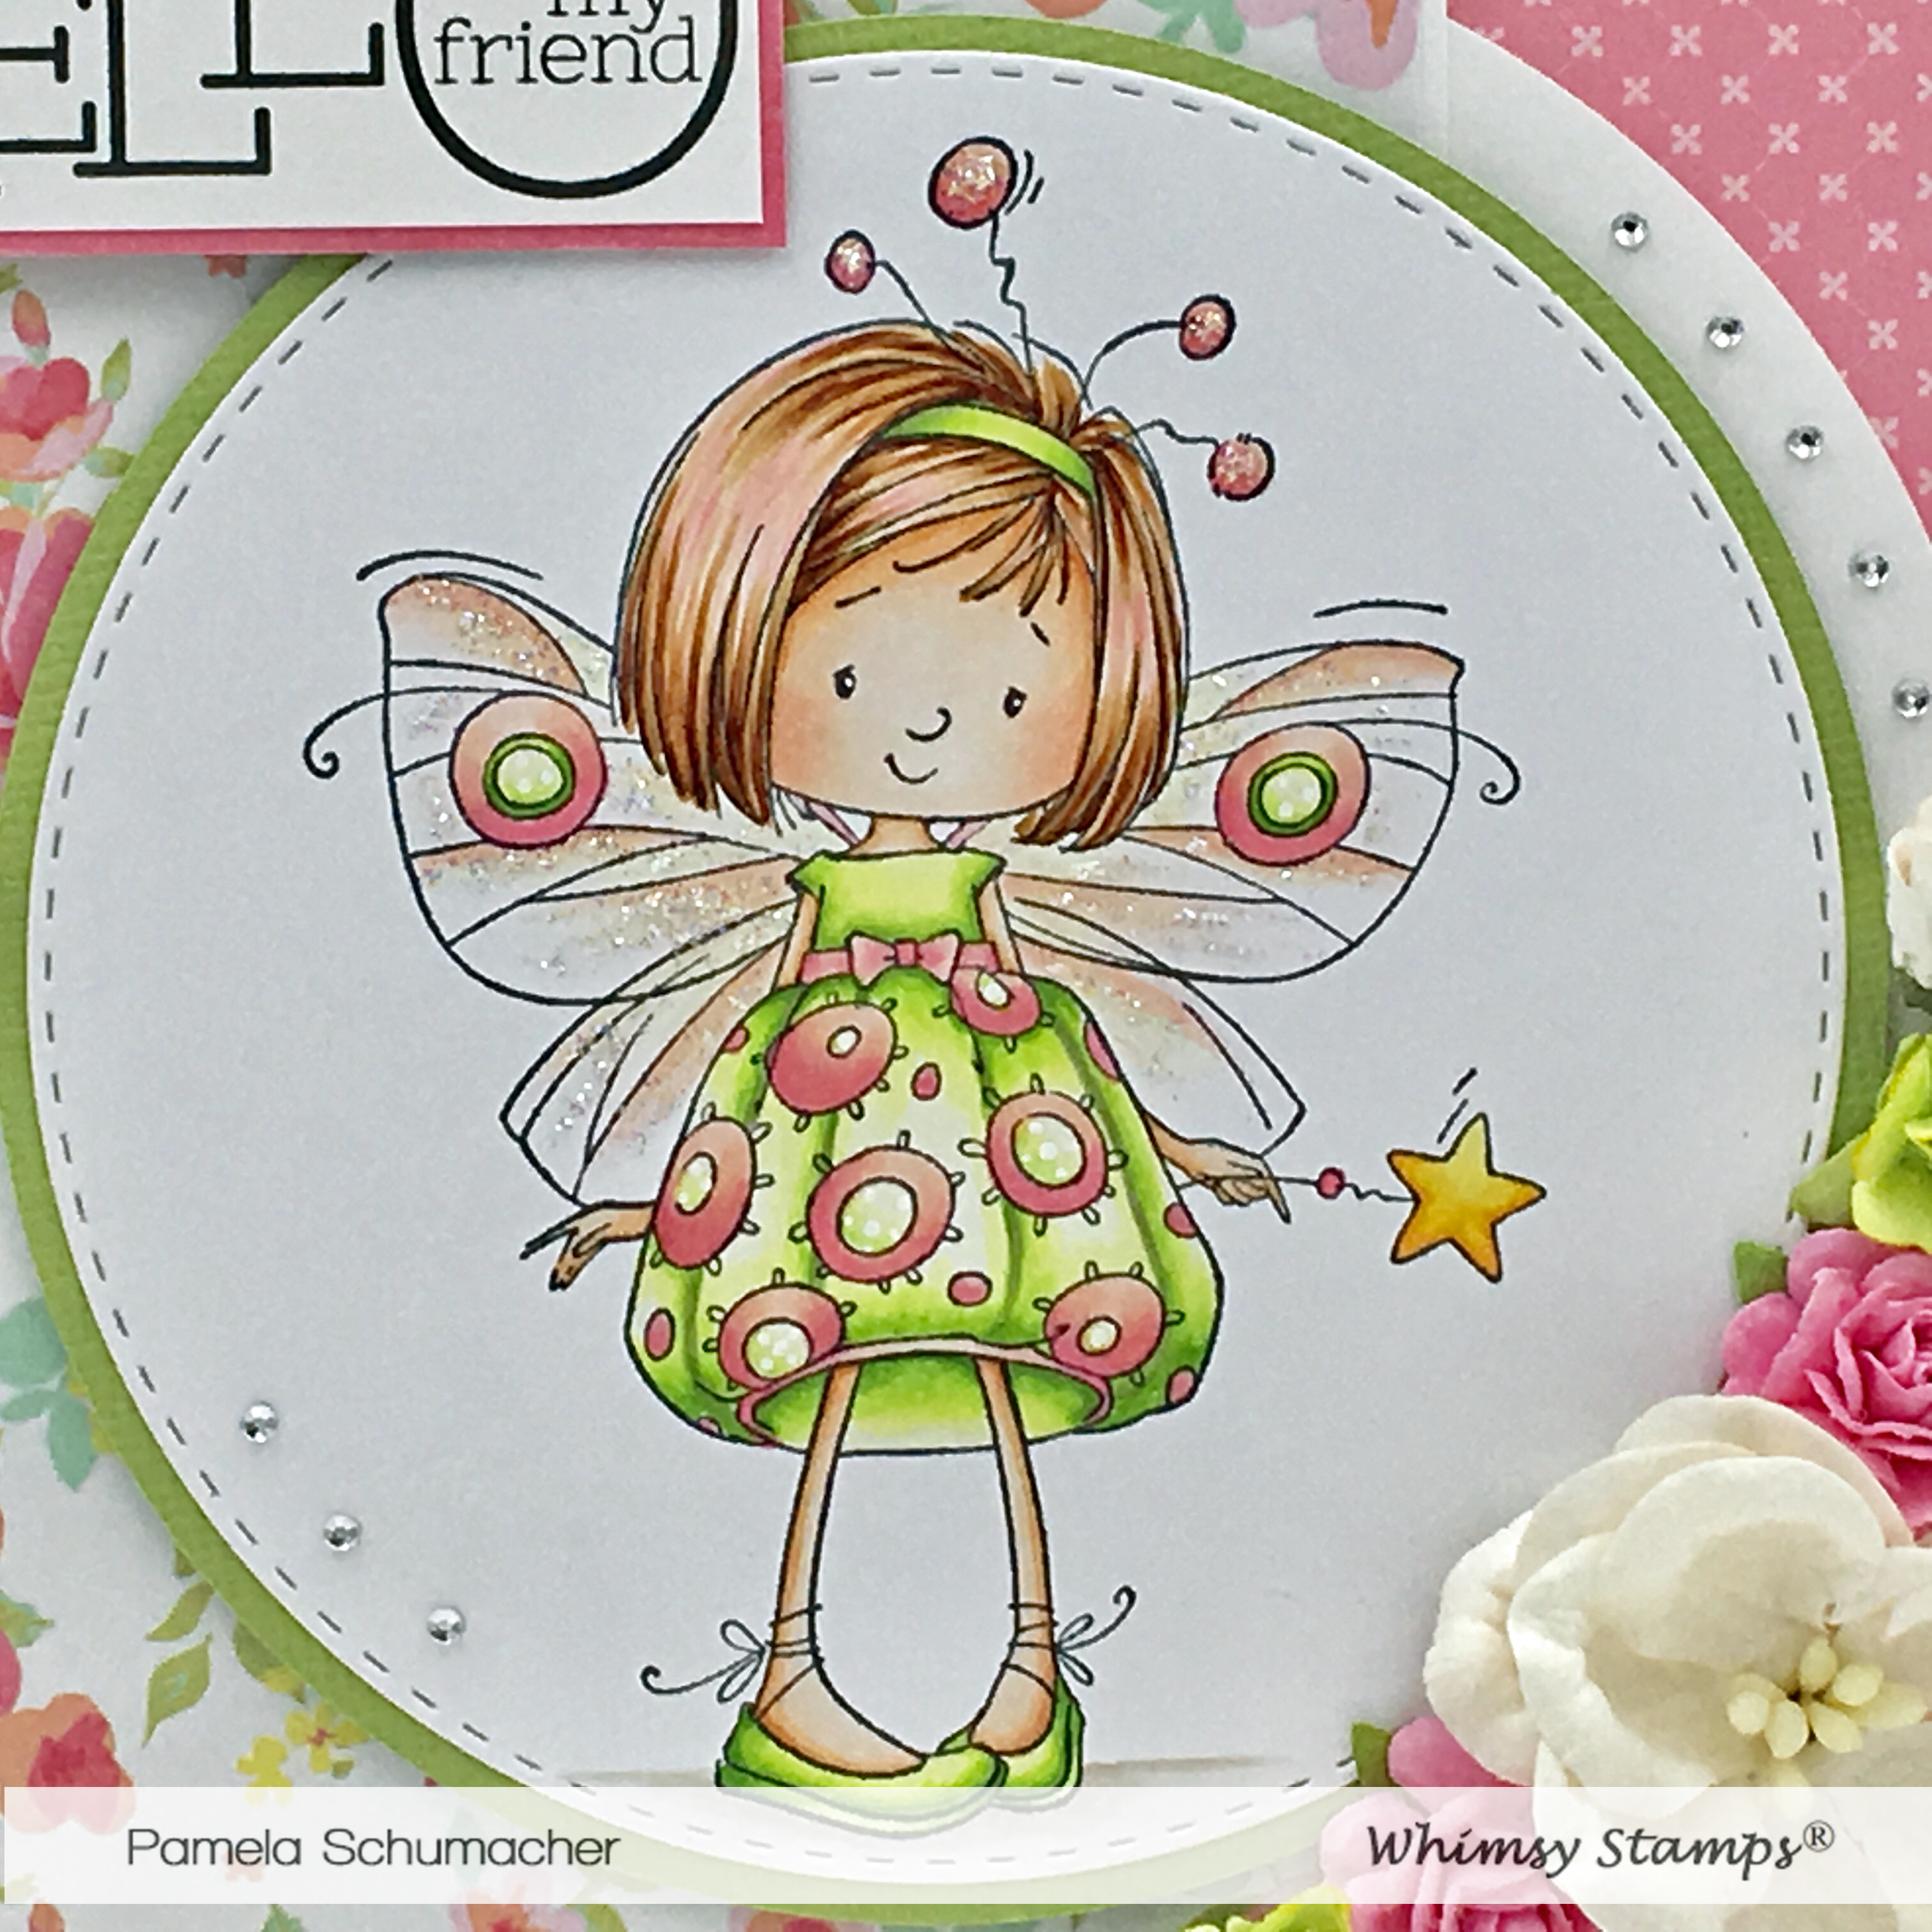
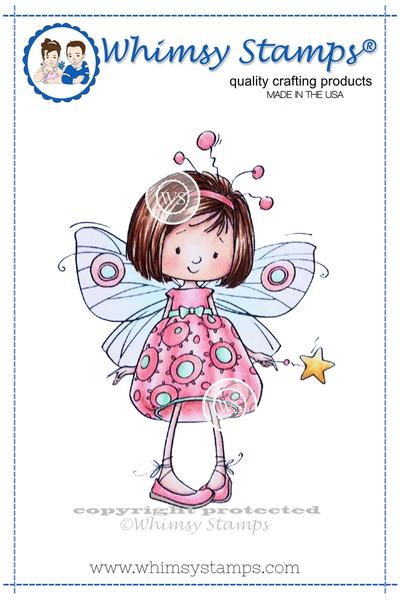
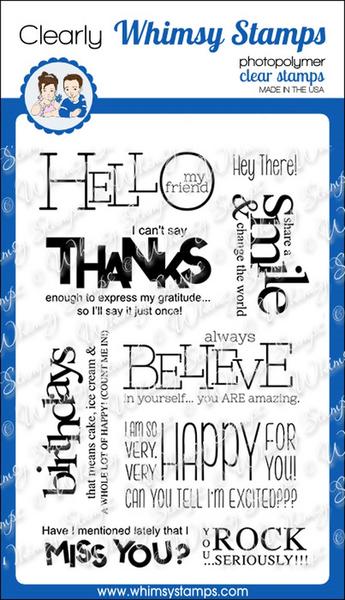
Hello friends! I'm back today to share another guest design project for Whimsy Stamps. I have really enjoyed playing with their super cute stamps and had a lot of fun creating with them. For this card, I used the super adorable "Mazarine Butterfly Fairy" rubber cling stamp, and a sentiment from the "Bold Statements" clear stamp set. Something about Fairies and pink...for me they naturally go together, and it helps that she is such a sweet image to work with.

  hello my friend

~Copics~ Skin: E11/21/00/000/0000-R20/30/00 Hair: E57/55/53/50/RV13/11 Dress & Wings: YG25/03/01/00/0000/T3 - RV13/11/01/00/000 Star: Y38/17/15/11

hello my friend1 

  Thanks so much for joining me today! Happy crafting!! ~ Pam xx
~Whimsy Stamps~

mazarine butterfly fairy bold statements clear stamps

~ Whimsy Stamp's New Release is Shining Bright ~

Meet Whimsy Stamp's newest angel, Celeste, designed by Marina Fedotova.  Isn't she darling?!  I thought this sentiment from the Shine Bright Clear Stamp Set was perfect to put with her.. If you don't have this set yet, you need it!  It is full of awesome sentiments for so many different occasions.


Since the Sparkletz Winter Wishes Jewels are a soft lilac and transparent, I was able to color on the back of them with my BV04 Copic Marker to get the jewels to really stand out and match her gown.  I took one of the Envelope Edger Dies and trimmed the scallops to fit at the bottom of the image layer.  I think this adds delicacy to this sweet card.  


Celeste looks so angelic with her sparkly wings and surrounded by Sparkletz's Crystal Stars.


Happy Stamping~

~ Nicolette ~

Christmas Sprite - Special Guest - Heidi Jakobs


Christmas Sprite in three different mediums


Hi everyone, Heidi here, today I’m showing you my second project as a guest designer for Whimsy Stamps. In today’s project I would like to show you one gorgeous Christmas Sprite stamp coloured three times in three different mediums, so that you can pick and choose which one fits your supplies or style best!


For my first card I choose to colour the gorgeous “ChristmasSprite“ image using Copic Markers. You can use any alcohol markers you have of course. I stamped the image onto Copic friendly paper using Memento “Tuxedo Black“ ink and let her sit for a while, so that the ink can dry completely, before I started colouring.

Then I coloured the image using the following Copic colours: Y000, Y26, Y04, YR18, YR21, E000, R00, R01, W1, W3, R29, R39, E07, RV52, RV55, RV19, V17, E39, G40, YG17, YG67, YG97 and B0000. When the colouring was done I added back in some highlights using a white Gelly Roll Pen.
On the wings I added some “Diamond“ Stickles using a brush (wash the brush afterwards) for an extra magical look!


I choose for a round card base which I created by die cutting a circle shape from a square white linen textured card base (make sure that the part where the die is sticking out has the fold).
Then I die cut a slightly smaller circle shape from some matching orange coloured mirror card stock and then I die cut around the coloured image using an even smaller circle die.
On this last panel I stamped one of the sentiments from the “You’re My Jolly“ stamp set using the same black ink as before.

Now I can finish my card by adhering the coloured image on top of the orange circle using liquid glue and then adhering these combined layers onto the circle shaped card base using one millimetre thick foam tape.


For my second card I choose watercolour pencils as my colouring medium. I stamped the same  “Christmas Sprite“ image onto fairly smooth watercolour paper using Versafine “Onyx Black“ ink and let the ink dry. Then I used a combination of Caran d‘Ache Museum Aquarelle and Faber-Castell Albrecht Dürer watercolour pencils and an aquabrush to colour the image.
From the Caran d’Ache line I used the following colours: CA350, CA010, CA036, CA065, CA599, CA661, CA004, CA249, CA719, CA245 and CA049.
From the Faber Castell line I used the following colours: FC19, FC125, FC132, FC189 and FC137.
I also added some “Diamond“ Stickles to the wings in the same way as I did for the first card.

(inse

Next I die cut a square around the coloured image leaving enough room on the top to ad my sentiment. As my sentiment I choose a combination of words from the “Everyday Scripted Sentiments“ stamp set, those I stamped on the top part of the panel using the same black ink that I used before.

To finish this second card I die cut a slightly larger square from some matching olive green card stock. I adhered both square panels together using liquid glue and then adhered these combined panels to a crème coloured linen textured card base using one millimetre thick foam tape.


And for today’s final card I choose regular coloured pencils as my colouring medium, but I decided to work on Strathmore “Toned Tan“ paper, for a different look. I stamped the sprite image onto this paper using Versafine “Onyx Black“ and then coloured the image with a combination of Faber Castell Polychromos and Prismacolor Premier (for the skin parts) coloured pencils and one Caran d‘Ache Luminance coloured pencil.
For my highlights I used the White pencil from Caran d‘Ache.
From the Faber Castell line I used: 271, 108, 283, 173, 168, 171, 188, 135, 119 and 250.
From the Prismacolor line I used: Crème, Beige, Light Peach, Peach and Salmon Pink.
And for this card I used some “Star Dust“ Stickles for her wings.


When the colouring was done I die cut a circle shape around the image using the same procedure as with my first card. I also added the sentiment from the “You’re My Jolly“ stamp set. For my slightly larger mat I choose a yellow orangy circle shaped die cut panel and put the card together on a crème coloured linen textured card base.

And that’s it for today’s trio of Christmas Sprite cards. I’m curious what your favourite medium is to colour with?

Thank you for having me as a guest designer, I had a blast while creating these projects for you!
I wish you a creative day and a fabulous time with friends and family during the Holidays!

*NEW Christmas Sprite Rubber Cling Stamp  Everyday Scripted Sentiments Clear Stamps

Angel Wishes - special guest - Dena Concienne

Hey there! I'm so happy to be a Guest Designer for Whimsy Stamps this month!  I love so many of their darling stamps.

For today, I couldn't resist creating with the Angel Wishes stamp by Marina Fedetova.  These sweet faces are irresistible!


I colored the angels on watercolor paper with distress inks using Fired Brick and Bundled Sage for the dresses, and shaded with a bit of Black Soot.  I used lots of stickles to give it the sparkly holiday feel.  The stitching was just an added touch.


Thank you so much, Whimsy Stamps, for having me as a Guest Designer, I had a blast getting back into my card making with this super cute stamp!

Stay tuned since I have one more cutie to share from Whimsy later today!

Thank you for stopping by today, I hope you all have a blessed Christmas!

Hugs, Dena
*NEW Angel Wishes Rubber Cling Stamp

Angel Wishes

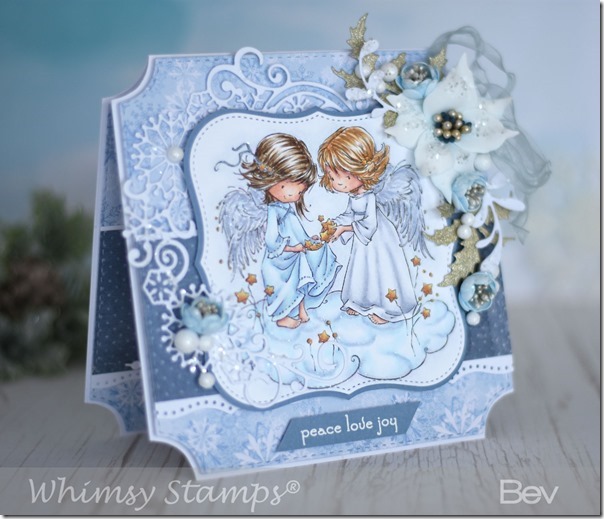
I sound like a broken record buuuuut, I really do adore the images by Marina Fedotova that Whimsy Stamps does.  Today’s card features Angel Wishes, you get a double dose of sweetness with this one.
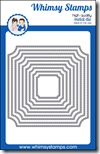
I used the fabulous Notched Squares Die Set for the card shape.  They really add the wow factor to a square card.


bev-rochester-whimsy-stamps-angel-wishes
   

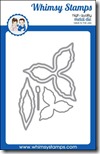
I made a simple poinsettia from foamiran and the Lily Flower Die Set.  The little blue flowers are also foamiran, I used an old blossom punch for these and glued 4 layers together before filling the centres with a whole bunch of platinum coloured stamens (I painted the stamens to get the colour I wanted).  I die cut some platinum glitter holly leaves and white mistletoe leaves from the Christmas Branches die set and finished off with some distressed organza ribbon and some wee polystyrene snowballs.


bev-rochester-whimsy-stamps-angel-wishes4


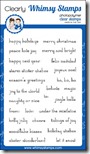
I finished off with a sentiment from my all time favourite Christmas sentiment stamp set – Holiday Mini Sentiments.  They just have every sentiment I could ever need and in the most perfect size too.  I don’t often make blue cards but I love how this one turned out.


bev-rochester-whimsy-stamps-angel-wishes2


Products used from Whimsy Stamps:


Angel_Wishes_COlor_display_1024x1024 holiday_mini_sentiments_online_1024x1024 notched square die set display Lily_Flower_Die_Set_large Christmas_Branch_die_set_display_large
 001_white_409779bf-8977-4109-821b-5bdf94435657_1024x1024 foamiran shaping tools Copic-Markers-1024x843 glamor-dust