Showing posts with label Scrapbooking. Show all posts

Special Guest - Marsha Farris


Hello, Whimsy fans!  Today we welcome the gifted Marsha Farris back to the blog.

Hey, friends! Marsha Farris here with you again today, sharing a traveler's notebook layout for my final guest design post for Whimsy Stamps.


I created this spread to document a photo with my two sons, taken on Mother's Day this year. I began the layout by adding stamped splatters to each page with the Distressed Backgrounds and Ink Splats Stamps and light gray ink. This stamp set makes creating mixed media backgrounds so quick and easy! Next, I trimmed two strips of patterned paper from the Starring Hearts 6x6 Paper Pack and adhered them to the top of both pages. I did a bit more stamping at the top and bottom of the pages with the Get In Line Stamps using black and light gray ink. Next, I layered a few patterned papers from the same paper pack behind the photo. 


I typed my journaling, trimmed it into strips, and added it below the photo. I also trimmed out a few triangle pieces from a patterned paper and added them to the page. I love the pop of yellow this provides!


Using the Happy Large Word Die and a few patterned papers, I cut out the word "happy" three times to serve as a portion of the title. I completed the title with puffy gray letter stickers. 


Thank you, Whimsy Stamps, for having me as a guest designer! I have enjoyed creating with these amazing products! 

Thank you, Marsha, for this wonderful inspiration!  
To see more of Marsha's work, be sure to visit her blog and Instagram account.


Special Guest - Marsha Farris


Hi, Whimsy fans!  Today we welcome the uber-talented Marsha Farris to the blog!

Hey, friends! I'm excited to be with you today, sharing a traveler's notebook album layout for my first guest design post for Whimsy Stamps!


I created this spread to document my little niece's favorite birthday gift. I began by trimming two pieces of white cardstock to fit as full pages in my album. I added splatters to each page using black acrylic paint and a paintbrush. I chose a watercolor floral patterned paper from the Fabulous Florals Paper Pack and cut out several gorgeous flowers and flower clusters. Next, I trimmed a black and white striped paper from the same paper pack on the diagonal and cut it into a few strips, allowing space to tuck the fussy cut flowers.

I used another striped paper to back my photo and trimmed it into a tag shape. Tags are always a favorite, so I could not resist including one on the layout!  


Using the Happy Large Word Die and black cardstock, I cut out the word "happy" to serve as a portion of the title. I completed the title with the Cross-Stitched Sentiments Stamp. Then, I did more stamping above the photo with the same stamp set and black ink.


I love how my layout turned out using Whimsy Stamps products!

Thank you so much for stopping by today! I will see you again soon with more inspiration!


Special Guest - Lacey Robin

Hello, Whimsy friends!  Today we welcome Lacey Robin back to the blog. 


 I created this mighty layout for my final guest design spot with Whimsy Stamps! I started out by using a tag die to create a row of stacked tags out of all the fun patterned papers in the 6X6 Comics paper pack and finished them off with some twine. 


I layered them on top of a Vicki Boutin, pre-made background paper. 


I also fussy cut some of the icons and popped them up using foam adhesive. 


Lastly I finished off my title with the Awesome Large Word Die.

Thank you Whimsy Stamps for having me! I have enjoyed my time designing with these amazing products. 


Thank you, Lacey, for this amazing inspiration!


Special Guest - Lacey Robin


Hello, Whimsy friends!  
You are in for a real treat because today we have the lovely Lacey Robin on the blog!


Hi, Whimsy fans!  I created this amazing LSU themed layout for my first guest design spot with Whimsy Stamps! 


I started out by using the Tiger Stripes Stencil with a combination of Distress Oxides in Mustard Seed, Wild Honey, Blueprint Sketch and Seedless Preserves to make an ombré blend for my background. I also added splatters of the same inks.

I used the Starring Hearts Paper for some of my paper strips and finished off my title with the Awesome Large Word Die. 

Thanks, Lacey, for this awesome inspiration!  Those tiger stripes are so cool and perfect for LSU fans!

To see more of Lacey's work, be sure to check her out on Instagram.


Tuesday Tutorial with Andrea: Ugh! Drama Queen Scrapbooking Layout

Hi, Whimsy friends!  It's Andrea with you today sharing a fun scrapbook layout.  I confess that this post isn't really a tutorial as we all know how to use circle dies, am I right?


This page was inspired by one I saw on Instagram by the uber-talented Erica Thompson (Incidentally, Erica was a guest for Whimsy's National Scrapbooking Day Instagram Hop back in May).  I love a good grid, and Whimsy's Pierced and Stitched Circles Dies made recreating Erica's layout super easy!

I die-cut my circles from papers I had selected from two paper packs: Starring Hearts (one of my all-time, Whimsy favorites!) and the Slimline Black and White Cat Prints.  I even cut my photos with the dies!


After layering the circles, I adhered them to white cardstock, which I had trimmed and matted on black.  I first marked the center of the page and used my T-square ruler to (try to) get the circles in straight lines.  I popped up some of the circles with foam tape and affixed the rest flush to the page.


The Thinking of Mew stamp set was perfect for embellishing some of the circles.  I stamped two of the kitties and colored them with Copics.  To color the images, I used W00, W1, W3, W5, W7, W9, E53, E55, E35, R11, and R20.  I cut out the images with the coordinating dies and adhered them with foam squares.  I also stamped a sentiment from Thinking of Mew and added it to a circle with dimensional adhesive.

With the Puppy Paws Dies, I die-cut paws and hearts from several colors of cardstock and adhered them to the layout.  


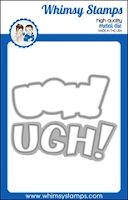
The UGH! Word and Shadow Dies gave me the perfect title for this page!  After adhering the layers together, I affixed the title with foam squares.

To draw attention to my photos, I added words cut with the Kitty Cat Extras Dies.  I die-cut each word twice and offset them slightly before attaching them to my photos.

I just love those sweet paws from the Puppy Paws Dies!  The one above I adhered to a vellum circle before attaching it to my layout with foam.  That heart just makes the paw even sweeter!

Thanks for stopping by!


*Affiliate links used at no cost to you.


Special Guest - Brianna Lepper


Hello, Whimsy friends!  Today we welcome the fabulous Brianna Lepper back with her second scrapbook layout!

~~~

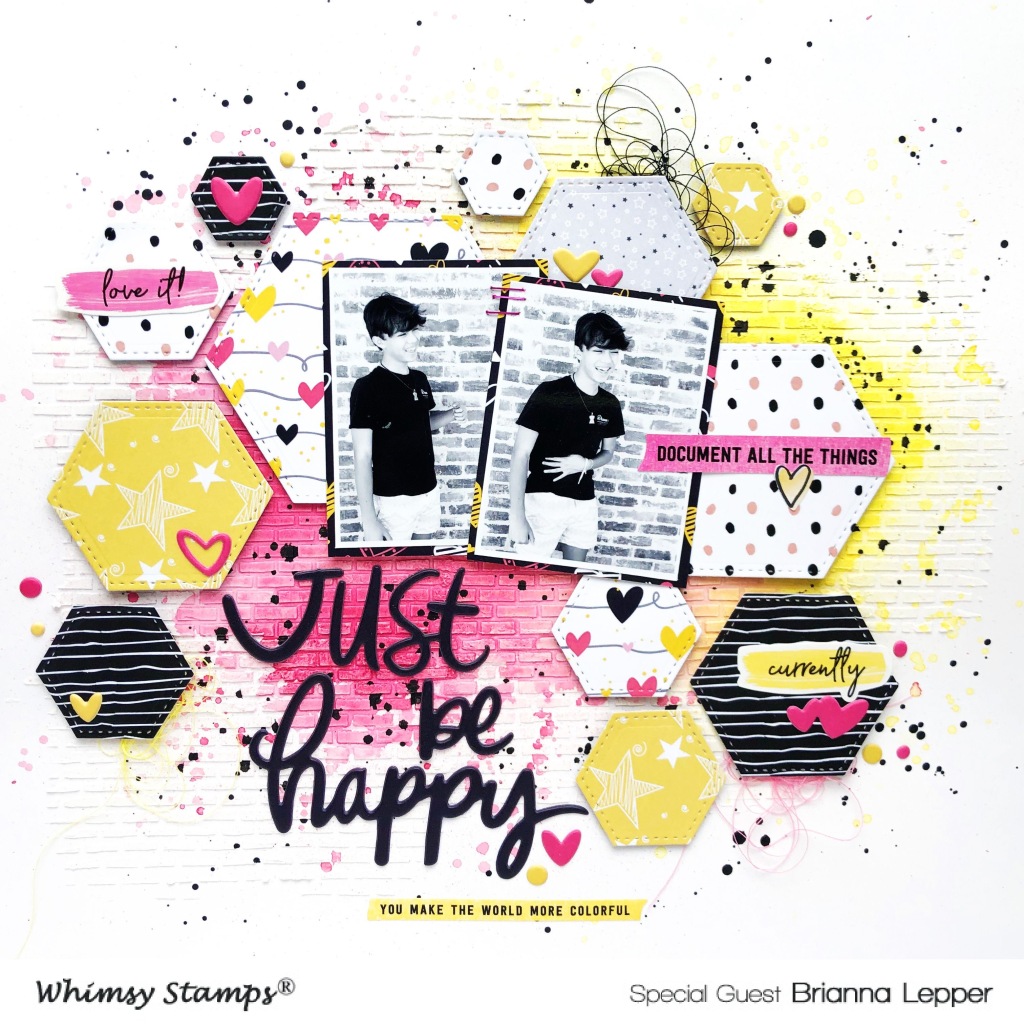
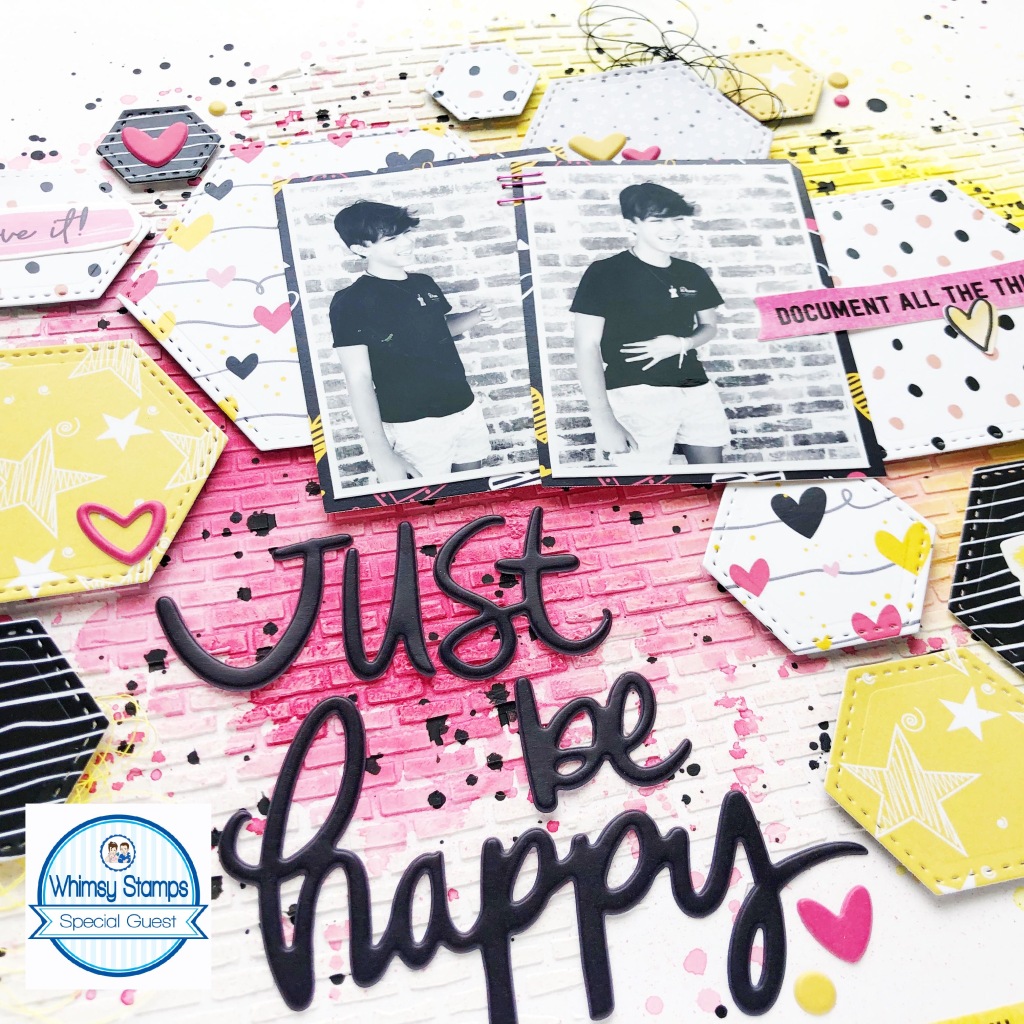
Hey friends! I'm back today sharing my last layout as the June Guest Designer for Whimsy Stamps! I'm super grateful for this wonderful opportunity to work with their amazing products! Thank you again for having me! Here's my layout:


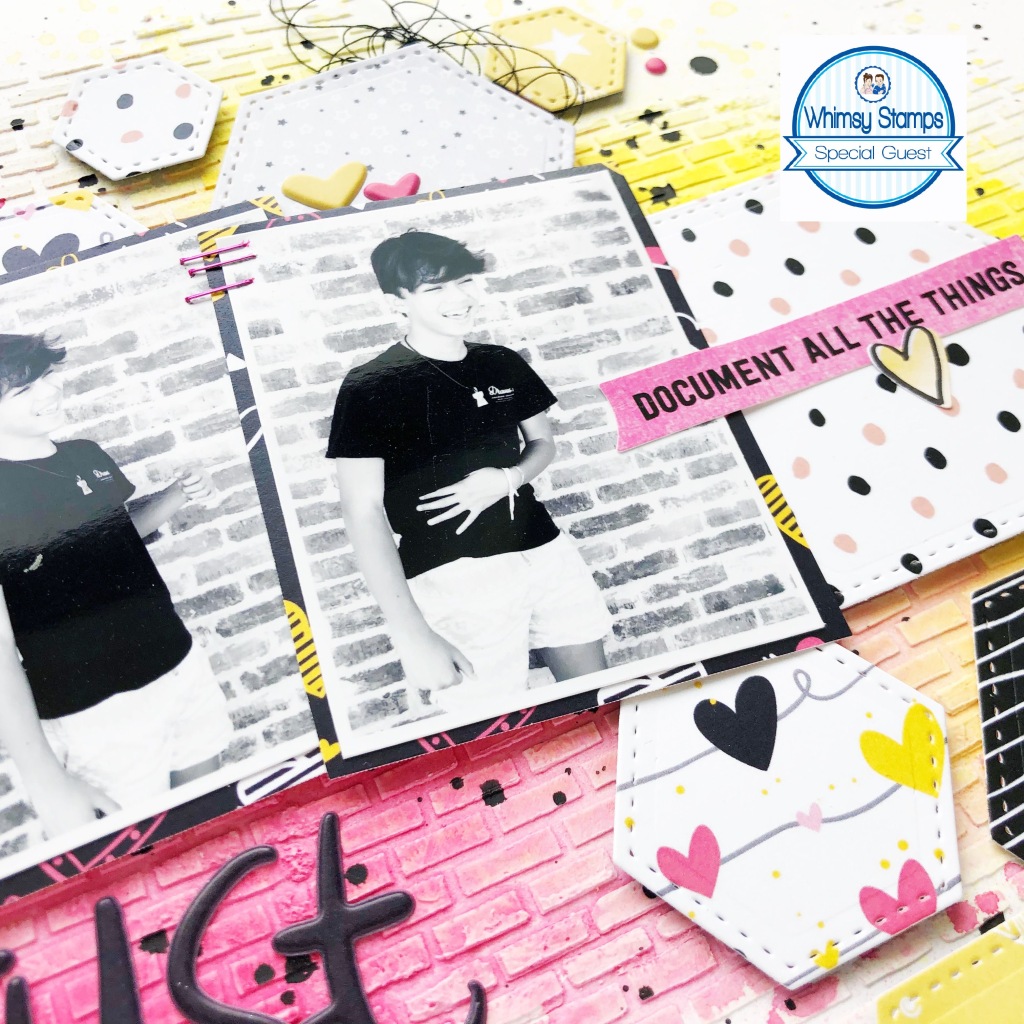
I've had these photos of my son that I had taken in front of the brick wall on our house and knew that they would go perfectly with the 6x6 Brick Pattern Stencil. So, I chose a piece of thick white cardstock as my base and pushed some white modeling paste through that stencil. Once it was finished drying, I took some Shimmerz Paints from my stash and sprayed some pinks and yellows right on top. I also added in some black splatters as well. The texture and dimension are just amazing!!!!


I went with pink, yellow and black as my mixed media colors because it matched the Starring Hearts 6x6 Paper Pack. I ended up picking a few of the patterned papers and die cut them several times using the Nested Hexagon Die Set. Who doesn't love a good hexagon shape? And they look fabulous on top of that brick pattern too!


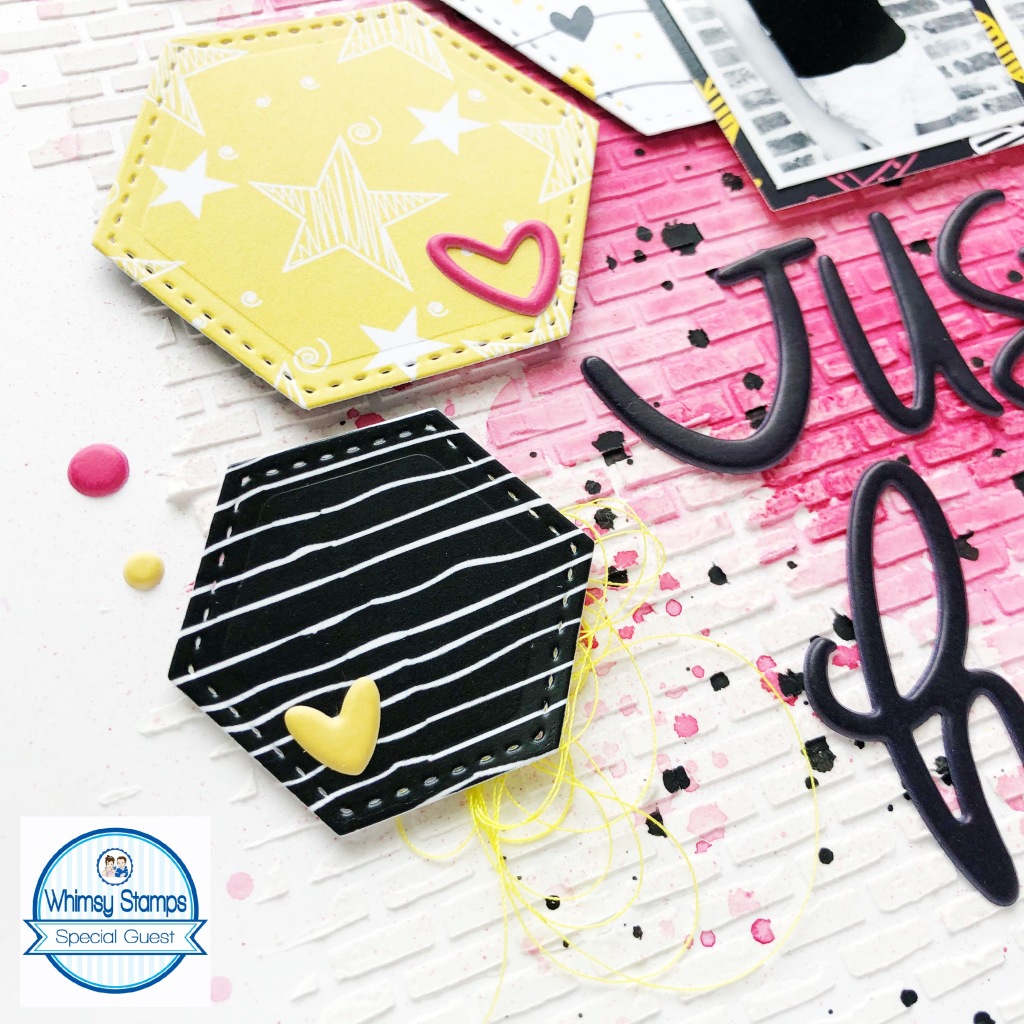
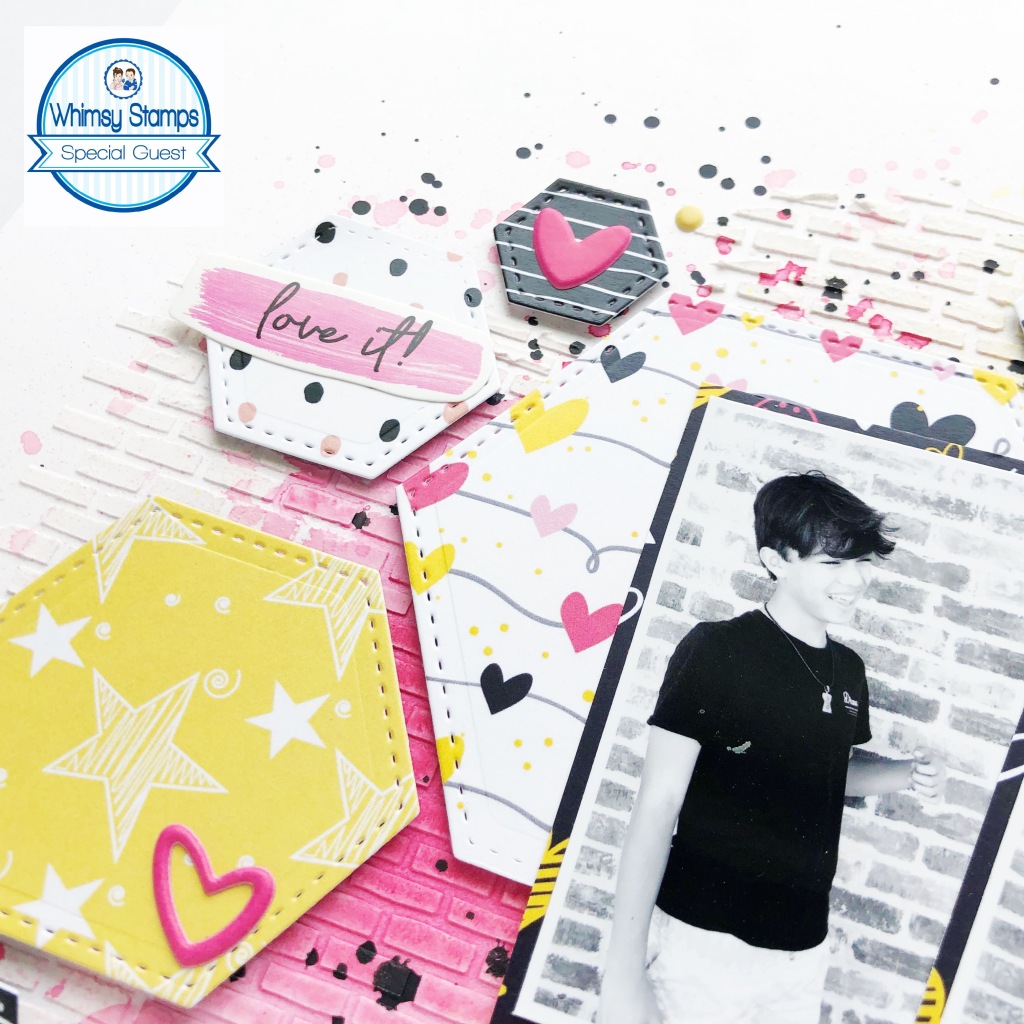
I love the stitched marks! It totally adds so much more interest to each die cut. Next, I popped each hexagon on foam tape and arranged them on my background. I matted my photos using another piece of patterned paper and adhered them directly onto the hexagons.


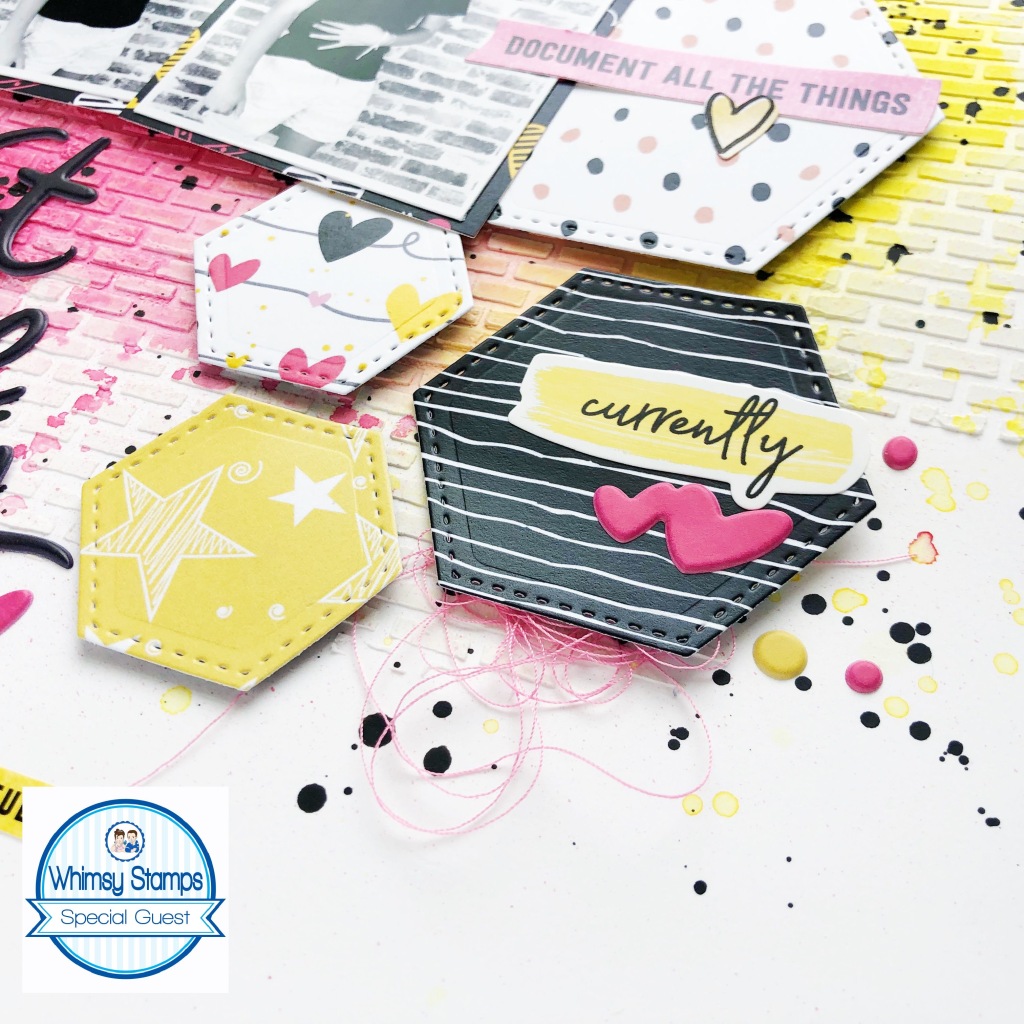
Since my mixed media background and all of the large hexagons were already pretty busy on my page, I didn't embellish too heavily. I pulled in some Vicki Boutin Color Study puffy phrase stickers as my title and also added in a few other stickers but that was it!


I love adding additional pops of color using some tangled thread.


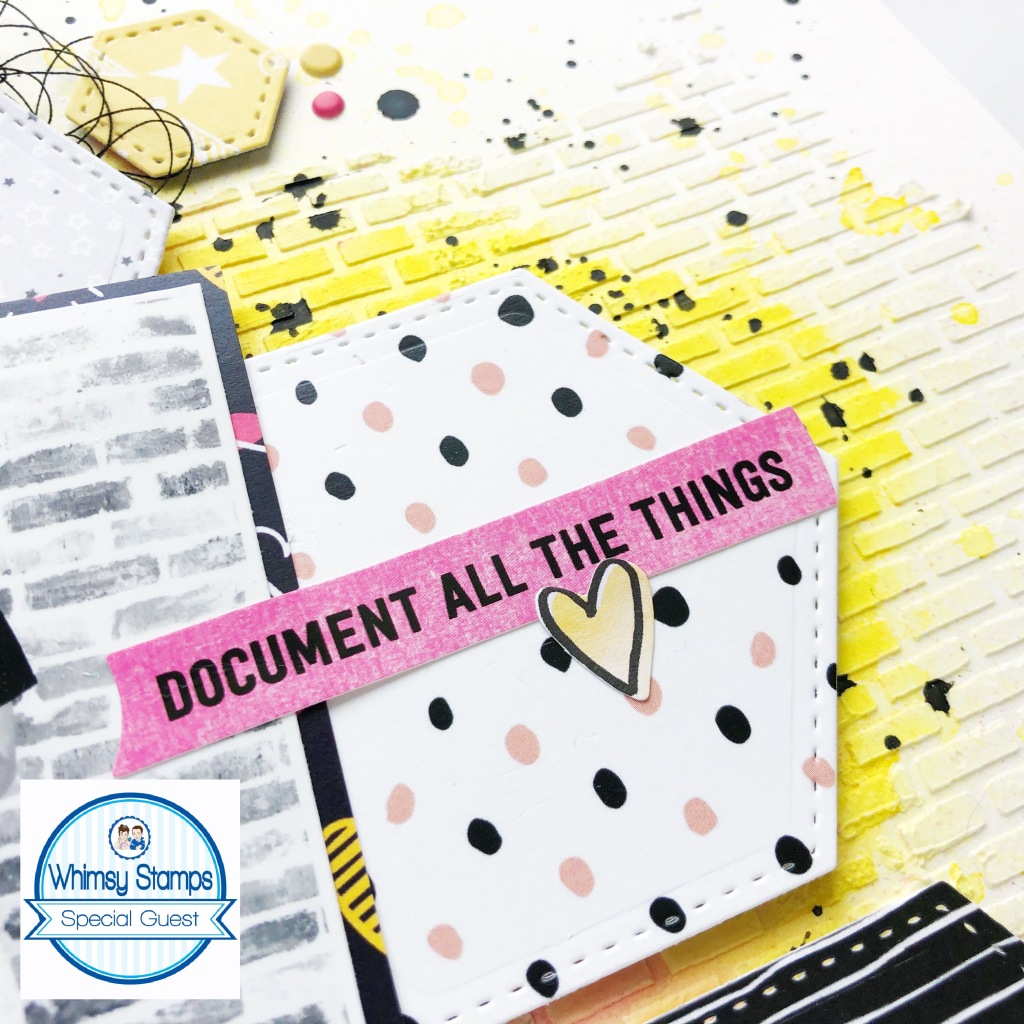
Here's another up close shot of all of that gorgeous texture and dimension. I am loving the yellow with the pops of black.


I had so much fun with this layout and really enjoyed working with the Whimsy dies, stencil and patterned papers! It's a simple layout that just really packs a nice punch!


Thank you so much for stopping by today and I hope that I've inspired you in some way! Another big "Thank You!" to Whimsy Stamps for having me, I just love your products and had so much fun creating with them. Cheers friends!

~~~

Thank you, Brianna, for this gorgeous inspiration!!

To see more of Brianna's work, be sure to visit her blog and YouTube channel!