
Showing posts with label Brick Pattern Stencil. Show all posts

Special Guest - Brianna Lepper


Hello, Whimsy friends!  Today we welcome the fabulous Brianna Lepper back with her second scrapbook layout!

~~~

Hey friends! I'm back today sharing my last layout as the June Guest Designer for Whimsy Stamps! I'm super grateful for this wonderful opportunity to work with their amazing products! Thank you again for having me! Here's my layout:
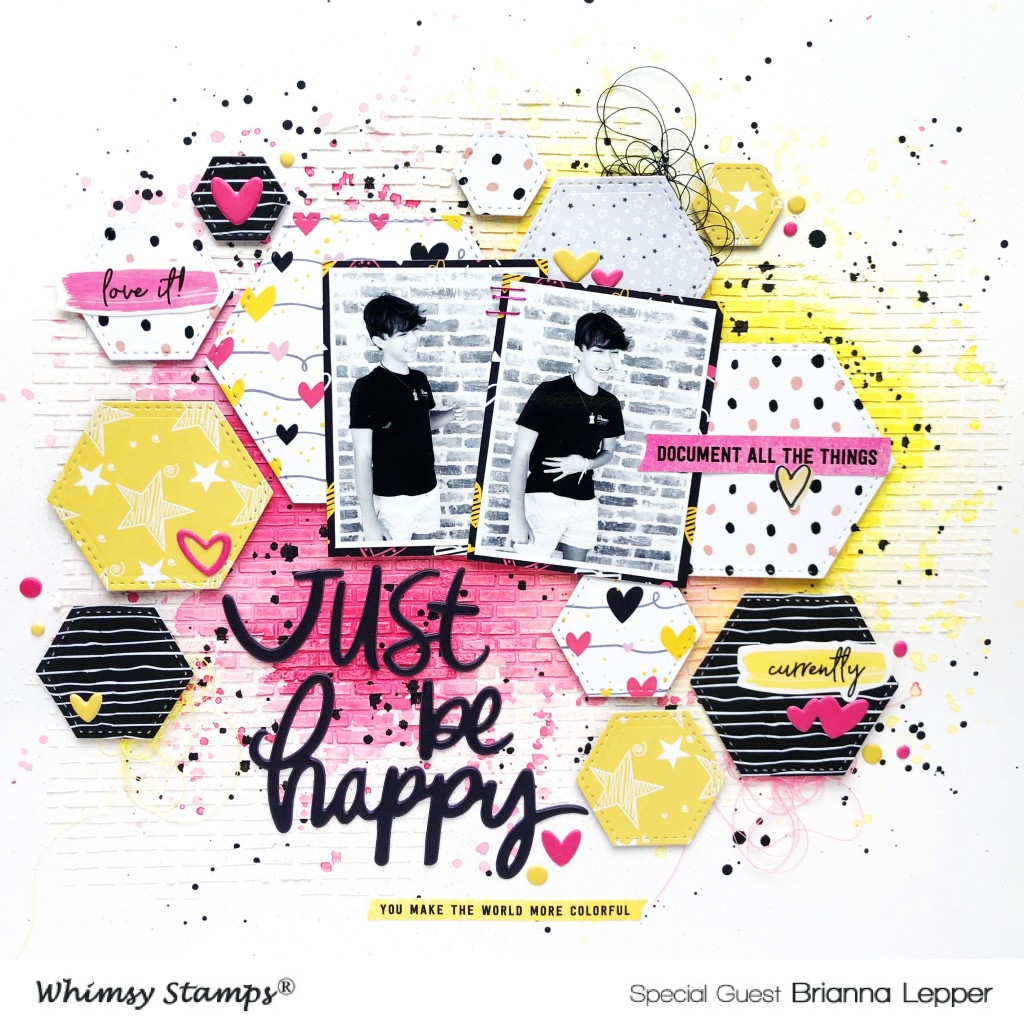


I've had these photos of my son that I had taken in front of the brick wall on our house and knew that they would go perfectly with the 6x6 Brick Pattern Stencil. So, I chose a piece of thick white cardstock as my base and pushed some white modeling paste through that stencil. Once it was finished drying, I took some Shimmerz Paints from my stash and sprayed some pinks and yellows right on top. I also added in some black splatters as well. The texture and dimension are just amazing!!!!



I went with pink, yellow and black as my mixed media colors because it matched the Starring Hearts 6x6 Paper Pack. I ended up picking a few of the patterned papers and die cut them several times using the Nested Hexagon Die Set. Who doesn't love a good hexagon shape? And they look fabulous on top of that brick pattern too!
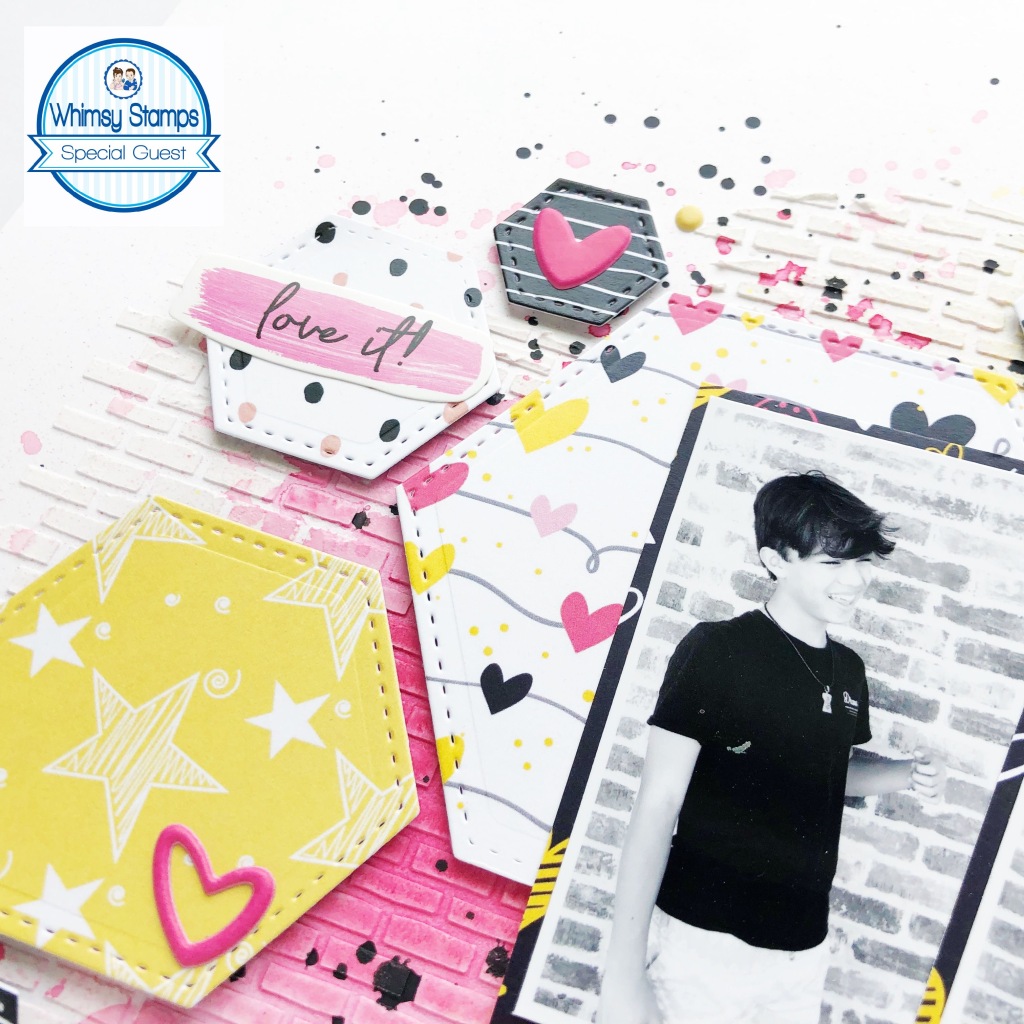


I love the stitched marks! It totally adds so much more interest to each die cut. Next, I popped each hexagon on foam tape and arranged them on my background. I matted my photos using another piece of patterned paper and adhered them directly onto the hexagons.
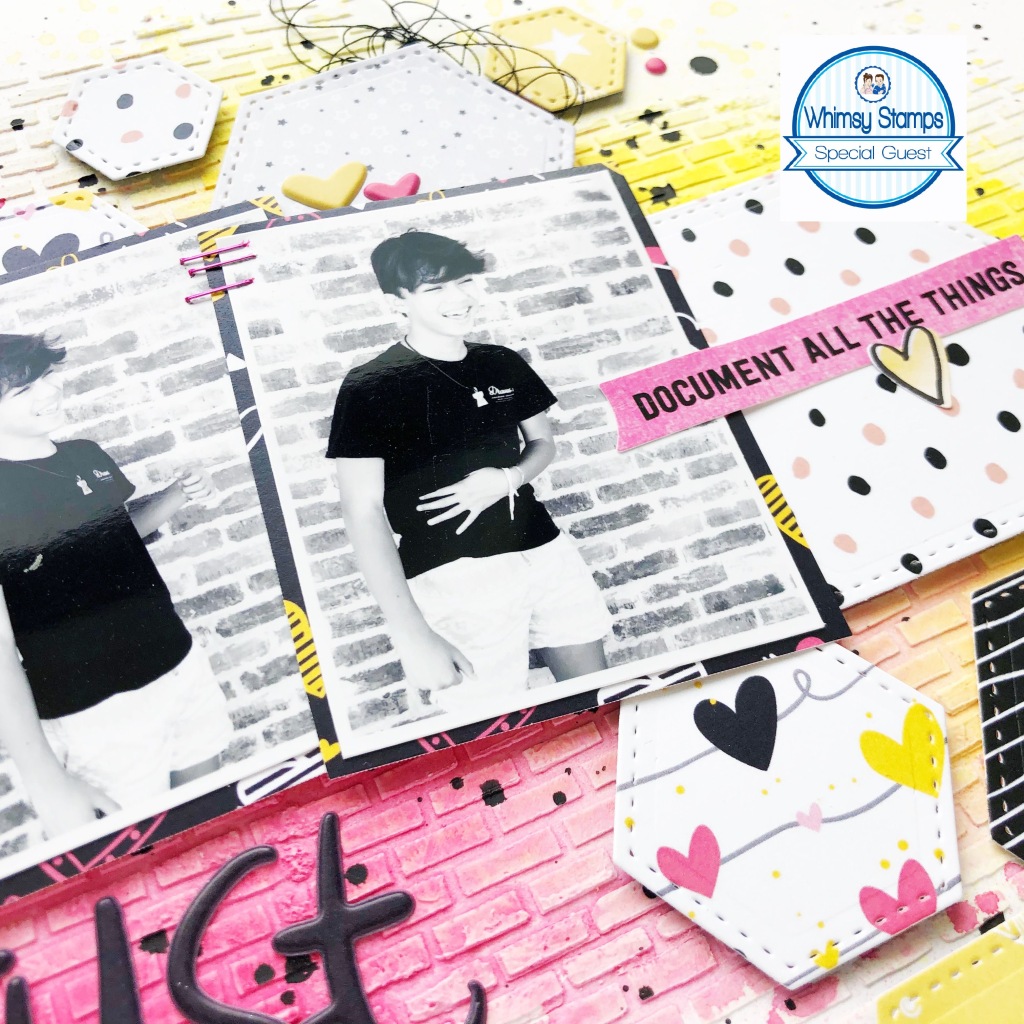


Since my mixed media background and all of the large hexagons were already pretty busy on my page, I didn't embellish too heavily. I pulled in some Vicki Boutin Color Study puffy phrase stickers as my title and also added in a few other stickers but that was it!
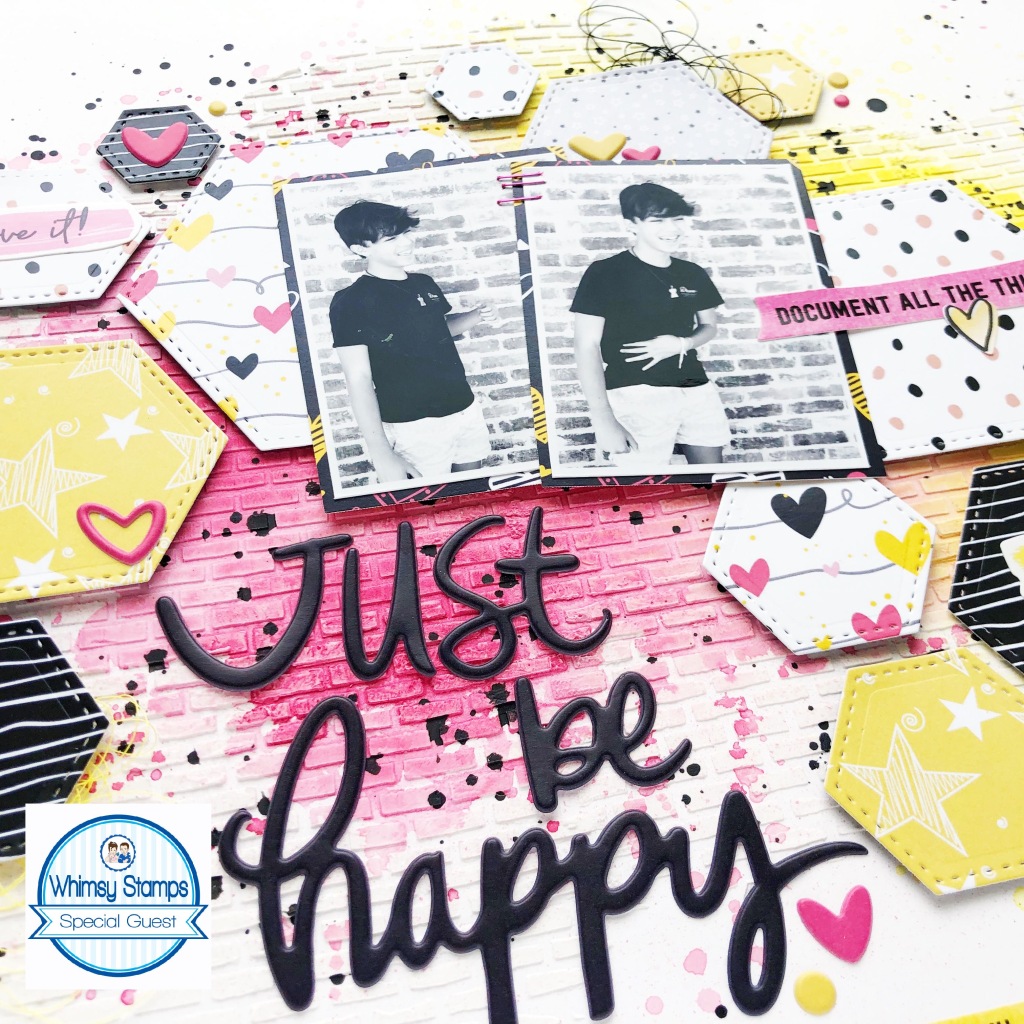


I love adding additional pops of color using some tangled thread.
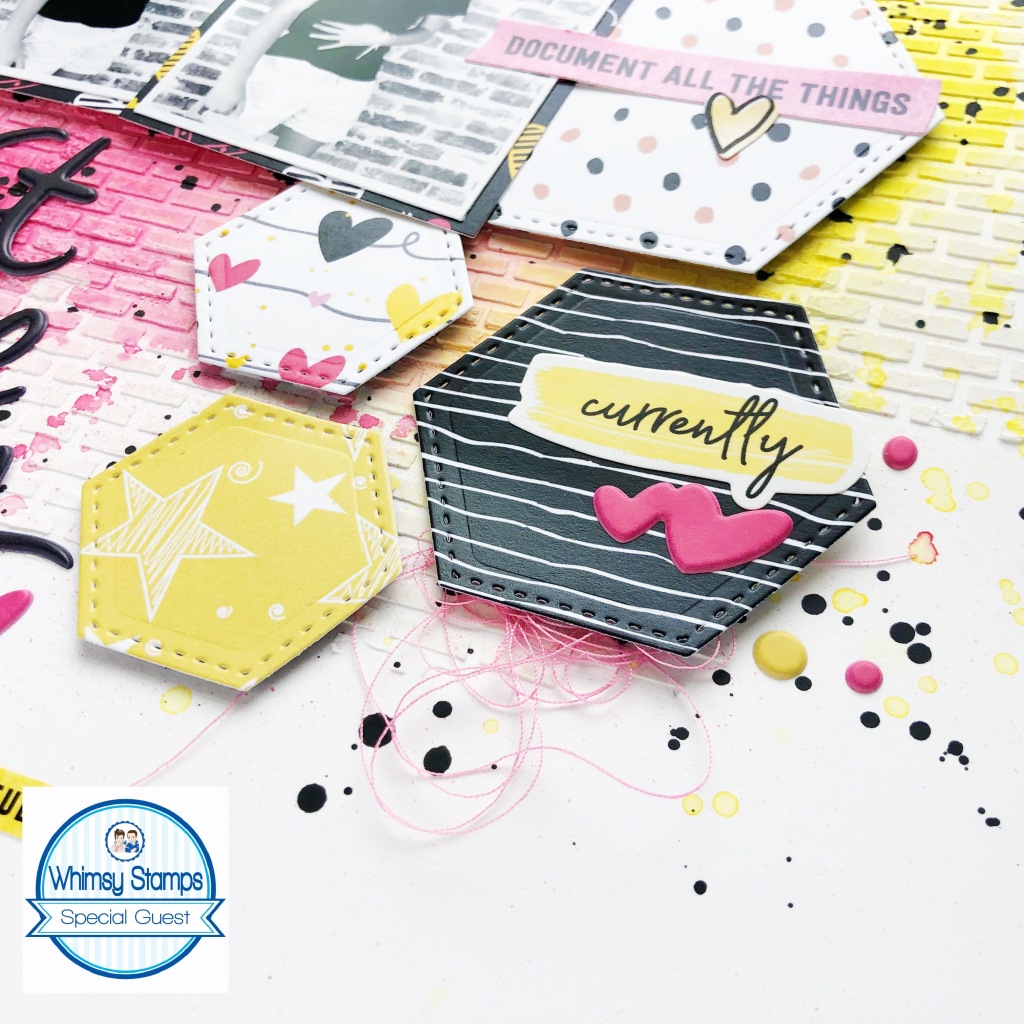


Here's another up close shot of all of that gorgeous texture and dimension. I am loving the yellow with the pops of black.
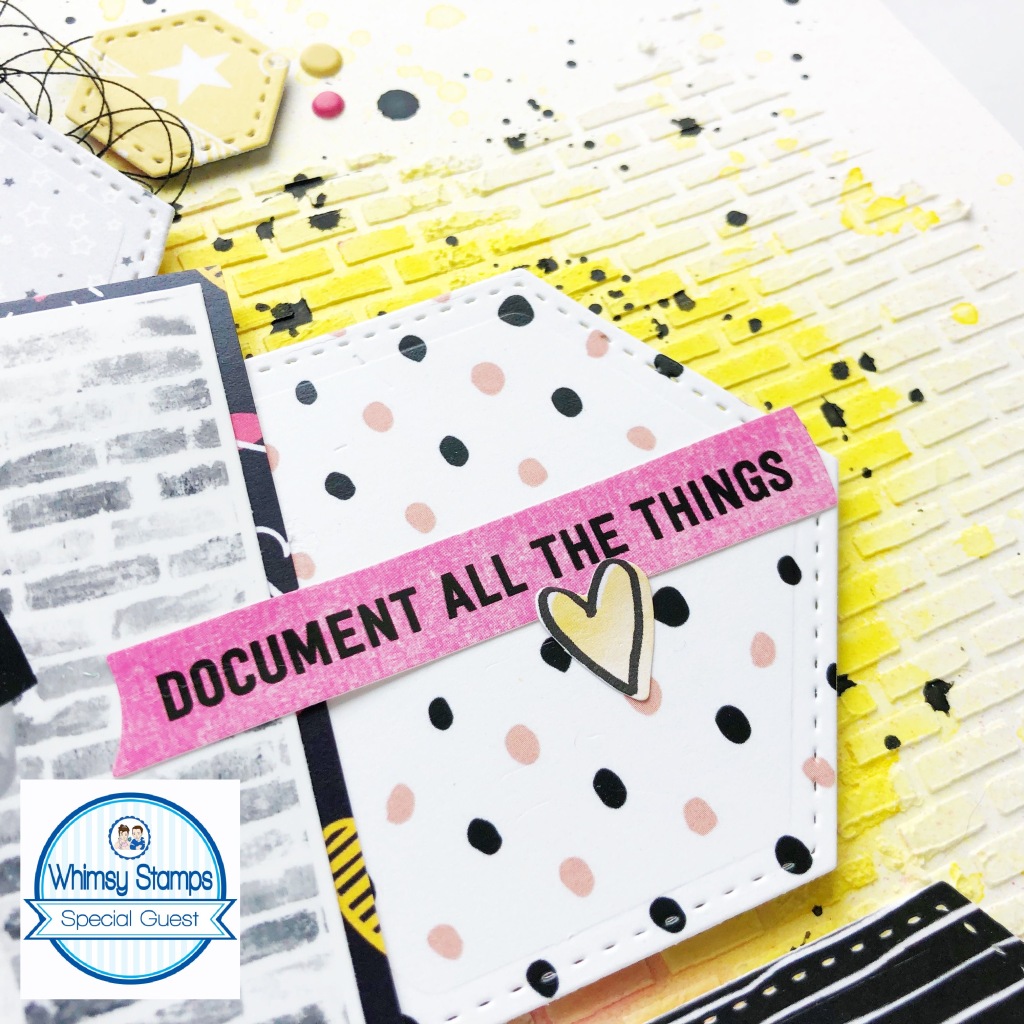


I had so much fun with this layout and really enjoyed working with the Whimsy dies, stencil and patterned papers! It's a simple layout that just really packs a nice punch!


Thank you so much for stopping by today and I hope that I've inspired you in some way! Another big "Thank You!" to Whimsy Stamps for having me, I just love your products and had so much fun creating with them. Cheers friends!

~~~

Thank you, Brianna, for this gorgeous inspiration!!

To see more of Brianna's work, be sure to visit her blog and YouTube channel!


31 Nights of Halloween - Night 5 - Zombie Herd


Hello, everyone!  Today is World Cardmaking Day and Whimsy Stamps is celebrating big time. We're having a blog and Instagram hop with lots of prizes and inspiration for you. We're also having a 31 Nights of Halloween event this month with even more prizes.  I hope you join in!


For my card I'm using the Zombie Herd rubber stamp. I about died (LOL) when I saw this image--ahmazing!

I stamped the image on Strathmore Bristol Smooth cardstock with VersaFine Onyx Black and colored it with Zig Real Brush Watercolor Pens.


I loved coloring these zombies up. They're all individuals and all clearly zombified. I even added pupils every which way for added fun!

Next I used the Brick Pattern Stencil with Distress Oxide Fired Brick to create a background for the zombies.


Lastly I added the perfect sentiment from Dracula Bite Me. This is like me every morning.  LOL!

If you'd like to check out my other creations, you can visit my blog, Frankie Helps Craft, my Instagram, or my Pinterest Board.

Dracula Goes Batty

Hello, Whimsy friends!  It's Andrea with you today, and I'm especially eager to share my card with you.  It features two new awesome die sets from the September release - Dracula Going Batty and Arched Window - and was a blast to create!


I started my card by creating that fun night sky.  I placed a circle mask onto Bristol Smooth paper and ink-blended with Picked Raspberry, Seedless Preserves, Chipped Sapphire, and Black Soot distress inks.  I removed the mask and flicked on some water droplets.  To add the craters to my moon, I used a couple of violet Zigs and a waterbrush.  


Once the panel was dry, I die-cut it with the Arched Window Die.  Onto the rectangular section, I stamped a portion of the Spider Web Frame Background with Seedless Preserves and heat-embossed it with holographic embossing powder (It looks so cool in person!).  I also white heat-embossed a sentiment from Halloweeners.  From black cardstock I die-cut Dracula and two bats with the Dracula Going Batty Dies.  I adhered the die-cuts to the ink-blended panels, trimming off any excess with my scissors.


I inked up an A2 panel of gray cardstock with gray ink over the Brick Pattern Stencil and adhered it to a white card.  I die-cut the Arched Window Die a few more times - once from metallic cardstock and three times from black.  I layered the frames together onto my card and tucked in the ink-blended pieces.  

Thanks for joining me!  If you haven't already, be sure to check out all of the new products in the shop.  You're sure to be inspired!


 *NEW Dracula Going Batty Die Set*NEW Arched Window Die*NEW Spider Web Frame Rubber Cling Stamp
Brick Pattern StencilHalloweeners Clear Stamps

Creepy Clowns

Hi friends,
Welcome to today's post where I am using stuff from the September Release at www.whimsystamps.com There are so many amazing images in this release and today I have used the CREEPY CLOWNS stamp set. 
I stamped the clown image on a water colour paper and coloured it with Daniel Smith colors. I used the brick stencil to create the background which makes the scene creepier and complete.
I hope you liked the post for today ...
Thanks for stopping by,
Hugs
SUPPLIES


Hydrangea Cluster

Hello Whimsy Friends! Iris here today with a card made using one of the new Whimsy Rubber stamps from the DoveArt line. This is one of my absolute favorites from the new line. It's called Hydrangea Cluster.


I stamped the Hydrangeas a few times onto Canson heavy weight (140lbs) watercolor cardstock with Distress Ink Antique Linen and colored using Daniel Smith watercolors. (see a list of colors used below). After the watercolors had dried thoroughly I fuzzy cut the Hydrangea flowers. The sentiment is from the Happy Headlines clear set by Deb Davis and was stamped using VersaFine Clair Nocturne ink and cut out afterwards. For the background I sponged Fossilized Amber Distress Ink all over the watercolor cardstock I used for the background. I spritzed it with water for some more interest and let it dry. Then I used the Brick Pattern Stencil and Fossilized Amber Oxide ink to sponge the pattern. Using the same color Oxide ink with the stencil as the background gives it a more saturated look and makes it stand out more as the Oxide ink is more opaque. After the ink was dry I applied Liquitex Gloss Super Heavy Gel to add some structure. This gel goes on white and dries crystal clear for an awesome glass like 3D effect.


Here is a closeup on the Hydrangeas. I also added a few crystal dew drops. Kind of hard to see in the photo but looks really nice in real life.


Daniel Smith water colors used:

Sap Green
Undersea Green
Lunar Blue
Manganese Blue Hue
Indanthrone Blue


Whimsy products used:

Happy Headlines   Hydrangea Cluster   VersaFine CLAIR Ink Pad - Nocturne (black)   Brick Pattern Stencil   Distress Ink - Mini Ink Pad Kit 3

Thanks for stopping by!

Hugs,

CAS Pet Sympathy Card

Hi there!  It's Andrea with you today sharing a clean-and-simple pet sympathy card.  Sympathy cards of any kind are always difficult to make, but the new Fill My Heart set has some really beautiful sentiments that will speak to any pet owner and make creating this type of card so easy.


This card began with my background, which was created with the new Brick Pattern Stencil.  (I can't tell you how excited I am that Whimsy Stamps is releasing more stencils!)  I masked off the ground and ink-blended the wall with Tea Dye distress ink.  After removing the stencil and mask, I inked up the ground with Peeled Paint.  I stamped the sweet doggie from Fill My Heart with a reddish-brown ink and added the sentiment in black.


I trimmed some kraft paper to 4 1/4" x 7" and die-cut the top with a scalloped border die (You could also use a border punch).  I scored the paper at 5 1/2", adhered my ink-blended panel, and folded down the top flap.


Onto a die-cut tag, I white heat-embossed one of the paw prints from Fill My Heart.  I wrapped some jute string around the top of my panel, threading the tag through it, and adhered the whole thing to a white card.

Thanks for stopping by!  Be sure to subscribe to the Whimsy Stamps' newsletter, and check us out on Facebook and Pinterest for more inspiration.

*NEW Fill My Heart *NEW Brick Pattern Stencil