Showing posts with label Cassie Tezak. Show all posts

You're My Favorite Snowflake Penguin - Special Guest - Cassie Tezak

IMG_2067 


I'm back to share my last post with Whimsy Stamps as a guest designer. It's been so fun working with Whimsy and being able to use their awesome products! I can't believe it's over already!! Today I'm jumping seasons and sharing a winter card using some of there awesome products. Let's take a look!

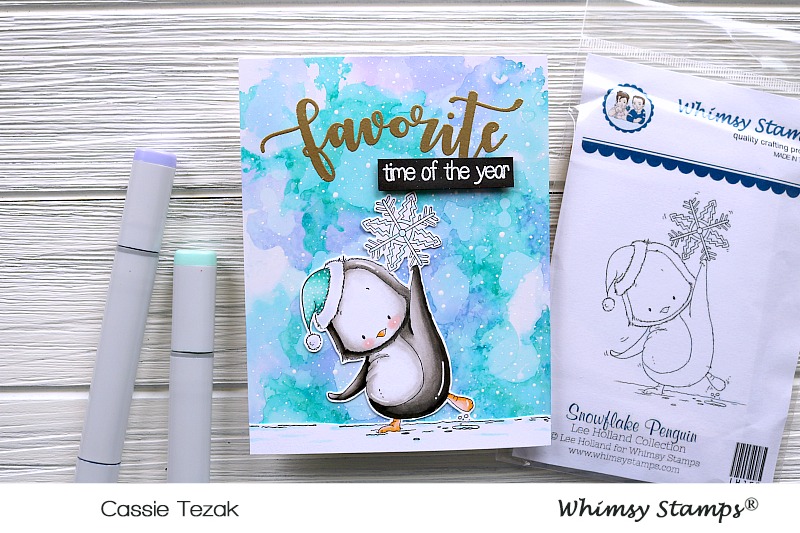
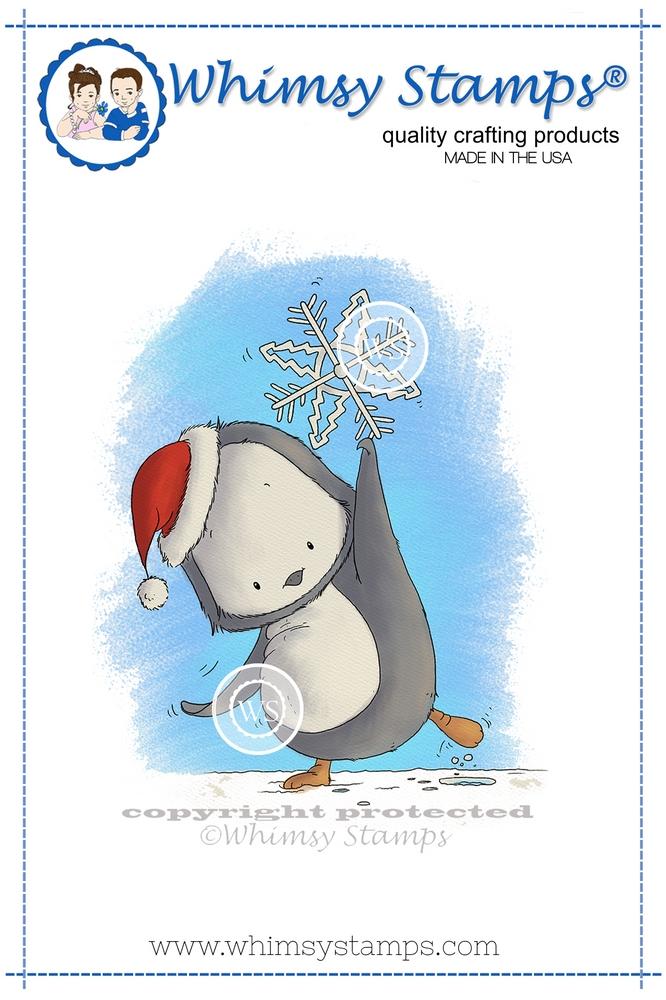
I just love this penguin stamp called Snowflake Penguin. It had been such a long time since I'd used red rubber stamps prior to working with Whimsy Stamps, and it was so great to be able to use them again! They stamp like a dream. I colored him in with my Copic markers. Because I wanted the ground to extend past where the actual stamp went I used my Copic multiliner to draw in some more snow/ground so that it would cover the width of my card.

IMG_2068
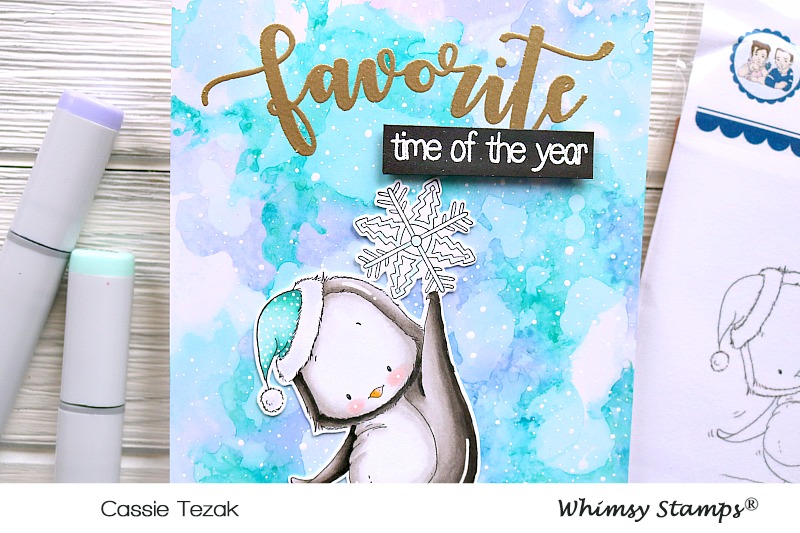
I fussy cut the little guy out and set him aside. To create my background I used some purple and blue alcohol inks to create this arctic looking sky. I love the way it turned out! I heat embossed the word Favorite from the You're My Favorite stamp set with gold embossing powder at the top of the alcohol ink piece. I love this scripty font.

IMG_2071
To finish the sentiment I stamped "time of the year" with VersaMark ink as well and heat embossed white embossing powder over top. I trimmed that down and added it to the card with foam tape. I adhered my fussy cut penguin over the alcohol panel and, of course, I had to add some white gel pen accents.

And that is it for my last post as a Whimsy Stamp guest designer! Like I said, I can't believe this month is over! It was so fun working with these adorable products, and I'm thankful to have been given the opportunity to do so! Thanks so much for stopping by today, and I hope to see you again soon!!
snowflake_penguin_color_display_1024x1024 Youre_My_Favorite_store_display_1024x1024

Boo To You - Special Guest - Cassie Tezak

Hi there! I'm happy to be back today to share another card I made using some cute Whimsy Stamps products that I couldn't pass up. Halloween is right around the corner, and I am already behind in making some cards to send out! Today's shaker card is a good start though :)

IMG_2135

I started this card by die cutting the new Peekaboo Window 1 die from some 110 lb white card stock. Next I used my Distress Oxides in the colors Fossilized Amber and Carved Pumpkin to ink blend a candy corn gradient onto the piece. I love using these colors for Halloween backgrounds! Once it was blended enough I splattered it with white paint and set it aside to dry.

IMG_2139 Next I stamped out a bunch of the adorable images from the Boo to You stamp set. I just love the images in this set! They are so sweet. I colored them in with my Copic markers and fussy cut them out with my precision scissors. Once my die cut panel was dry, I also stamped it with the sentiment from the Boo to You set "you're 2 cute."

IMG_2137

I created my shaker windows by using some acetate, foam tape and some colorful sequins from my stash. I loved the bright colors of the sequins with the Halloween themed colors of the images. I thought the sequins looked kind of like candy wrappers!

IMG_2142

Once my shaker was put together I adhered the images over top and added some white gel pen accents to each image. And that was my card! I hope you enjoyed this Halloween card :) Is anyone else so happy to be doing some fall crafting?! It's one of my favorite seasons to craft for. Thanks so much for stopping by, and I'll see you again soon with another card!!

peekaboo_window_1_die_display_1024x1024 boo_to_you_color_display_1024x1024

Fairy and Puppy with Special Guest Cassie Tezak

Hi, everyone! And welcome back. It's Cassie here again to share a card I've made for the Whimsy Stamps blog. My mind has been torn between how I don't want summer to end, but also how I can't wait to dive into fall! Is anyone else struggling with this?? To combat that feeling, today I'm taking a stamp that I thought was so cute from Whimsy and making it into two completely different scenes. Let's take a look!

IMG_2089

As you can see, I took the Fairy and Puppy rubber cling stamp and stamped it out twice onto some 110 lb white, Copic friendly card stock. To make two completely different cards I went with two completely different color combos. The Halloween scheme used purples, oranges and a lot of dark grays, whereas the summery one was all about light pink and aqua with light grays. Each image was fussy cut out and I added some adorable white gel pen accents to them for a little interest.

IMG_2075

I took two pieces of white card stock that were cut down to 4 1/4 by 5 1/2 and used a cloud stencil to create a puffy cloud background. For the summery card I went with a whimsical pink, and for the Halloween card I used purple and orange for a darker look. Both pieces were spritzed with water to get the great effects of Distress Oxides going.

IMG_2087

I also die cut a grass border with the Wavy Edgers Dies. I love the versatility of this die set! Last week I used it for waves, and this week grass. It's a great set to have. I adhered the grass pieces down to each card base, which were both ink blended with Twisted Citron and Lucky Clover Distress Oxide ink, and adhered the girl and her puppy over that.

IMG_20798

I chose a sentiment for both cards that I thought suited them. For the summery card I used a sentiment from Bold Statements set and heat embossed it in gold in the sky. For the Halloween card I used a sentiment from Boo to You which was heat embossed with white embossing powder.

IMG_2085

And that was it for my cards today! I hope you enjoyed this post showing how to use a stamp set and get two different results. Thank you so much for stopping by, and I'll see you again soon with another
card!

bold_statements_online_display_1024x1024 boo_to_you_color_display_1024x1024 Fairy_and_Puppy_color_display_1024x1024 wavey_edgers_die_set_1024x1024