Sleepy Sloth By Céline

HI, 
Céline's here to share a new card with you.
I fell in love of the cute Sloth set ! and I decided to create a sweet birthday card with, 
here how I do

For this card I first start to stamp the sloth and moon and color them with my copic markers
Sloth : E49, 47, 44, 43, 42, 41, 40
Moon : Y38, 18, 15, 13
Then I cut it all around and glue it, with 3D foam on the could die cut


I used my distress Oxide to create the sky 
Then I stamped the stars in the set here and there in the sky


Then I cut it my sky paper with Card Builder Windows die
After this step, I stamped my sentiments on the card "Happy birthday" on left and "May all your dreams come true" on bottom right corner


I cut my card base at 20.8 x 13.5 cm (fold in half) 
I glued my sky paper on it

Then, to finish I used 3D foam and glued the sloth on could and moon on the card


Products used : 
     

       Memento Full-Size Ink Pad - Tuxedo Black Card Builder Windows Die Set   Up in the Clouds Die Set

Thanks for stopping by.

B is for Boy

I had sooo much fun making this multi layered card (I kinda got carried away and lost count of the layers haha).  When I saw the new Build a Farm Die Set, I instantly saw BABY BOY so went with that.  There's no stamping or colouring on this card, just die cutting and layering up pretty papers.


Because the card is square I wanted to shorten the length of the gorgeous new Checker Board Background Die a bit to fit in with the design I had in mind, so I disguised the cut with a piece of ribbon.  Love how adaptable this die is and it shows off the card beautifully


I die cut the tractor and adhered pieces of white card behind the windows to give it a more dimensional look.  I also cut out the cut little duckies, gave the feet and bills a spot of orange and popped them in the trailer so they could hitch a ride!  I added some enamel dots to the wheels and some clouds from the die set to finish it off.


I'm thrilled to bits with how this card turned out, it's my most favouritest (is that even a word?) baby card I've ever made.  


Whimsy Stamps products used:


.


Happy Place

Hello, Whimsy fans!  It's Andrea with you today sharing a fun, beachy-vibe card.  Is anyone else wishing they were at the beach?!


When I saw the Ocean Stencil and Wavy Nested Frames Die Set, I immediately wanted to make an ocean tunnel-type scene.  I started with three A2 panels of Bristol Smooth paper.  The panel in the back was ink-blended with Cracked Pistachio and Mermaid Lagoon.  I used the same colors of distress ink on the second panel, applying more Mermaid Lagoon than Cracked Pistachio.  I inked up the third panel with Mermaid Lagoon and Faded Jeans.  To the first panel, I added some rays with white pigment ink and the Sun Rays Stencil.  I flicked water droplets on all three panels and blotted them dry.


Using the Wavy Nested Frames Die Set, I die-cut the second and third panels.  Rather than use the die a size down from the first one I used, I went two smaller to have more surface area showing.  I added my underwater elements with the Ocean Stencil.  To create the illusion of depth, I used a light gray ink for the panel with the rays, a dark gray for the second panel, and black for the darkest, ink-blended panel.


I attached the solid panel to a white card and added the die-cut layers with foam tape.  I also die-cut a frame from Desert Storm cardstock with the Wavy Nested Frames Dies and adhered that with foam tape.  I die-cut the palm trees with the Build-an-Island Die Set.  As the trees are connected in the die, I die-cut two pairs and cut them apart with my scissors.  I "colored" the trees with brown and green inks before adhering them to my card (I used foam tape - two layers in some places - behind parts of the trees that extended into the die-cut openings).  Using partial die-cutting and the Quick Strips Die Set, I die-cut a banner from Desert Storm cardstock and stamped a sentiment from Happy Place in Versafine Onyx Black ink.

Thanks for stopping by!


*NEW Wavy Nested Frames Die Set *NEW Ocean Stencil *NEW Build-an-Island Die Set *NEW Happy Place Clear Stamps Quick Strips Die Set Sun Rays Stencil

2 Celebrate Cards with the new Checkerboard Die

Hi Whimsy fans - Alanna here and I'm thrilled to be posting on the Whimsy blog today featuring some great new products from the June release along with an older die.

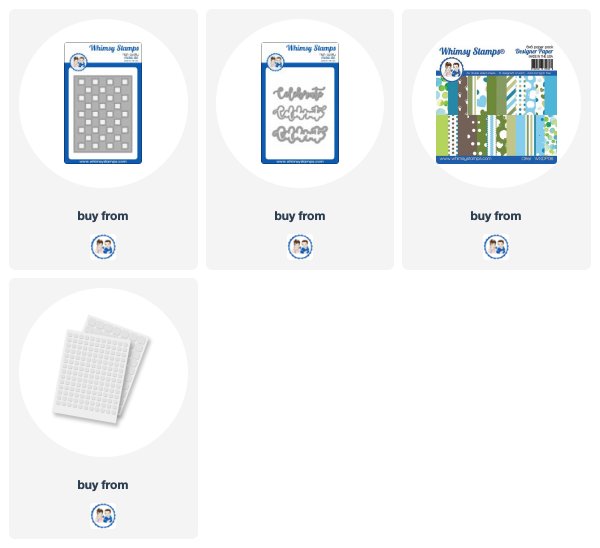
I am featuring the brand new Checkerboard die and Otters paper from the June release along with the fabulous Celebrate Word & Shadow die
.
For my first card, I die cut the Checkerboard die out of a piece of paper from the new Otters paper collection. I then added foam squares to all the parts that needed it.  I layered this over some green card stock. 

I then die cut the Celebrate die with white and black card stocks. I love how you can use this die for many different occasions, whether it be a birthday, graduation, an accomplishment, retirement and more.

Some enamel dots from the It's a Party collection finish off this card.


For my second card, I die cut a piece of white card stock with the Checkerboard die. I then inlaid all the pieces that were left over from my card above. 

Again, I added the die cut Celebrate word and some gems and this card is finished.

Here's a look at both cards together. I hope you have enjoyed and gotten inspired. Crafty hugs!


Go shopping in the Whimsy Store