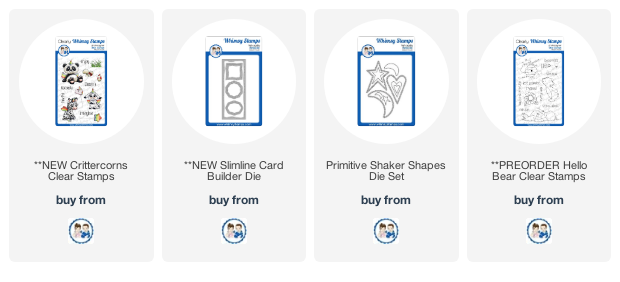
Hey there! Tricia here with you today, I am sharing with you today how to create a soft background for a Slimline card. I created a homemade stencil using the Primitive Shaker die.
First, I started by using some Post It Note Tape to create my grassy area. I lightly inked an area with Twisted Citron ink.
Next, I created a stencil with vellum cardstock and the Primitive Shaker Die set. I move the vellum around to add soft pink hearts across the Slimline Card Builder panel using Spun Sugar Distress Oxide ink. Using vellum allows you to see underneath when placing the hearts randomly around the panel.
Next, I colored my stamped images from Crittercorns with my Copic Markers:
W8, W6, W5, YG17, YG03, YG01
RV25, RV13, RV09,
YR04, YR09, Y11, Y18, BG11, BG53,
RV10, RV00, E40, E41, E42, E43
I stamped a sentiment from Hello Bear and stacked them on top of one another. I added my images to the panel with some foam tape. I added some final details with a white gel pen. I layered the panel onto a kraft card base.
Take a look at your dies and see what you can use to create a stencil! Thanks for stopping by!
Hello friends and happy Tuesday! This is Crystal here, one of the new 2020 Whimsy Stamps Creative Team members, and today I am sharing my very first "Tuesday Tutorial" post with you! I have created three colorful cards made using the fun new Shamrock Top Hat stamp set designed by Whimsy's own Deb Davis. And, what goes better with shamrocks than rainbows!? So, I have also created a video tutorial for you sharing how I created all of these vibrant alcohol ink colored backgrounds too!
I hope you will enjoy today's "Tuesday Tutorial."
This first A2 sized card was made from Neenah Solar White Smooth cardstock. I lined the card with one of the alcohol ink backgrounds I created (see video below). On a separate sheet of Neenah Solar White smooth cardstock, I stamped the sentiment in Memento Tuxedo Black ink and the shamrocks in Green Apple ink. I matted this piece onto a scalloped piece of Jolly Green cardstock and I adhered this image to the center of the card using 3M foam adhesive for added dimension.
For the second card, I also used Neenah Solar White Smooth cardstock as my base and again, I mounted the alcohol ink background directly to the card base. In the lower right corner I stamped the sentiment in Versamark ink and heat embossed it with black embossing powder. On a separate sheet of Jolly Green cardstock, I stamped the Shamrock Top Hat in Versamark ink and heat embossed it with white embossing powder. I fussy cut the hat out and adhered it to the card at a slight angle using 3M foam adhesive.
For the third and final card, the base was created from Jolly Green cardstock. I matted the base with a 5 1/4" x 4" piece of Neenah Solar White smooth cardstock. In the lower right hand corner of the white cardstock, I stamped the sentiment in Green Apple ink. I adhered the alcohol ink frame to the center of the card (again please see the video below to see how I created the alcohol ink backgrounds). On a separate sheet of Jolly Green cardstock, I stamped the Shamrock Top Hat in Versamark ink and heat embossed it with white embossing powder. I fussy cut the hat out and adhered it to the card at a slight angle using 3M foam adhesive.
Here is a step-by-step video showing how I created each of these three cards:
Thank you for visiting and I hope you have a wonderfully creative day!