Hi Everyone,
DT Deni here :-)
Today I am sharing with you Penguin Coffee Break from Crissy Armstrong, I love Crissy's Penguins so much :-)
It feels weird for me making Winter cards, we are just out of winter months here in Australia it is starting to warm up which we are looking forward to.
On a positive I have loved making winter cards the past few weeks, how cute is this little Penguin from Whimsy Stamps, but would you expect anything else from Crissy Armstrong :-) She is the Queen of Penguins.
This is Penguin Coffee Break Set - Digital Stamp(
WHM ) from Whimsy Stamps, and a digital file that you can download and print.
I printed the image and the sentiment onto X-Press It Blending Card using my Brother Laser Printer.
The patterned papers I have used on my card are from an American Crafts 6x6 Paper Pad called Hollyday. I cut two layers, one bigger layer and one a little bit bigger than the image. I adhered the larger piece to a Pre-made card base from Twiddleybitz (Unfortunately these are now retired). I added a doily on top of this piece using liquid adhesive.
The sentiment is also from Whimsy Stamps, I printed this when I printed the image out, the stamp set is called Penguin Christmas Sentiments 1
The Tree is cut from a Birch Trees dies, I ran them through my Sizzix Big Shot using Kraft Cardstock. I adhered them to the doily/patterned paper using American Tombow Mono Multi Liquid Adhesive. I then layered the smaller of the patterned papers down.
The image I ran through my Sizzix Big Shot using an Inside/Out Stitched Rounded Rectangles, I then adhered it to the smaller patterned paper piece using Scotch ATG. I ran some excess of the blending card through my Big Shot using a Snowflakes dies, and then adhered them using a small dab of liquid adhesive.
My card still needed a little more at this stage so I grabbed some green rhinestones from Kaisercraft and added them to the centre of my snowflakes.
Finally I cut the sentiment to size and adhered it to the bottom of my card using Scotch ATG.
I decorated the inside of the card to match using leftover pieces of the patterned papers.
I hope you have enjoyed my post today, if you have any questions feel free to send me a message or contact me via facebook (all links can be found below).
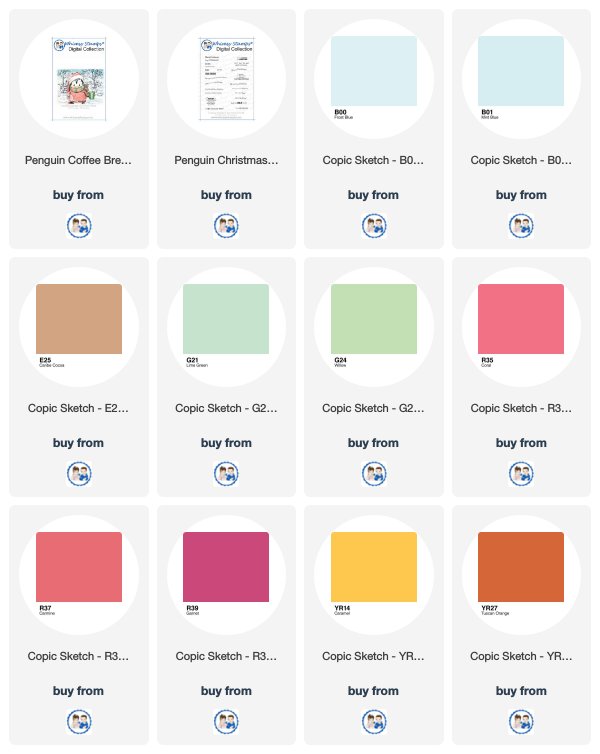
Products Used On My Card (Affiliate Links Used Where Possible)
Thanks for stopping by, Deni
CAMERA SET UP - FOR YOU TUBE VIDEOS ONLY
Blue Yeti Microphone
Sony Handycam HDR CX4-05
Tripod – Manfrotto MKCompactaCN-BK
S O C I A L MEDIA
B L O G : http://angelhandmadepapercraft.blogspot.com.au/
I N S T A G R A M : http://instagram.com/angelhandmadepapercraft
F A C E B O O K: http://www.facebook.com/angelhandmadepapercraft
PINTEREST: https://www.pinterest.com.au/angelhandmadepapercraft
PERSONAL BLOG
ANGEL HANDMADE PAPERCRAFT: http://angelhandmadepapercraft.blogspot.com.au/
I am an Ambassador for Copic Marker Australia and NZ



![Copic Sketch Markers Cadmium Red [Pack Of 3] (3PK-R27S)](https://www.staples-3p.com/s7/is/image/Staples/m004537088_sc7?$splssku$)


