Showing posts with label Going Catty. Show all posts

31 Nights of Halloween - Night 16 - Special Guest Joy Baldwin


Hello, Whimsy friends! Tonight we welcome Joy Baldwin back to the blog.

Hi, crafty friends! I hope you have been having fun with the 31 Nights of Halloween Blog Celebration! I am so excited to be part of this event and to share an awesome Halloween card with you. I used the Going Catty and Going Batty stamps to make a slimline scene card. I have a video on my channel here if you'd like to see how I made this card.


For this slimline card I used the masking technique to make a scene card. I used images from the Going Batty and Going Catty stamp sets. I stamped the images with black, Copic-friendly ink, working with the images in the front and then masking over those images before stamping the ones behind them. I continued with that until all of the images were stamped and covered in masking paper.


I carefully inked the background with Distress Oxide Inks in Dried Marigold, Carved Pumpkin and Crackling Campfire. I peeled all of the masking paper off and colored the images with Copic Markers.


I stamped the sentiments in black and purple inks. I finished the card by adding Nuvo Crystal Drops, white gel pen highlights on the bats and pumpkins, and Glossy Accents on the eyes of the bats.


Thank you, Joy, for this fun scene and adorable card! To see more of Joy's work, check out her YouTube channel and blog.

Don't forget about the prizes we're giving away this month! You can learn about them and enter here.


31 Nights of Halloween - Night 26 - Special Guest Jen Shults

Hi everyone! It's Jen Shults with you, and I am so excited to be back again for another night of Whimsy Stamps' 31 Nights of Halloween Blog Celebration!! I am so in love with all of the adorable Halloween stamps from Whimsy that I actually have two projects to share with you tonight.


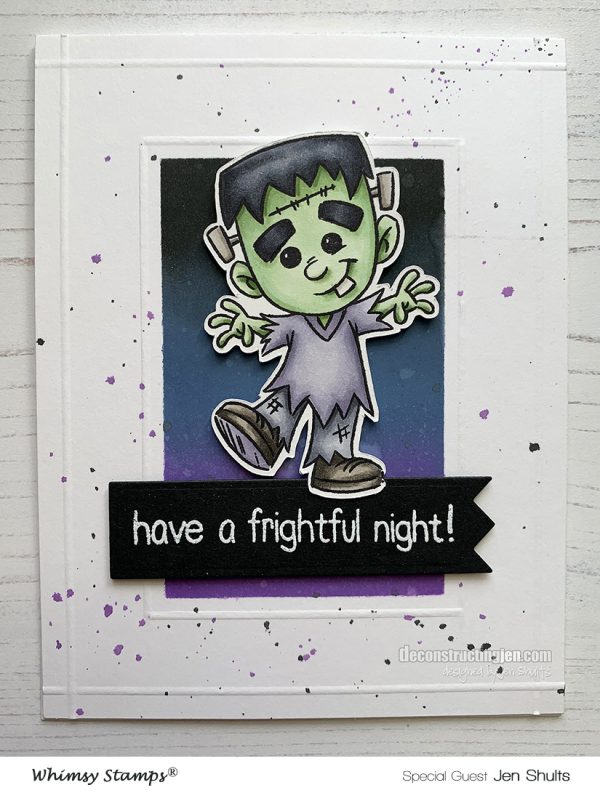
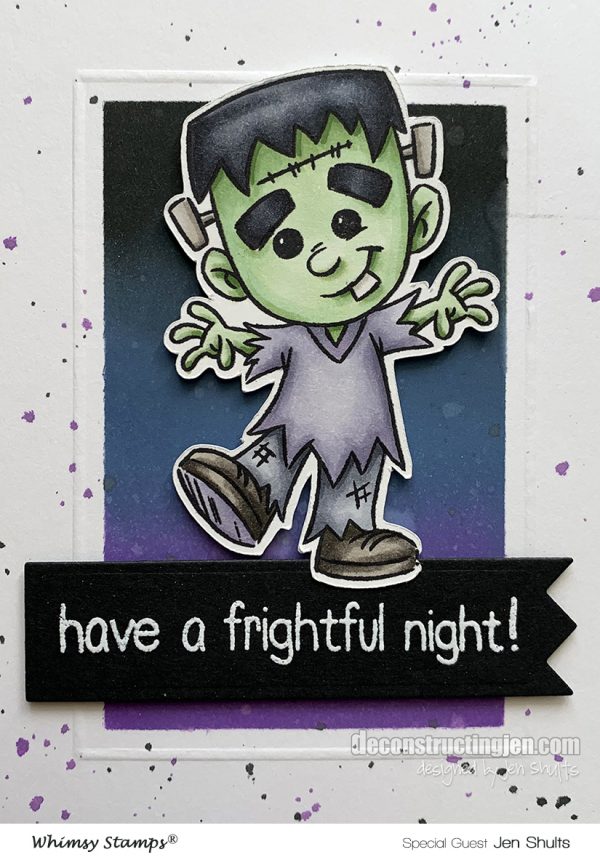
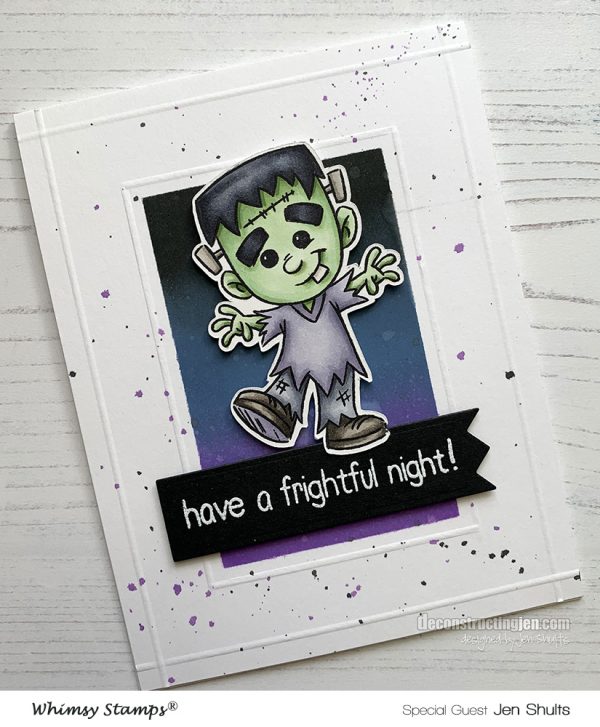
My first card features this adorable zombie from Boo To You. I started by stamping the zombie on white cardstock with Tuxedo Black ink and coloring him with Copics. I fussy cut him and set him off to the side.


To build the background I used a rectangle masking stencil to ink blend the rectangle with Black Soot, Faded Jeans and Seedless Preserves Distress Oxide ink. I then splattered with water and the same inks. I used my Score Pal to score lines around the rectangle and the edge of the card. I stamped the sentiment on black cardstock with Versamark and embossed with white embossing powder. I die cut the sentiment with a banner die and adhered it to the background with foam tape, then I attached the zombie overlapping the banner, again with foam tape.


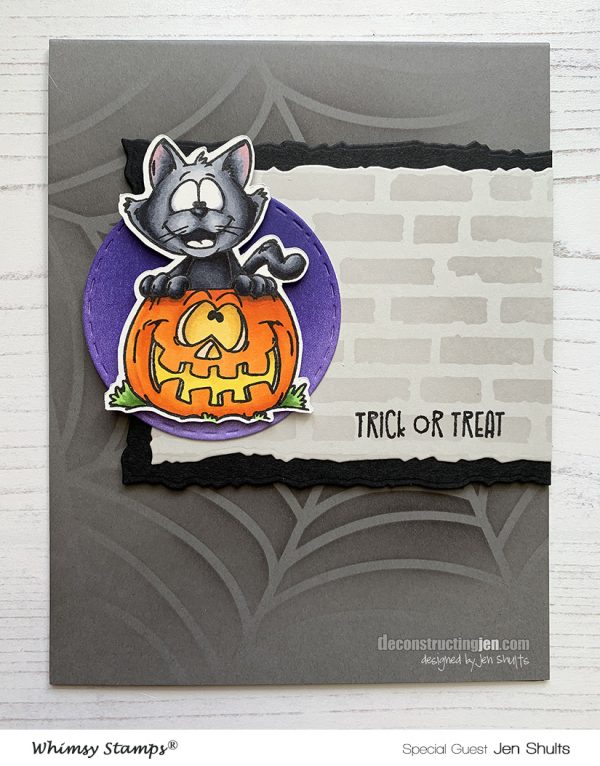
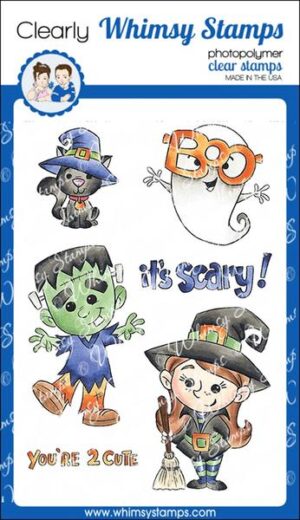
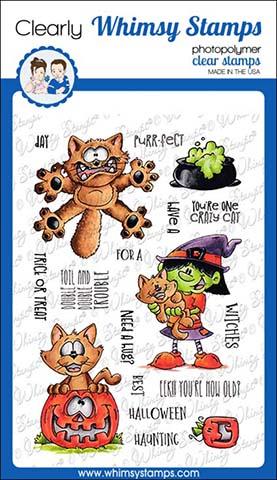
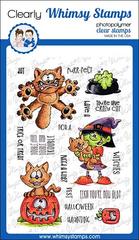
My second card uses the super adorable Going Catty clear stamp set. There are so many cute stamps in this set - I can't wait to use the scaredy cat!


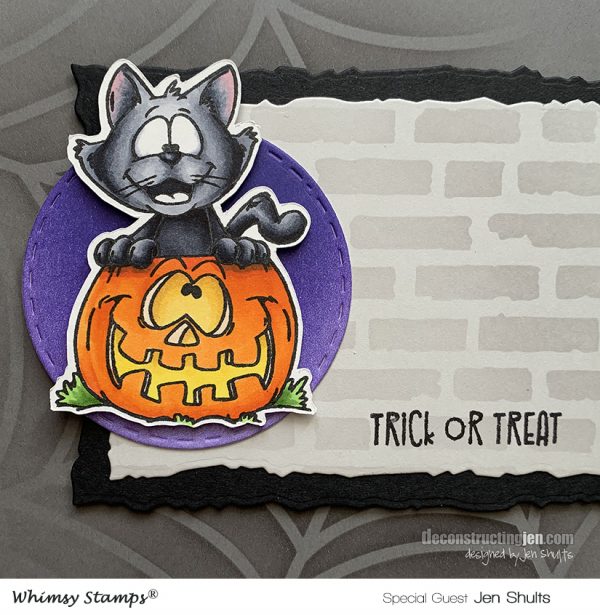
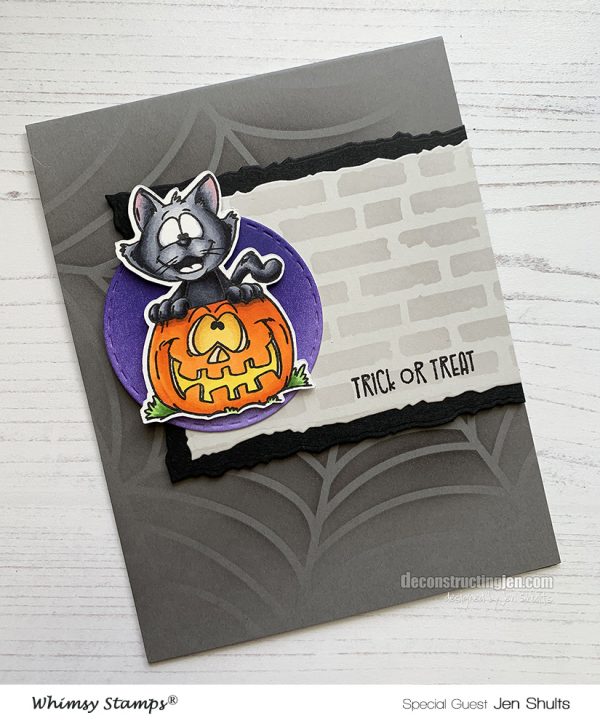
To start my card I stamped the pumpkin cat on white cardstock with Tuxedo Black ink and colored it with Copic Markers. Next I fussy cut the image and set it aside to start the background.


I cut an A2 medium grey cardbase and used a spider web stencil to ink a subtle spider web on the cardbase. I cut two deckle edge rectangles, one from light grey and one from black cardstock. I stenciled a brick texture on the light grey with light grey ink. For the circle behind the cat I die cut a stitched circle and blended purple ink over the circle in a dark to medium gradient. I stamped the sentiment on the light grey and assembled the card with foam tape.


For more amazing projects and ideas from Whimsy Stamps and their Design Team, as well as Guest Designers, follow Whimsy Stamps on the following Social Media Platforms:


Find me over on:
Instagram: Jenevey (@jenevey)
Youtube: Jenevey
Facebook: @deconstructingjenblog

Thanks, Jen, for those adorable projects!  We'll see you back here tomorrow evening for more Halloween fun!

31 Nights of Halloween - Night 20 - Special Guest Bobbi Hart


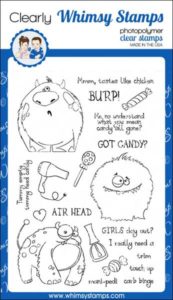
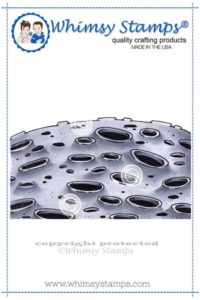
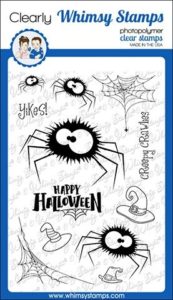
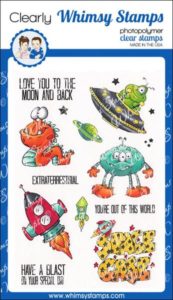
Hello! Bobbi here and I'm guest designing this month for Whimsy Stamps during its "31 Nights of Halloween!" I'm sharing some Halloween madness today with an out-of-this-world look using the following Whimsy Stamps sets:


Card Details

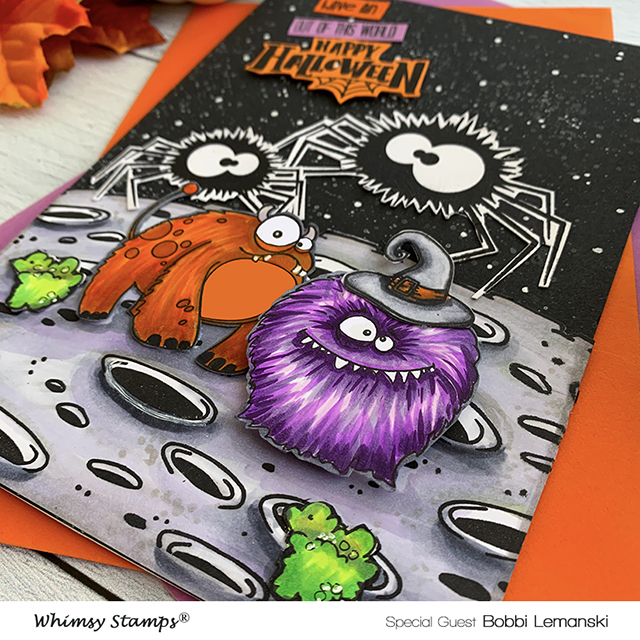
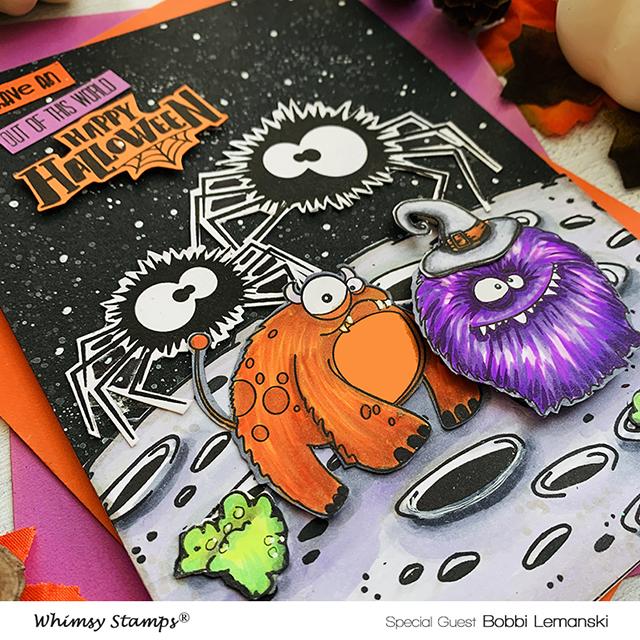
What would Halloween night look like in outer space? Perhaps there are gigantic spiders ready to attack from behind. Monsters everywhere you look and green goo...lots of goo just oozing out of the craters. Well, that's my take anyway! Let's take a closer look at this out-of-this world Halloween Night.

 
To make this card, I started by splattering white ink on a 5" X 7" black card front. I added a few additional larger dots of white using a Uniball Signo White Gel Pen. I stamped, Copic-colored and fussy cut the spiders, witch hat, monsters, goo and the moon. The moon was adhered to the background and the spiders and monsters were layered on it. The purple monster was "popped up" by adding foam tape to the back of the image for a little dimension.  

 
Finally, I stamped, cut and adhered the phrase, "Have an out of this world HAPPY HALLOWEEN" by piecing phrases from various sets. I used the "have a" phrase from the Going Catty stamp set and simply added an "n" to the "a." The phrase "out of this world" is from A Boy's Dream, and the "Happy Halloween" is from the Fuzzy Spiders stamp set. The finished card front was adhered to a 5" X 7" card base to complete it.

Want to see more ideas and inspiration from me? Subscribe to my blog, BobbiHartDesign.com.
I’ll send you updates on new posts!
You can also find me on Instagram as @BobbiHartDesign and on Facebook as BobbiHartDesign.
Bobbi Hartmann Lemanski, Bobbi Hart♥ Design,
Adding h♥art into every design

Thank you, Bobbi, for this amazing inspiration!  Come back tomorrow night for more Halloween fun and maybe even a giveaway!


31 Nights of Halloween - Night 11 - Special Guest Bobbi Hartmann Lemanski


Tonight we are honored to have the talented Bobbi Hartmann Lemanski guest designing with us!


I'm so excited to be guest designing this month for Whimsy Stamps.  When I saw the funny cat in the Going Catty stamp set, I was immediately drawn to this set. The expression on this feline's face is priceless and perfect for a humorous Halloween card. I could just envision this scaredy cat looking out a window and seeing a dressed-up, scary trick or treater. Here's my take on that scene...
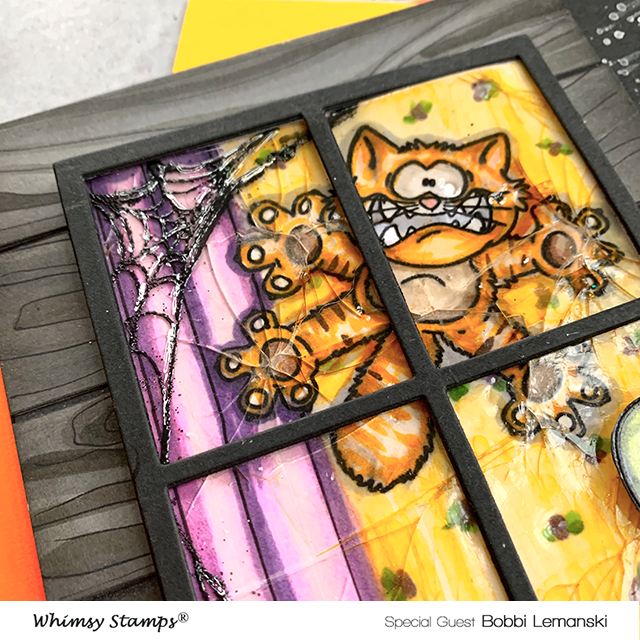

Cracked Glass Window

I wanted the recipient to feel the intensity of the cat's fear, so I created a broken glass window to match those large paws and fearful face. Using an oldie, but goody technique called cracked glass, I created the feature window. To make the window, I stamped and colored the cat and added a curtain to the left along with a yellow wallpaper background to create the look of the inside of a house. I covered the entire window front with Versamark Watermark ink using the direct-to -paper method (stamp the pad directly on the cardstock). Quickly, I covered the inked area with Ranger Ultra Thick Embossing powder and heat set it with my heat tool. I repeated these steps three times to create a three-layer, thick glass. Next, I put the frameless window scene in the freezer to completely harden. While the window was in the freezer, I worked on the rest of the card.


Exterior Scene

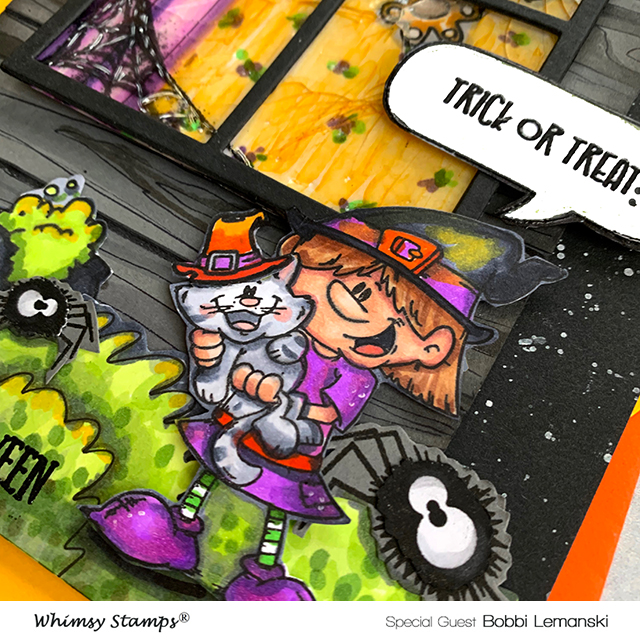
I stamped, colored and fussy cut various images for the exterior scene including two spiders from Fuzzy Spiders and the witch holding the cat from Going Catty. I also hand drew some shrubs for outside the window. I used Copics in the following color families: yellow-greens (YG) for greens, violets (V) for the purples, cool grays (C) for the gray/black shades and a bit of red (R) and yellows (Y) for the reds/oranges.
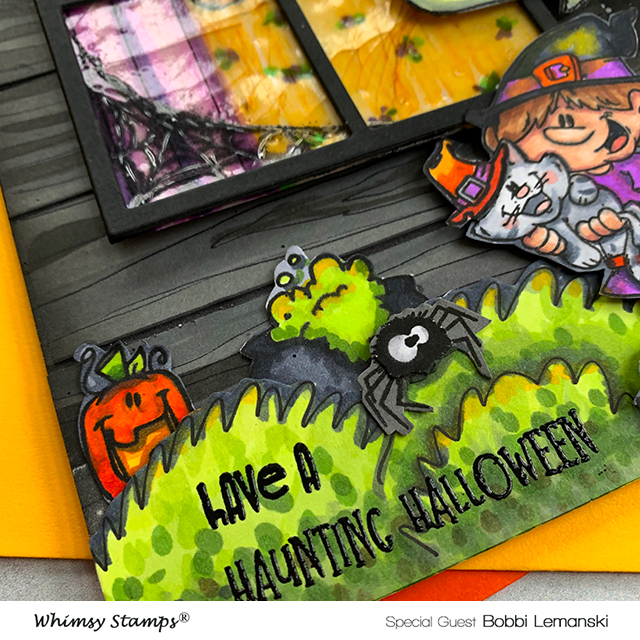
  I needed to create the house exterior for the window and the outside sky. The house siding was created using strips of gray cardstock. I added lines using a fine-tip black marker and Copics in gray shades to mimic woodgrain. The strips were added to a black piece of cardstock, allowing a thin strip of black to show through between each faux siding board for dimension. The sky was created by splattering diluted white ink on black cardstock. The house was adhered to the card front background, and the bushes were added to the bottom edge to create the scene design. Next the exterior creatures were added - the witch, spiders, and cute little orange pumpkin.

Finishing the Card


Now it's time to finish the window for the house. After removing the window glass from the freezer, I lightly bent the embossed cardstock by the paws to create glass cracks by the paw points. I always love "cracking the glass." It's so fun to see it happen. After the glass was broken, I added a few cobwebs using a Versafine Black permanent ink over the clear embossing. Lastly, I added the four-pane, framed black window to the glass front. I made this by punching four squares out of a black piece of cardstock. The completed window was layered over the house siding. I heat embossed a subtle phrase over the shrubs in black and a feature speech bubble with the phrase "trick or treat?" to the exterior to complete this Halloween card. This is a 5" X 7" card so there was plenty of space to create this scene. This could easily be done on a smaller card size by simply overlapping and simplifying the elements, too.

Thank you, Bobbi, for this inspiring project!  Bobbi will be back on the 22nd to share another spook-tacular creation.  In the meantime you can find Bobbi on her blog at BobbiHartDesign.comon Instagram as @BobbiHartDesign and on Facebook as BobbiHartDesign.