Hi friends! Alanna here and I'm thrilled to be on the Whimsy blog today sharing two cards with you today using a fun technique to help you get more out of your background stamps.
For this technique, you will need any background stamp (I used red rubber but I'm thinking photopolymer would work as well), water based markers, and a stamp positioning tool.
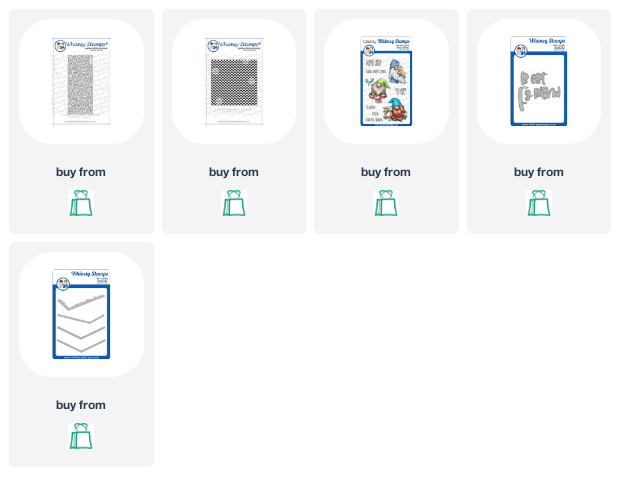
For my first card, I started with the awesome Chevron Background stamp and my Tombow Dual Brush markers. I took one marker at a time and added color to one line of chevrons. I didn't bother cleaning off the residual ink from the previous lines I'd already colored. I just kept working my way down.
I pressed down my Misti and then if I decided I needed a bit more color or if I didn't get as good of an impression as I wanted, I added more color and repeated the process.
The results will end up in more of a water colored look and won't be super precise as you can see by my finished card but it is a super fun technique and is a great way to get more mileage out of a large background stamp like this. You are essentially creating your own patterned paper.
To finish off my first card, I built my sentiment from the Fantabulous set. This set is such a fun and unique set with so many awesome words. I finished off the card with some silver gems.
Whimsy Stamps Supply List


These are beautiful Alanna and that is a really great technique.
ReplyDeletelove from Sue...xxx <3
Thank you so much Sue.
Delete