
Hey there friends! Katie here today with a fun tutorial for you that is mostly die cutting! Here is what we will be making today:

Let's start with our supplies, you will need:
Cardstock- Black, Color of your Choice, Kraft, White (Copic Friendly)
Designer Paper- Haunted Paper Pack or Vampire Paper Pack
Other- Versamark Ink, Gold Embossing Powder, Copics (E51, E53, R14), White Pencil, Gold Thread, Snips, Glue and Foam Tape

First, Start with your base cardstock. It should be the colored layer and measure 4.25 X 5.5 (I mount mine on white to use less colored cardstock). Next, cut your black cardstock to 4 X 5.25. Die cut the Black portion using the Comic Burst Die and poke out all the bits. Then take a bit of whatever DP you like for the background and use the same die to cut out the middle. Adhere these layers together with the DP in the center, then the black and the color behind. You should see the color through the Comic Burst cut outs.

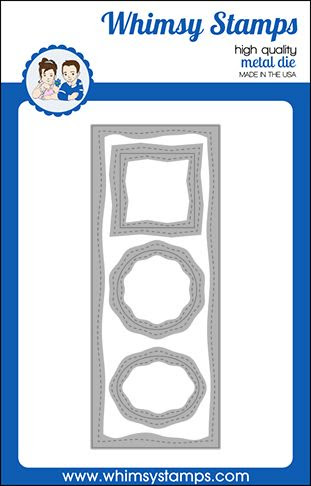
Set this aside and work on the frame. First take your small bit of Kraft paper and die cut out the oval from the Slimline Card Builder set. Cut out the middle and trace around the outside of the die with a pencil. Then remove the die and cut out the traced portion.

Next, you will smush versamark around the frame. Dump some gold embossing powder on and heat it. YOu can use a different color from gold if you prefer, I used this to make an antiqued frame. It doesn't have to be perfect either, because that creates the antique look if you have gaps. Then cut out a small portion of DP and use this die again. The center portion becomes the background of your frame.

Next, you are going to work on Elvira. Use the die and cut her out twice, once in black and once in white (Copic Friendly). Color the face with your skin toned Copics and the eyes with red (or another color if you prefer). On the black portion, use your white pencil to add white to her hair.

Next, put her together inside your frame and cut off any excess of her gown. Then you can place foam on the back side which will hold the center to the frame and hold down the gold thread that you will use to "hang" your frame.

Mount this onto the center of your card. Then mount it on your white base and you are done. You can add sentiments or other embellishments but I feel like it is pretty perfect as is.

This is a pretty easy card to replicate with mostly die cutting, so if you like to send out a lot of Spooky cards for Halloween, this is perfect.
Thanks for visiting, I hope you enjoyed this post.


Oh man these are the bomb! Wicked cool and creative! I want to make some now too!
ReplyDeleteAwesome tutorial Katie!
ReplyDeleteThanks ladies!
ReplyDeleteLoove this tutorial and card great job my friend!!!
ReplyDeleteSO cool! What a fabulous design idea. Love them both! xoxo
ReplyDeleteso great cards!
ReplyDelete