Showing posts with label baby cards. Show all posts

Special Guest - Candice Fisher - Bunny Balloons

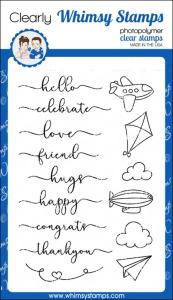
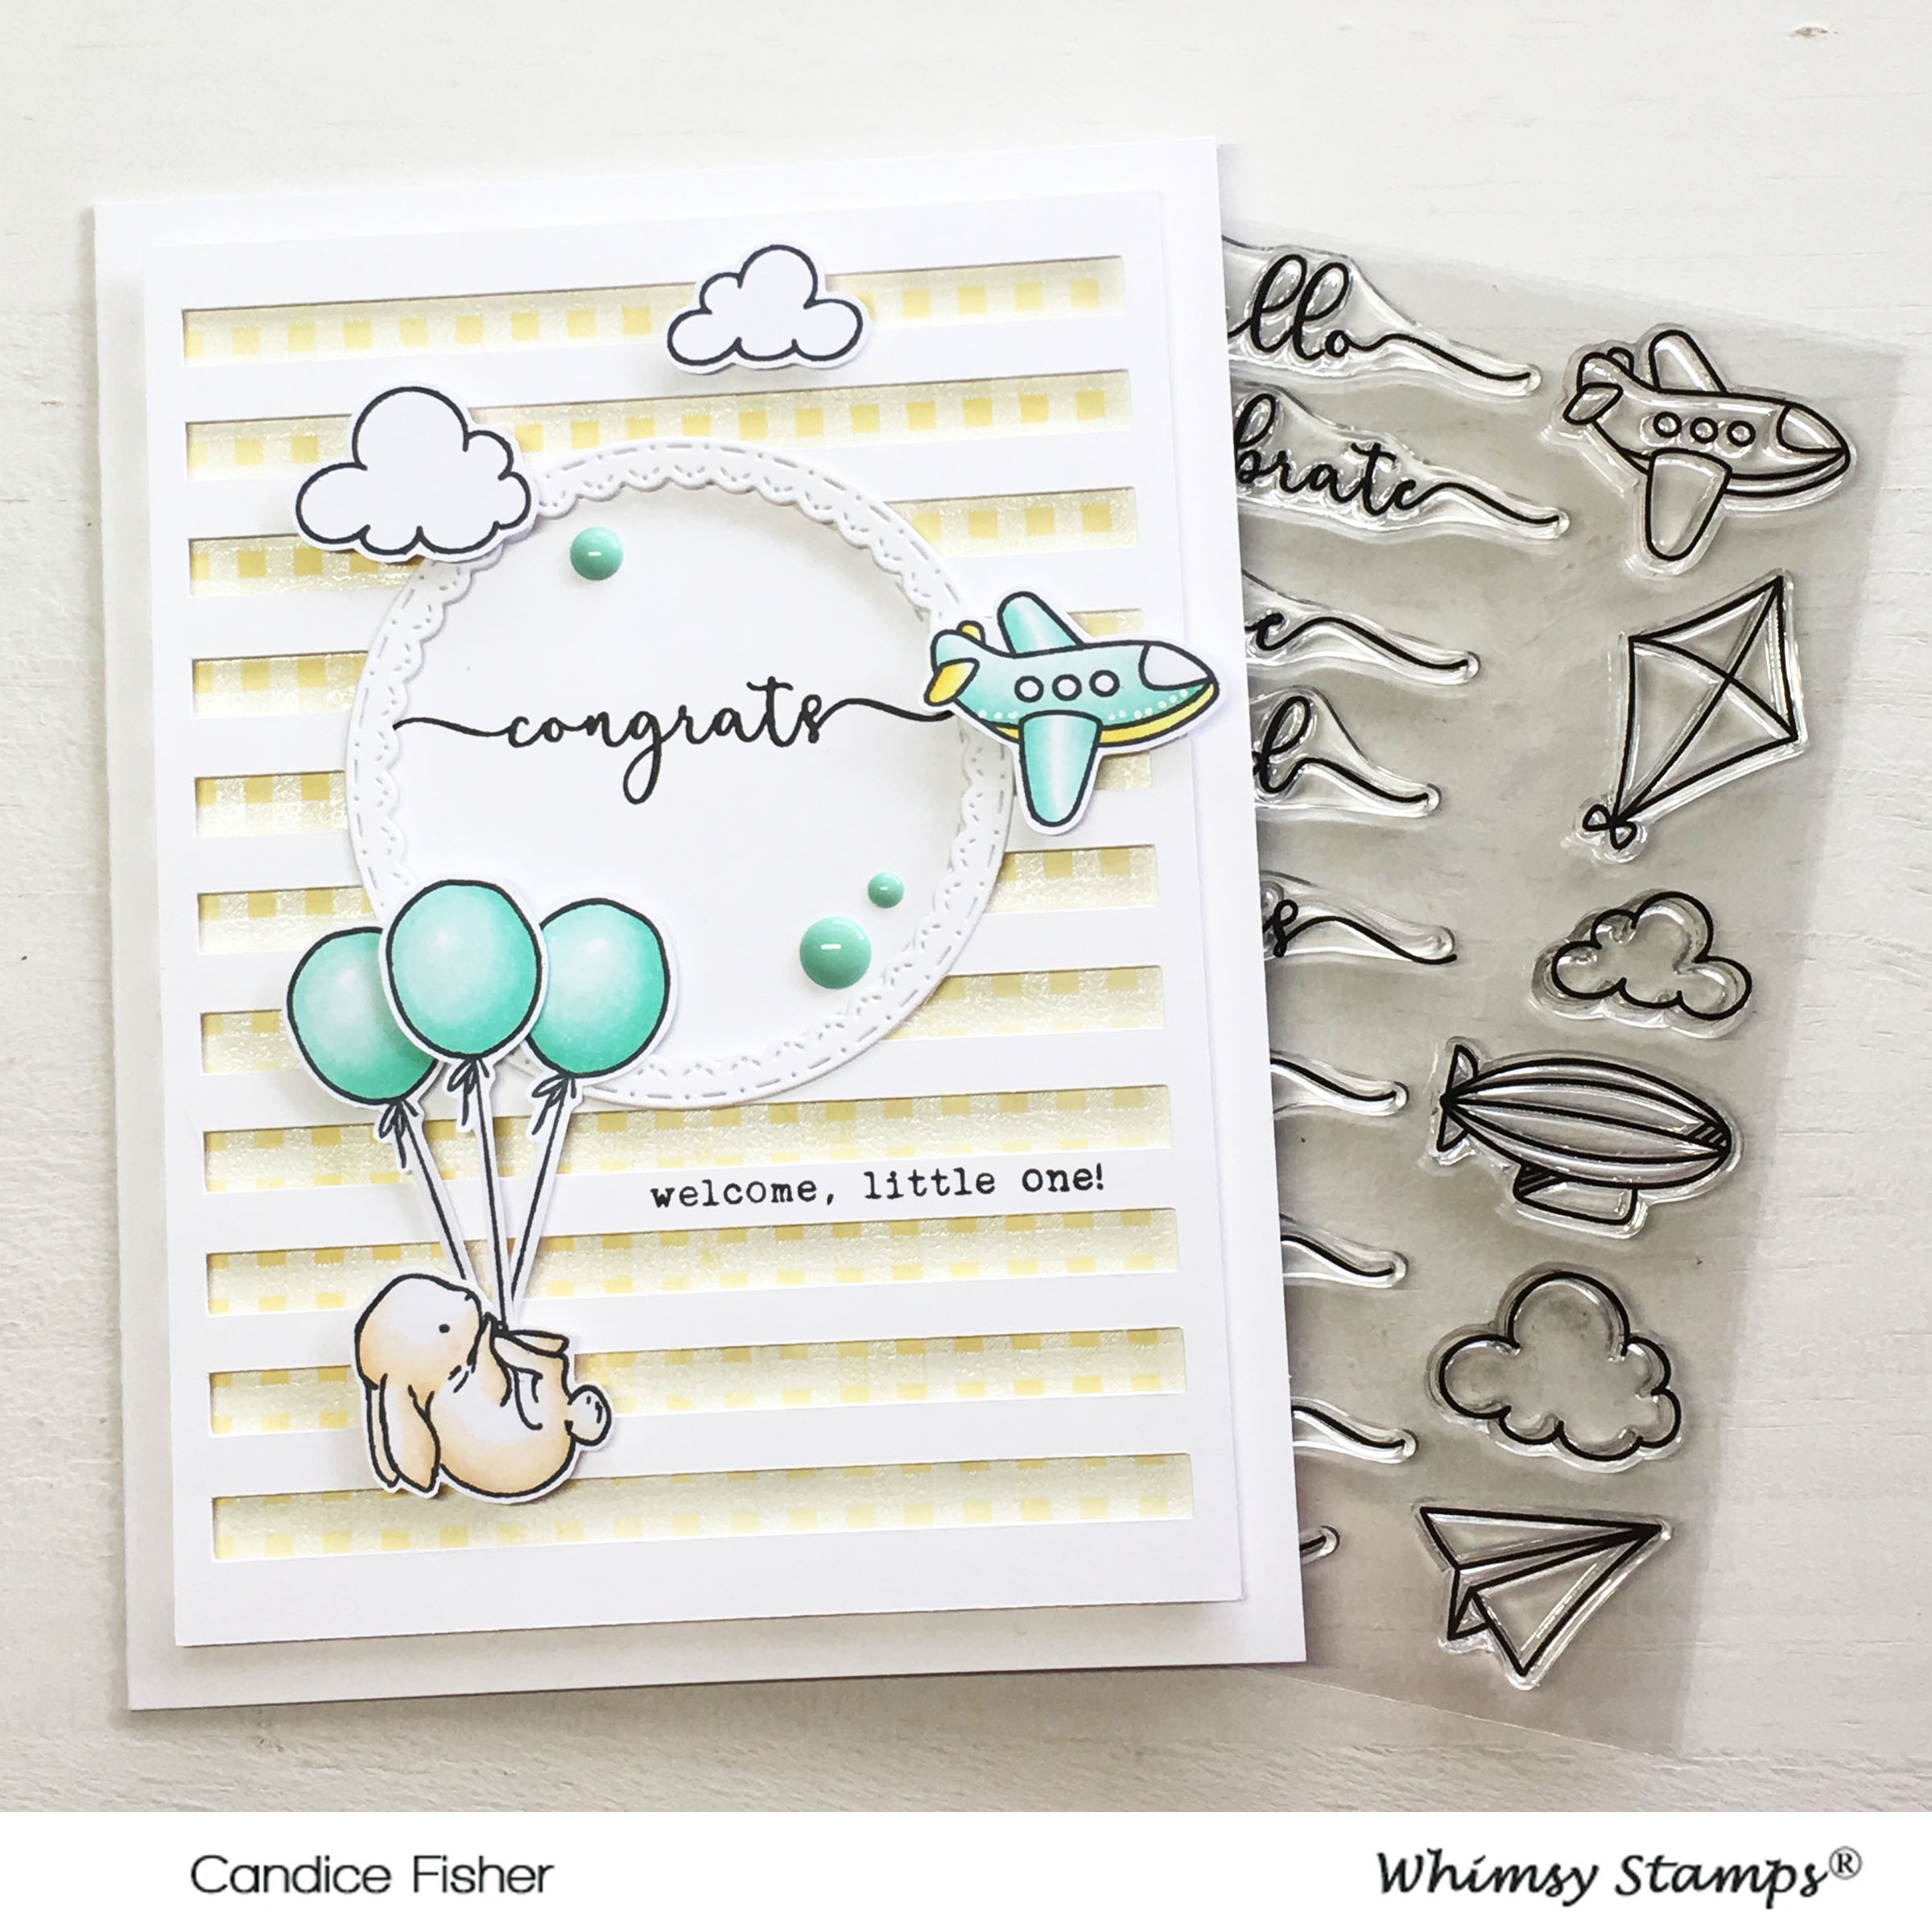
I have to tell you, these bunnies from the Bunny Balloons stamp set are one of my all time favorites! They really go so well with the Fly By stamp set and if you haven't heard me all month raving about Deb Davis's collection at Whimsy Stamps you have to see her designs, they are fantastic!

  GD whimsy stamps card 4  
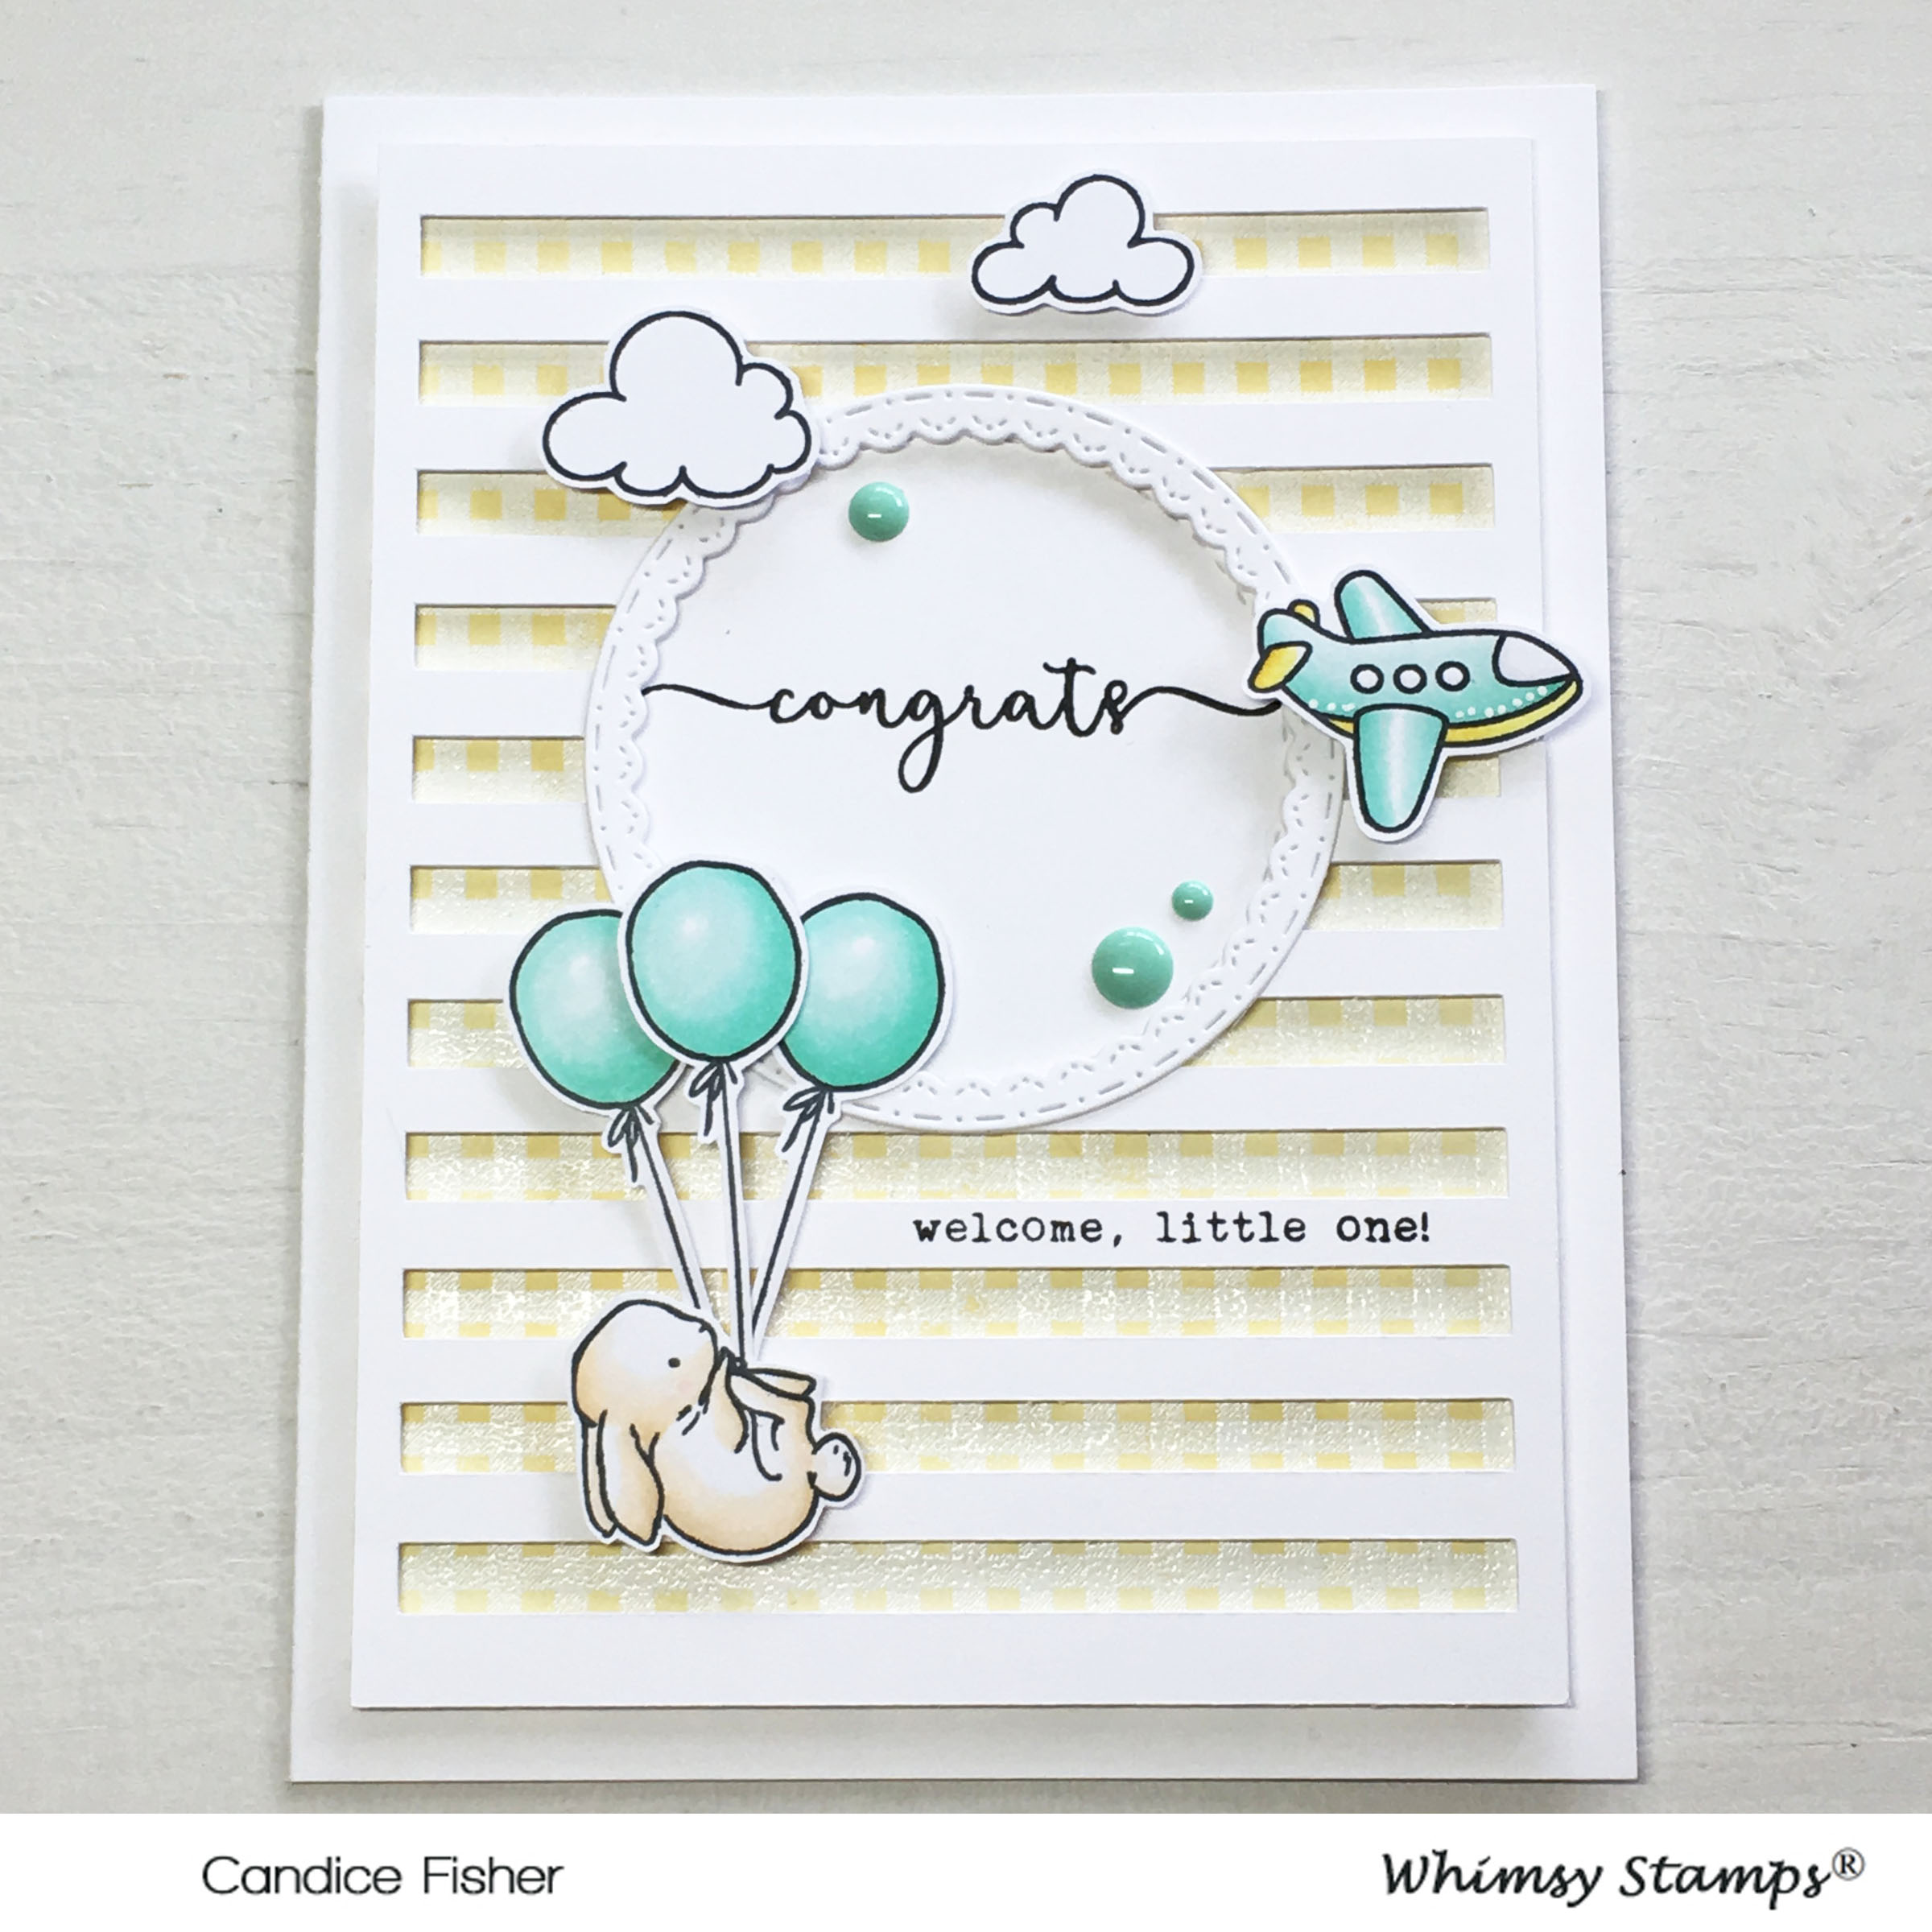
I thought that these stamps are perfect for a baby card and created a simple and soft design using Whimsy Stamps products:
GD whimsy stamps card 4 side  

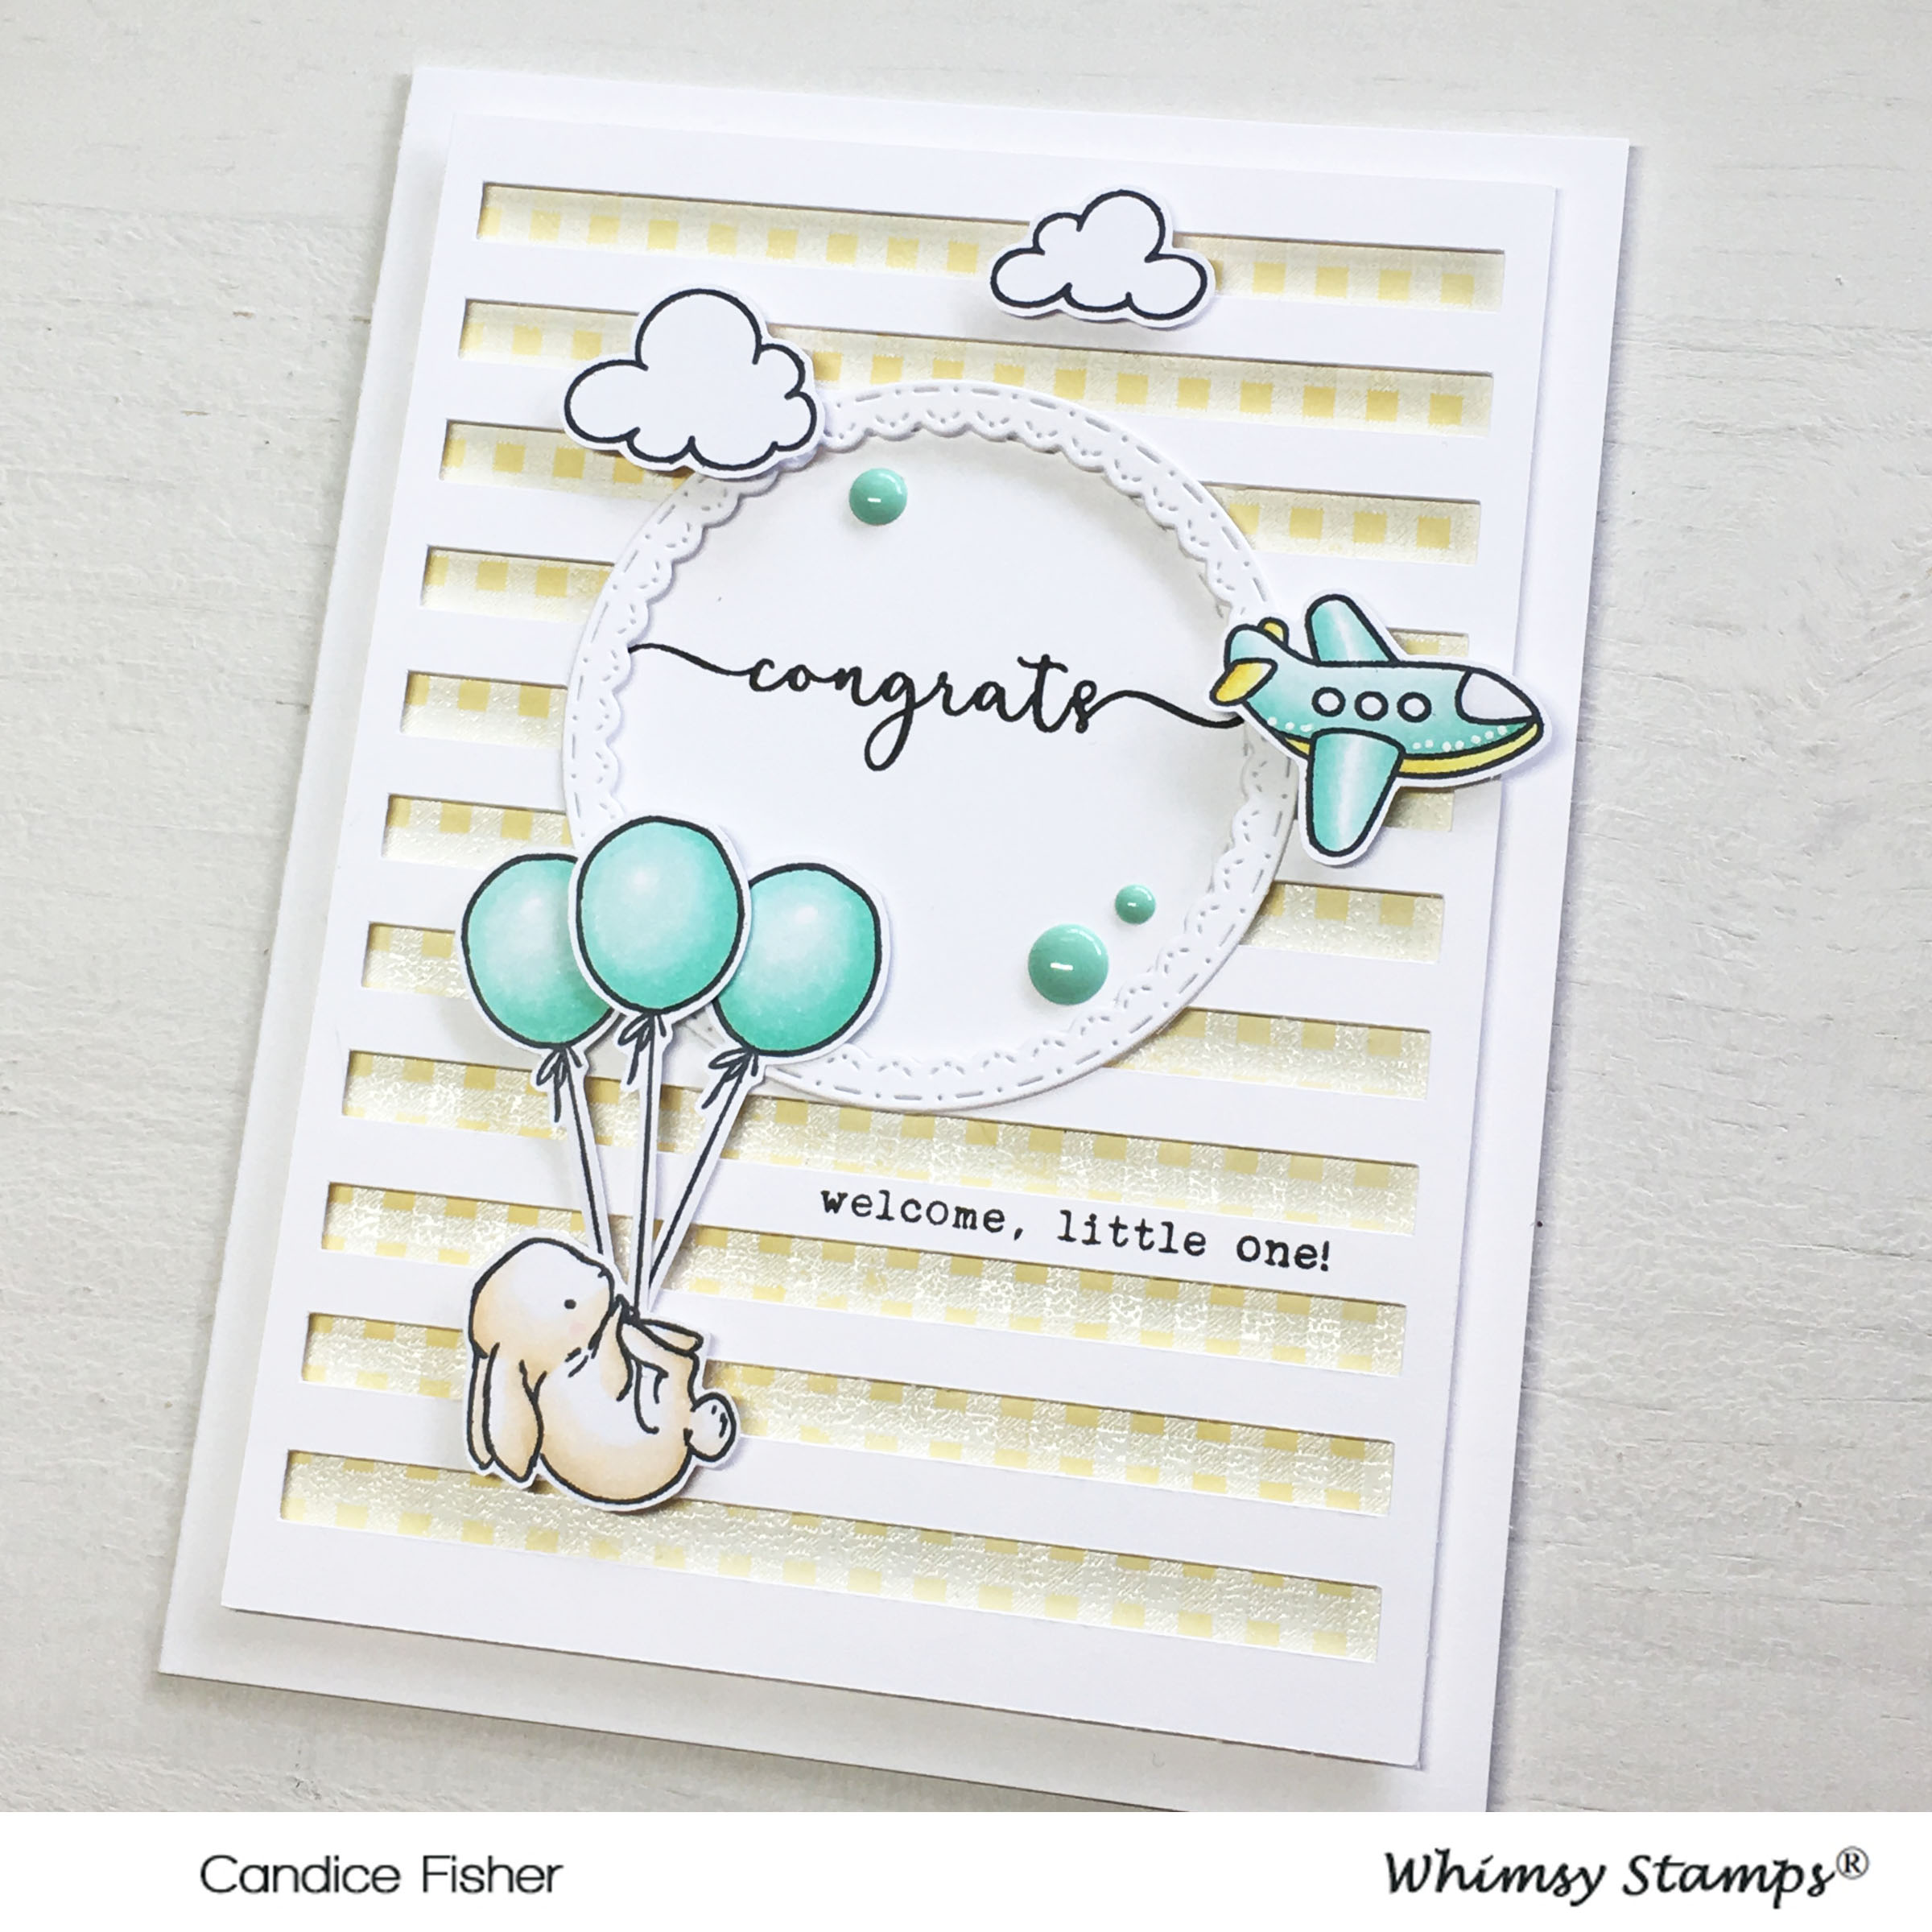
To start my card, I created a 5 x 6.5 card base from thick white cardstock. I then used my cameo silhouette to cut the striped overlay using the same thick white cardstock. Next, I used a circle die to cut through the overlay and die cut the stitched frame and circle to go behind also in the white cardstock. 
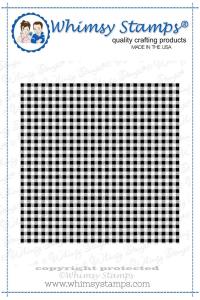
I stamped the sentiment directly onto the striped overlay using versafine black ink. I then stamped the gingham pattern using versamark and heat embossed in white. Next, I inked the whole background with scattered straw for a soft yellow.

  GD whimsy stamps card 4 close up

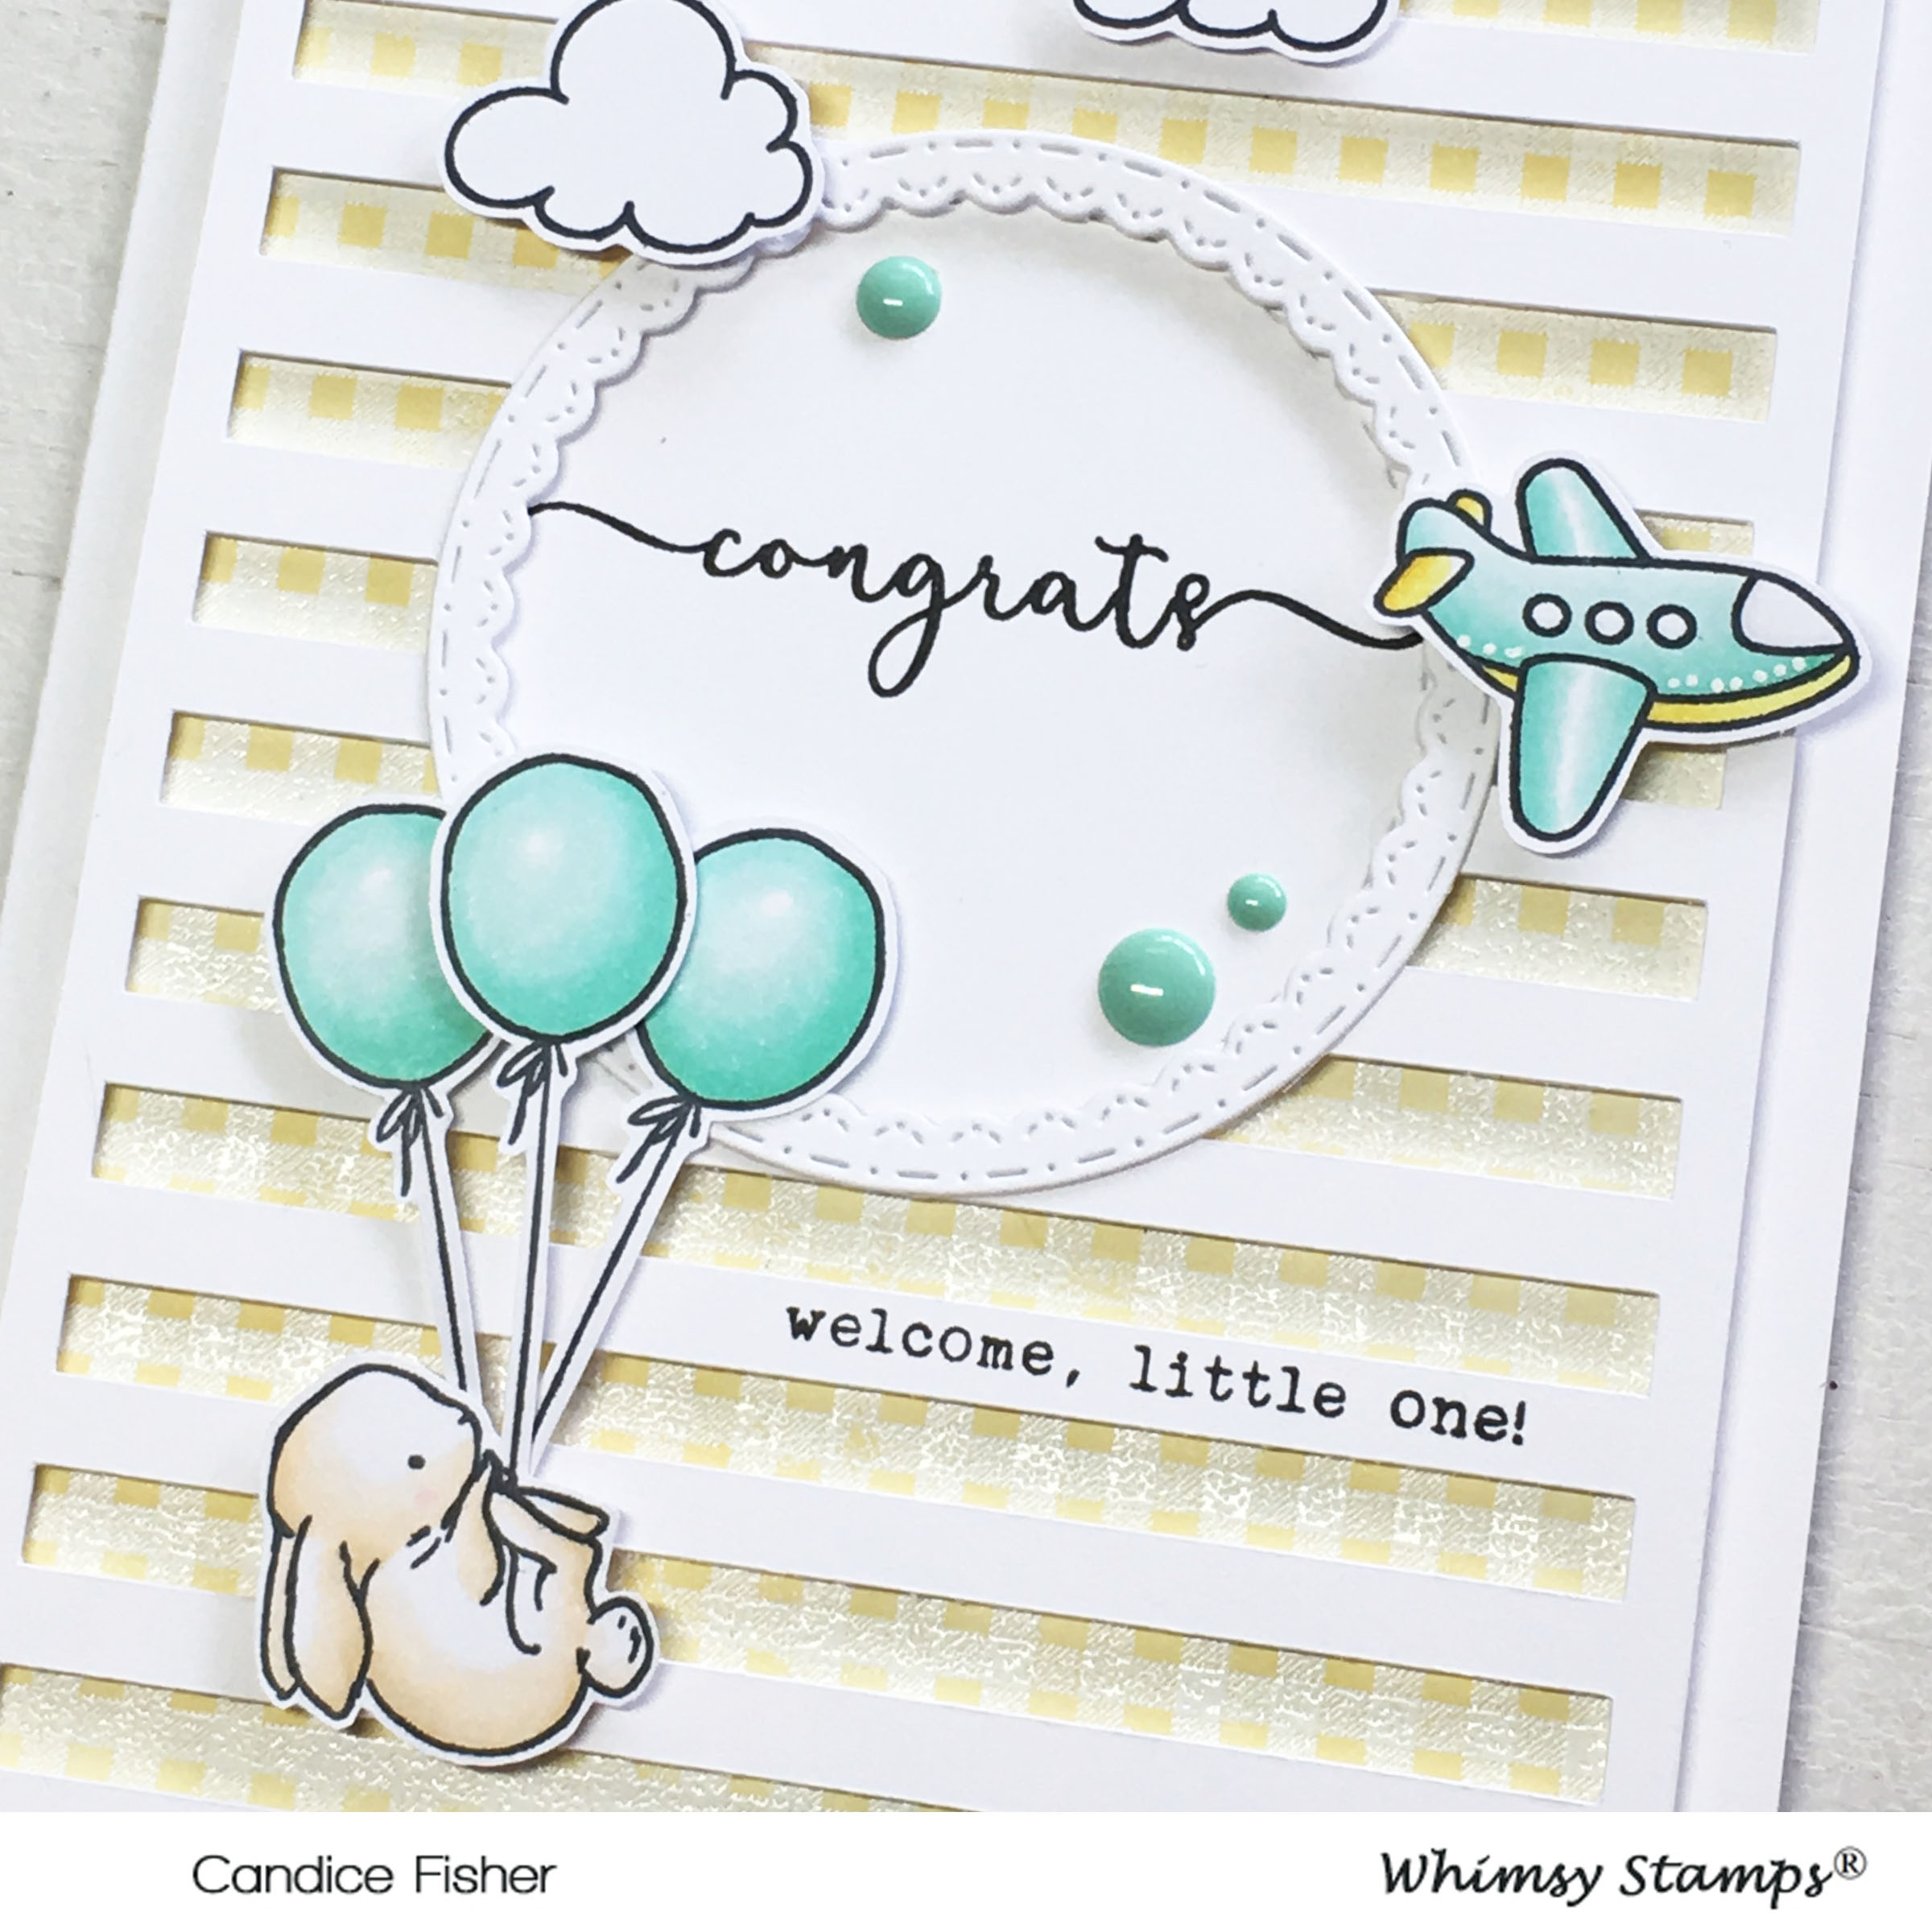
For the ever adorable images, I stamped the bunny and extra balloons and airplane and clouds, colored with copic markers and fussy cut out. I also stamped the congrats onto the center circle. To put the card all together, I glued the stitched circle frame to the overlay and pop dotted the congrats circle and overlay onto the yellow gingham. I added all the adorable images with pop dots and for the final embellishments, I added a few enamel dots.

  GD whimsy stamps card 4 with stamp set

I would love to see your creations on the Whimsy Stamps and Inspiration Facebook Group, and while you are there, you can join in the current challenge for your chance to win! I hope I have inspired you this month as Guest Designer with Whimsy Stamps, and I want to thank them so very much for having me this month of May! I have sooo enjoyed creating with these amazingly talent ladies and their stamp designs! Thank you! Candice

bunny balloons stamp set
fly by stamp set
gingham background rubber stamp

Special Guest - Heidi Jakobs - Baby Card

Hi everyone, Heidi here, I’m very excited to be back on the Whimsy blog and bring you today’s project as guest designer. I don’t need many baby cards in my life but one of my nephew’s became father of the cutest little girl on earth a few weeks ago, so I made this card for him and his girlfriend to welcome the new family member! For today’s card I choose two stamps from the Whimsy Stamps product line.


To get this card started I stamped the adorable Whimsy Stamps “Baby Giraffe“ stamp onto some Strathmore “Toned Tan“ paper using Versafine ink in the colour “Onyx Black“.
Next I coloured the image using coloured pencils from four different brands (you can of course use whatever coloured pencils you have and like): from my Faber Castell Polychromos pencils I used the numbers 123, 187, 180, 177 and 102. From my Holbein Artists‘ Colored Pencils I used the Rose Pink colour (this pencil is from the Pastel Tone Set that you can buy on Ebay). From my Prismacolor coloured pencils I used the Creme, Beige, Light Peach, Peach and Salmon Pink (for the skin tones) and for my highlights I used the White pencil from the Caran d‘Ache Luminance line.
When the colouring was done I went over some of the lines, that I lost during the colouring process, with a black Copic Multiliner (0.1).

Now I can die cut around the image using a circle stitched die from a nesting die set (I like to colour first and then die cut so that I have room to hold the image while colouring and also to do some swatches for colour combo’s to try out). I adhered this circle to a larger piece of yellow coloured paper using liquid glue and fussy cut around it, using my Fiskars scissors, since I don’t have a die in a size that‘s slightly larger then the stitched one that I used before.


I didn’t wanted the background to distract from the cute image so that’s why I choose a matching patterned paper from my stash with two different patterns on it, I die cut this in the right size with a square nesting die and I also die cut a larger square from a light green card stock using a stitched square die in a slightly larger size then the one I used before. I edged the pink patterned paper panel using Distress Ink in the colour “Picked Raspberry” and then I adhered the two mats together using liquid glue.

I also found some fun ribbon (that looks a little like lace) in my stash, wrapped that around the combined mats where the two patterns meet and adhered the ribbon on the back using regular tape.
Then I adhered these combined panels with the ribbon onto a square kraft card base slightly darker in tone then the paper that I coloured the image on, using one millimetre thick foam tape.

Next I’m going to work on my sentiment: for this I stamped one of the sentiments from the Whimsy Stamps “Friendly Flowers“ stamp set onto some crème coloured card stock using the same black ink as before and then I die cut around the sentiment using a circle die. I also die cut a slightly larger stitched circle die shape from the same light green card stock that I used before. These mats I adhered together using liquid glue.

Now I can put this card together: I adhered the coloured image with the yellow mat onto the square panels using one millimetre thick foam tape and then I adhered the sentiment over that also using one millimetre thick foam tape. To finish this card I adhered a matching baby themed chipboard from my stash to the project using Ranger Medium Matte.


And that’s today’s fun little project!

Baby Giraffe Friendly Flowers