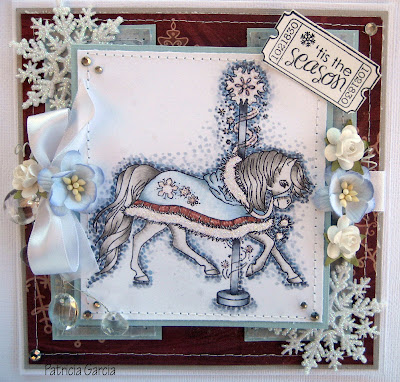
Hello all and welcome to my Ticket Die Tutorial! Today I like to show you how fun and easy it is to use the new
Whimsy Shapeology Ticket Die and alignment tool. I love this die! It's easy to use and makes a clear and perfect cut each time! The
Whimsy Shapeology Dies work well in most leading brand die cutting machines and cut papers in various weights.
Ok lets get started:
Gather your supplies! What you need is:
- the clear plastic alignment tool that came with the die
- a pencil and
- your die cutting machine.
My tutorial shows how to use it with the Provocraft Cuttlebug.
First stamp your ticket sentiment of choice onto cardstock. I used 'happy holidays',
one of the ticket sentiments from the
Holiday Ticket Sentiments by Raindrop Echo Designs.
Then take your die and plastic alignment tool ...
... and place it over your stamped image how you want it to be cut out. Make sure you
have the alignment tool with the correct side up (it is marked on the tool) otherwise your
pencil markings wont match with the die!
Now take your pencil and draw either around the little loops on
the sides or mark the wholes. For demonstration purposes I marked it both ways.
Remove the plastic alignment tool. This is how it looks now.
Place your stamped sentiment onto your cutting plate of your die cutting machine.
As I mentioned before I'm using the Cuttlebug. My Cuttlebug plate sandwich for cutting with
the ticket die is A, B, C and I'm cutting on plate B.
Now take your ticket die and place it, with the cutting edges facing down towards the paper,
over your sentiment. Make sure the metal loops align correctly with your pencil markings!
Carefully put the C plate on top and try not to move the aligned die. Run it through the machine.
And voila! Your sentiment has been cut out perfectly!
Ready to use on your project!
That was easy wasn't it? I hope you enjoyed the tutorial and are having fun using your
Ticket Die!
Thanks for stopping by the Whimsy blog today and have a fabulous weekend!
Hugs,


