
Hello, Whimsy friends! Please join me in welcoming Sandi MacIver to the Whimsy blog! You can see more of her fabulous work on her blog.
 This little guy is illustrated by Dustin Pike and there is quite a collection of him involved in all kinds of shenanigans over on the Whimsy Stamp site<<<<click here

How to create the Whimsy Stamps Dorky Dragon Card:
- Stamp the image in Gina K Amalgam Ink onto Neenah 80# card and color with Copic Markers:
- Die cut around the image with the Whimsy Stamps Zig Zag Rectangles Dies - that fun zig zag just adds to the quirkiness of the card
- White heat emboss the card front with the Whimsy Stamps Lots of Dots background stamp.
- Blend Distress Oxide Inks into the background starting from the bottom, Broken China, Cracked Pistachio and Squeezed Lemonade.
- Cut a black mat and attach behind the art piece and then attach it to the card front with Foam Tape to add a bit of Dimension.
- White heat emboss the sentiment from Whimsy Stamps Bold Sentiments onto a scrap of black and trim.
 Once I was all done coloring him, I went back in and added a bit of Pointillism with the medium green pen and a yellow Uni Pasco paint pen. These dots mirror the dots in the image, and the coordinating background and add further interest to the image. ( or he has yellow measles, haha).
COPIC MARKERS USED:
Greens: YG03 - 17 - 67 Violet: V12 - 15- 17 Yellow: Y15 - 17 - 38 Pinks: R81 - 83 - 85 Gray: C1 - 3 - 5 I hope you enjoyed today's card, I'll be back next week with another card using a different batch of stamps from Whimsy Stamps, until then, give them a visit HERE, I'm sure you will find something to make you smile.

used for the Whimsy Stamps Dorky Dragon card:
Want to find the products I used? I have them listed below. Compensated affiliate links used at no cost to you. Thank you for your support, it helps to cover my blogging and video expenses.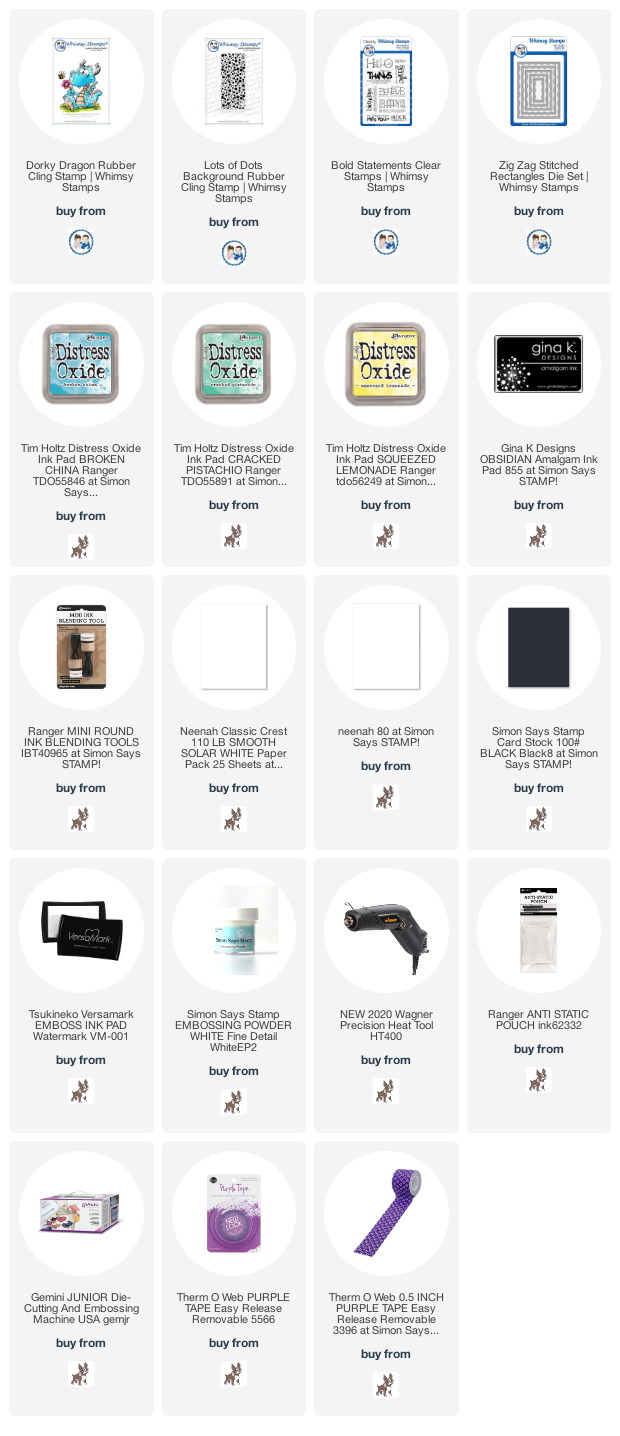


So pretty and creative card
ReplyDeleteVery beautiful card!
ReplyDelete