Showing posts with label Embossing. Show all posts

Tuesday Tutorial with Dawn Pauley

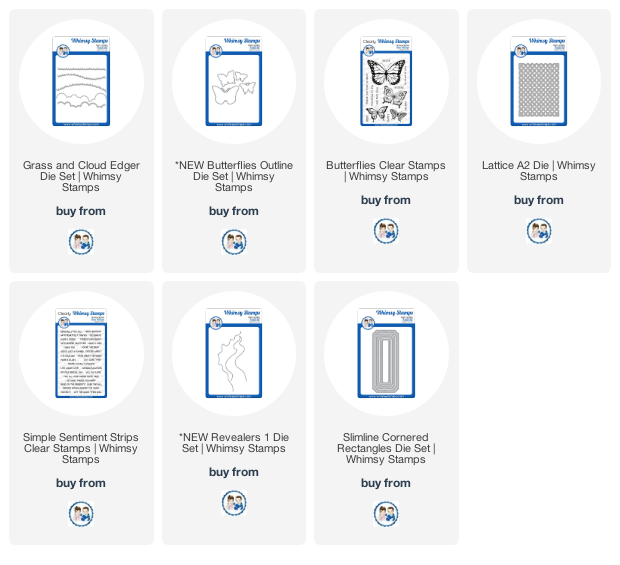
Hello Crafty Friends, Dawn here from D Pauley Designs. I'm visiting from the Whimsy Stamps Video Team to share a slimline card with Distress Texture Paste.  I used the Whimsy Stamps Butterflies Stamps set and matching die along with the Revealers 1 die set and some other products!


So let's get started. 

First, I make a cloud background with some distress oxide ink. You can use the Whimsy Stamps Grass and Cloud Edger die set or you can create your own cloud stencil by cutting different size humps in a piece of card stock. 


Then, I cut a rectangle from a piece of white card stock using the largest Whimsy Stamps Slimline Cornered Rectangle Die. Then, I took the Revealer Die and cut it in the center of the rectangle and using a craft knife I cut off the straight edge.

Next, I used the same rectangle to cut out the clouds. At this point is when you should put your distress texture paste on with your stencil. It makes it much easier that way.  However, when I made this card, I didn't decide to use the distress texture paste until after I put the card together. So, the next picture shows me putting it on after the card is some what assembled. 
To make my stencil, I used the Whimsy Stamps A2 Lattice Die and die cut it from a piece of white card stock. I used this as my stencil. 

Once I cover the whole paper with my paste, I let it dry for a little while. Then, I take some foam tape and  put it on the back of the white background and adhere it over the cloud paper.

I colored in all of my butterflies with copic markers. 
I used the following colors:
Small Butterfly - Y13, YR00
Medium Butterfly - Y13, V04, V09, RV66
Large Butterfly - YR07, RV09, RV63

I heat embossed the sentiment "With Heartfelt Thanks" with white embossing powder onto a piece of black card stock. Then, I put foam tape on the back of it and adhered it to the card.
I put foam tape on the back of the butterflies and adhered them to the card. 
To finish off the card, I scattered some gems randomly onto the card. 


That completes my card for today. Thanks for stopping by!

Here is a list of the Whimsy Stamps supplies I used.
ThermOWeb & Whimsy Stamps Collaboration Day Two


This week Whimsy Stamps and ThermOWeb are partnering for a fabulous week of inspiration and prizes!  All week long designers from both teams will be sharing ways to add foils and more to your projects using products from ThermOWeb and Whimsy Stamps.  Read to the end of this post to find out how you can win!

Kerys here with a cute card using products from ThermOWeb new to me - the GinaK foil-mates and icraft deco foil. I must admit - this was highly addictive and fun to use!


For my card I used the Stars & Stripes GinaK Foil Mates along with the aqua and lime deco foil. I made a little pocket and tag on the card using these.


I stamped and colored the Teddy Birthday Hat from Lee Holland & Whimsy stamps. I used my prismacolor pencils to color him in and added some of the lime deco foil for his hat (I used regular glue to stick this on)! I fussy cut him out and stuck him onto the pocket.

The background was created using the Darice Wire Fence embossing folder and then die cut using the Hand Stitched Nested Rectangles - both from Whimsy Stamps.

The sentiment was created using the Shaker Builder Sweetest Birthday die (now retired) and You're My Favorite stamp set from Whimsy Stamps.


I hope this card has inspired you to try the deco foil and foil mates, or even to move out of your comfort zone and try something new.


Would you like to win a $25 gift certificate to Whimsy Stamps?  To enter, leave comments on all of the collaboration posts on the Whimsy blog this week.  One winner will be randomly chosen from all of the blog posts, so the more posts you comment on, the better your chances are of winning!  You have until Monday, February 11th at midnight CST to comment.  The winner will be announced on the Whimsy blog on Tuesday, February 12th.

ThermOWeb is also offering a gift certificate, so be sure to visit their blog each day this week for more inspiration.  Leave comments on their blog for another chance to win!

Teddy Birthday Hat Rubber Cling Stamp Wire Fence Embossing Folder Hand Stitched Nested Rectangles    You're My Favorite Clear Stamps

Out of This World


Hi, everyone!  Toni here ready to blast off with my first post on the Whimsy Stamps blog! Come join me for the ride!

I've used WS A Boy's Dream and the Wonky Window Die from the new January release to create a super cute mixed media appreciation card.  I cut the Wonky Windows twice: once in black and once from an acrylic pull panel that I had embossed using Dreamweaver Glossy White Embossing Paste and the WS Speckled Hearts Stencil.  Isn't that shine fantastic?


I sponged the base lavender panel with Distress Oxide to create a bit of an ombre pattern before embossing sentiments from A Boy's Dream. I used Ranger Super Fine Detail White Embossing Powder which is my absolute fav. Be sure if you're using it over Oxides, you allow the Oxides to dry so the powder doesn't stick to it.  Been there, done that!

I used the below Copics to color up the images before adhering them. I love this combo, don't you?!

https://whimsystamps.com/search?q=copics

Thanks for stopping by!  See you soon!

Angel Celeste

Happy Sunday! This is Jeanette and I am here to share a card that I made using some of the new January released products paired up with a previously released product. I adore how beautifully all the older and newer products work together.


I stamped the Angel Celeste rubber stamp onto smooth, white card-stock and colored her up with Copic markers.  Once that was done, I trimmed it up to fit onto an A2 sized card.  I then stamped and heat embossed the sentiment which is from the new You're too Kind clear stamp set . The final set was to position the Star galaxy stencil over top and carefully sponged some of the stars.  I then heat embossed these as well. I used gold embossing ink and then I used clear embossing powder to heat set the ink.


*NEW Angel Celeste Rubber Cling Stamp  *NEW You're Too Kind Clear Stamps  Star Galaxy Stencil

Thanks so much for stopping by today! 


Peaceful Trees

Hello, Whimsy fans!  It's Andrea with you sharing a simple card created mainly with dies.  This card is perfect for mass production, yet looks so pretty that the recipient of it will feel quite special.


The focus of this design is those gorgeous trees from Crissy Armstrong's Snowy Trees Die Set.  After die-cutting the larger one, I added adhesive to the tips with a glue pen, sprinkled on some Wow! White Twinkle Embossing Glitter, and heat-embossed it.  I love that gorgeous sparkle!  


For my background, I inked up an A2-sized panel of Bristol Smooth paper with Salty Ocean distress ink and flicked on some shimmer spritz to represent falling snow.  I added droplets to the trees, as well.  Once the panel was dry, I silver heat-embossed a sentiment from Peace Love Joy (currently on sale!) and adhered my background to a white card.


To the background, I added a hill die-cut with the Stitched Border Trio Dies and tucked the smaller trees behind it.  Using the Basic Stitched Oval Die Set, I die-cut a frame from white cardstock and adhered it with foam tape.  I attached my embossed tree with dimensional adhesive and finished with a scattering of clear sequins.

Thanks for stopping by!  Don't forget that with every qualifying order, you get a FREE stamp set!

Hugs,

*NEW Snowy Trees Die SetStitched Border Die TrioBasic Stitched Ovals Die SetPeace Love Joy Clear Stamps

Wish Upon a Star with Copic Markers


Have you ever made a Copic marker scribble background for one of your cards? It’s exactly what it sounds like: grab a few markers and scribble over a stencil until you like the look.

The beauty of this technique is you don’t need to make a smooth blend since the streaky look is what you’re aiming for. And it’s a fast option if you need to make several cards, too.

 For the card today, I needed a little something to go behind this sentiment stamp called Wish Upon A Star. It was so funny - every time I read the words, the song got stuck in my head. I would be humming it for hours afterward!


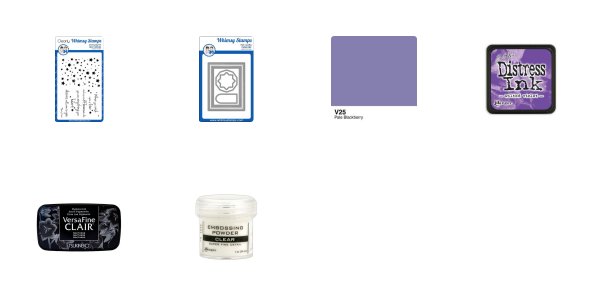
To put this together, die cut a rectangle from a scratch piece of paper, line it up over your card front, and tape it down with some low tack painter’s tape or Post-It® Tape. Grab two to three Copic markers (I used V20, V22, and V25) and scribble back and forth until you get a look you like, then lift off your rectangle stencil.

Don't worry if the ink bled around the edges, that's part of the beauty.

Stamp the stars with a light colored coordinating ink. I used Wilted Violet since it's a muted color. Then, stamp your sentiment with Versafine CLAIR in Nocturne (heat emboss with Detail Embossing Powder if you like), and trim the panel with your favorite frame die. I love the one that comes in the Card Builder Windows Die Set.


Finally, mat your card front with coordinating cardstock and adhere to your card base.

Thanks for reading today. If you liked this card, please share the love by pinning to Pinterest!

❤️  Niki • cardstoq.com • @cardstoq (on Instagram, Pinterest & Twitter)

Inlaid Die Cuts with July Paper Door


Hi Everyone, and welcome back! Today is my first official blog post for Whimsy Stamps, and I am so excited to share this inlaid die cut card using the July Paper Door kit stamps and dies, Beaucoup Bouquet. Have you ordered your kit yet?

Technique: Inlaid die cutting

I began by creating my flower and leaf background papers using Distress Oxide inks on Bristol smooth paper. First I “smooshed” the ink pads (two colors at a time for this project) onto the craft mat, spritzed with water until the ink pooled into drops, and blotted or pulled the paper through the wet ink. At times I spritzed the paper with more water to create a marbled effect. Then I dried it with the heat gun, and repeated the process a couple more times. TIP: The nice thing about Oxide inks is that they layer over previous colors, so you don’t get a “muddy” effect. Finally, I spritzed the paper with water, let it sit for a couple of seconds, dabbed it with a paper towel, and dried with a heat gun. I repeated until I was pleased with the outcome.

Distress Oxide inks used: Picked raspberry, seedless preserves, mermaid lagoon, cracked pistachio, squeezed lemonade, abandoned coral, lucky clover, and twisted citron.
TIP: Set your inked paper aside and die cut your background to insure that your paper is completely dry before embossing! The inking process is very wet, and the embossing powder will stick everywhere that the inked paper is not absolutely dry.

Can you see the "triangle" of flowers, and the visual balance of threes?
When designing a card layout, I usually stick to the tried-and-true composition rule of using odd numbers or groups of three, and you can see that in this background. I cut a piece of black cardstock to A2 size (5.5” x 4.24”), and began by die cutting one large flower in the upper left corner. Then I cut two smaller flowers forming a visual triangle (another design “rule” I use often). Can you see it? I worked from there to place the dies, and kept a small border around the edge. When the background was finished, I returned to my inked paper to emboss and cut the flowers.


Next I completely covered the inked paper with an anti-static tool to help insure I didn't get excess powder everywhere, and stamped all of the flower and leaf images with VersaMark then heat embossed. Finally, I die cut all of my pieces for my background, and glued them into place. TIP: I used my Tombow Mono eraser to remove some extra adhesive, ink, and “gunk” from the background panel. I found that all of the inking, taping, and glueing was messy, and the eraser helped clean up the final product to make it look clean and finished.

Finally, I trimmed the black background panel just a little to leave a white edge on the card. Then I finished it by adding a vellum strip, the die cut "Happy" sentiment with the "Birthday" banner, and a twine bow.
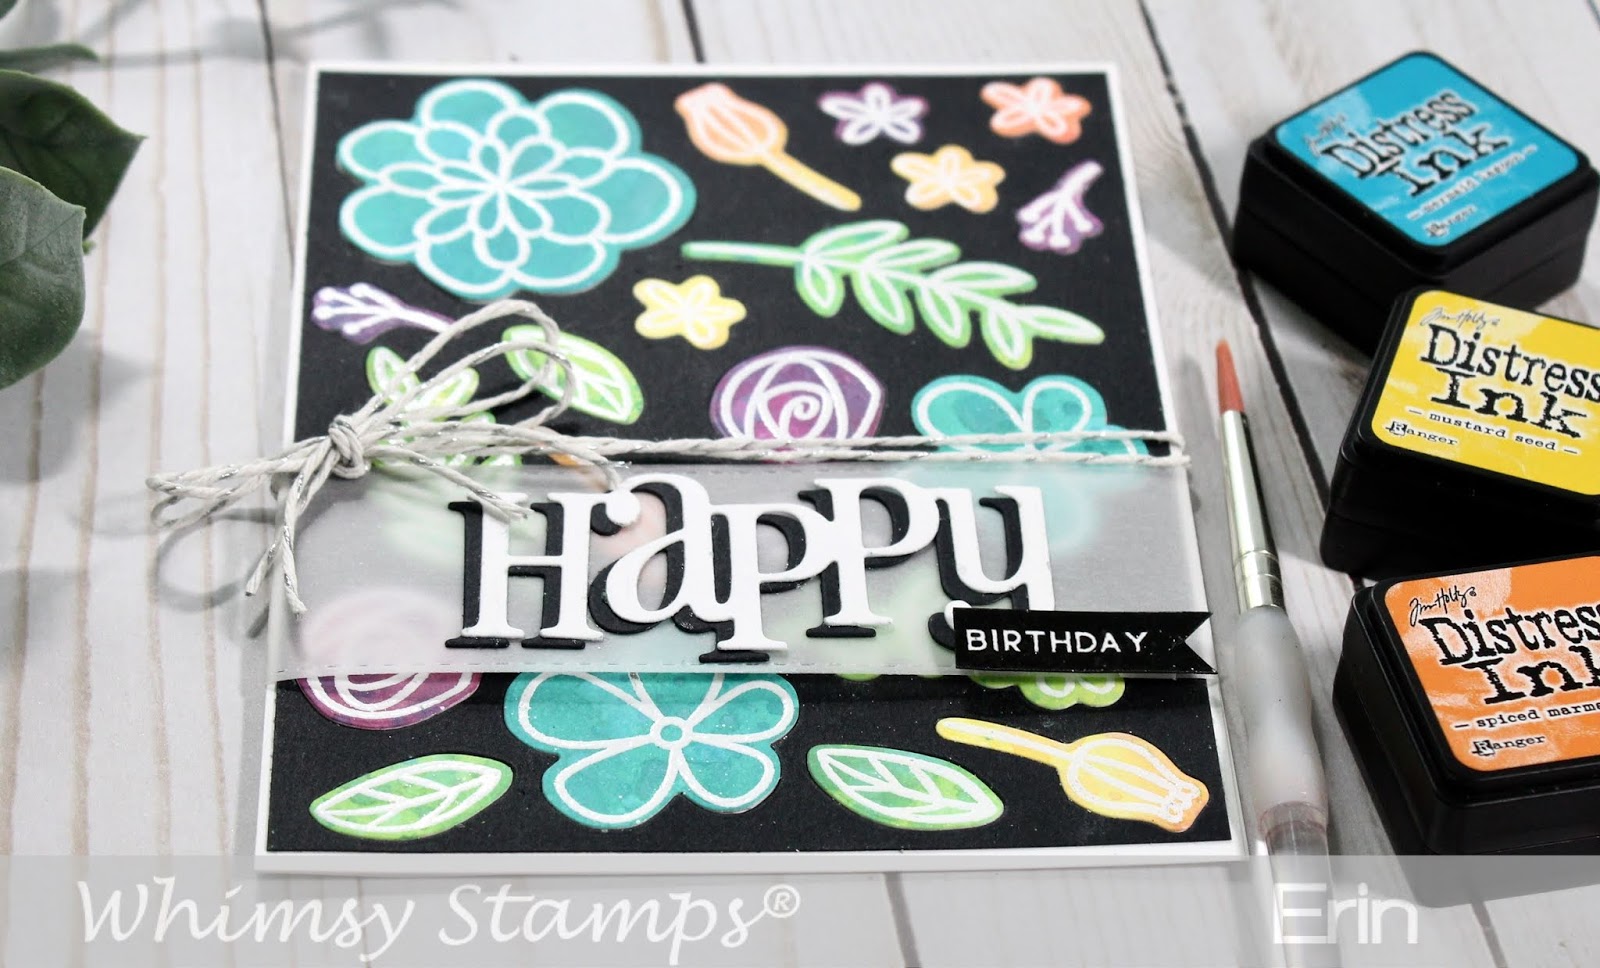


What do you think? I can't wait to see everything you create with this month's kit. Be sure to join and post your creations on the Whimsy Stamps and Inspiration Facebook page! Love and crafty hugs!

Erin


**PAPER DOOR - with USA shipping included**Distress Oxide Ink Pad - Seedless PreservesDistress Oxide Ink Pad - Cracked PistachioDistress Oxide Ink Pad - Picked RaspberryHappy Large Word DieVersaMark Full-Size Ink Pad - Original (Clear)