Showing posts with label Niki Coursey. Show all posts

An Ink Blended Christmas Eve

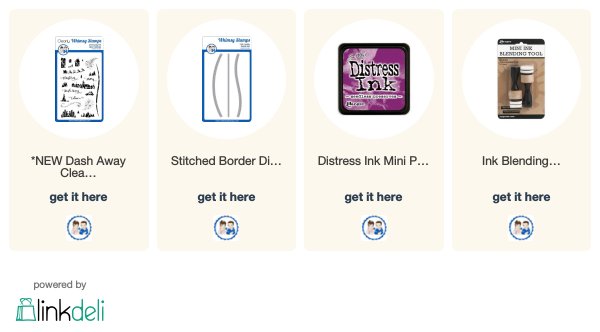
Hello! Niki here, and I just have to tell you that I love the Dash Away Stamp Set from this month's release! It’s so versatile – the sheer number of cards you can make with this set is fantastic. Of course, the first thing I did with it was to create a Distress Ink blended Christmas Eve scene.


I couldn’t resist. The little silhouette stamps are perfect, don’t you think?

The first thing I did was cut my card front pieces: one 4″ x 5-1/4″ rectangle of Neenah Solar White, and the snowy hill section, which measures 5-1/4″ long by about 1-1/4″ at the low point. I used Royal Sundance Felt Cardstock for that piece since it has a snowy-looking texture.

To figure out where I needed to start with the blending, I drew a light pencil line where I planned to put the hill.


Next, I blended my ink color in from the sides starting with the lightest, Scattered Straw, then moving on to Seedless Preserves and finally to Chipped Sapphire at the top.


It took a few layers of color to get the blend I was looking for but when it was done, I let it dry just a little bit.  Then, I added a few flicks of water with my paintbrush to make the beginning of a snowfall.


I re-drew my pencil line at this point and aligned all my stamps in a Mini MISTI. I stamped the images with Versafine CLAIR in Nocturne. You know, if you make a bunch of backgrounds first, you can mass produce these cards!


Then, I adhered my snowy hill over the bottom of the inked panel and attached the card front to an A2 card base. And to finish up, I drew some tiny stars with a Silver Star GellyRoll Pen.


Thanks for reading today! Check back tomorrow for more crafty goodness!


31 Nights of Halloween - Night 27


Hello and welcome to Day 27 of the 31 Nights of Halloween! 

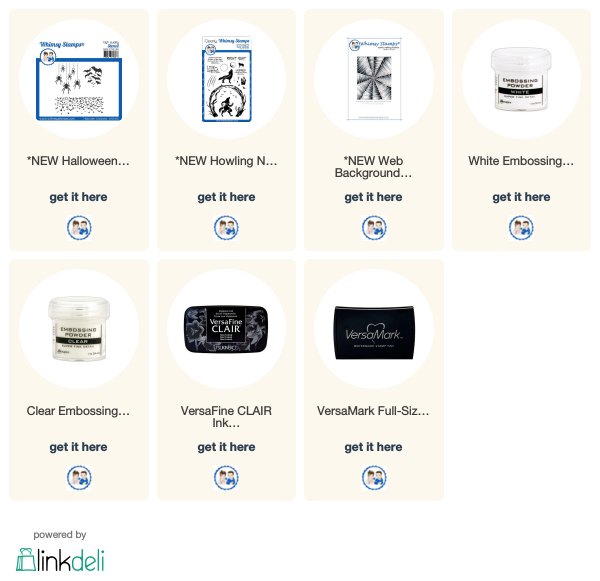
My card tonight is made using the Web Background stamp with Hero Arts Shadow Ink in Grape Juice, and the fabulous Halloween Creatures stencil.

I stamped the sentiment from the Howling Night stamp set with Versamark, and heat embossed it with White Embossing Powder. After trimming out the lower section of black cardstock to fit my card front, I drew stitching around the edges with a Uniball Signo Gel Pen.


To add the spiders, I used Versafine CLAIR in Nocturne over the stencil since I was going to heat emboss them with Clear Embossing Powder. 

To get the spider web string details and spider leg points, I used a small sponge dauber and touched up with a black Micron pen. After they were embossed, I added a little “shine” to the spiders with the same gel pen I used for the faux stitching.


And to finish everything off, I added a pretty ribbon along the black cardstock, then adhered everything together with some glue tape. 

Thank you for reading today! Come back tomorrow evening for more spooky inspiration!


Autumn Stained Glass Blooms + Coloring With Copics

I’ve always loved the look of stained glass. Mosaics, too. I find the bright, translucent colors and thick dark lines make such a beautiful contrast – delicate and bold at the same time.

For today’s card, I added some autumn color to this lovely stained glass design with Copic Sketch markers.

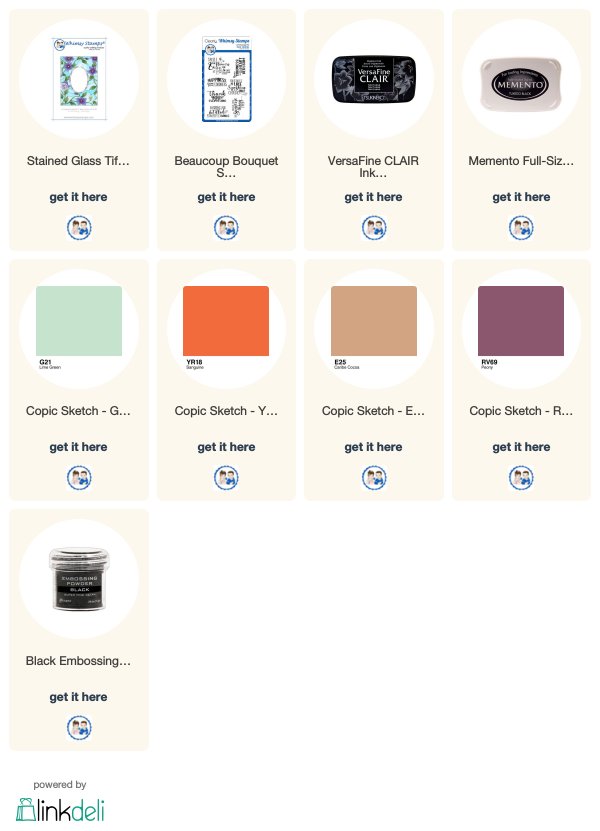
To start, I stamped the Stained Glass Tiffany Window image onto a piece of smooth white cardstock using a MISTI and black Memento Ink. I left the stamp in place for later and made a note of the position of my cardstock since I was going to re-stamp the lines for embossing.


Then, I went ahead and colored everything in (except for the very center oval). The color list is:

Flowers: YR18, R05 with Y19 centers
Leaves: Y19, RV69
Vines: E25
Background: G20, G21, G43
Outer Oval: RV69


Next, I dusted the cardstock all over with an Anti Static Pouch and re-stamped the lines with Versafine CLAIR in Nocturne. Then, I sprinkled Black Embossing Powder over it, tapped off the excess, and embossed it with a Heat Tool.


After that, all I had left was to add a sentiment in the center of the oval. I found this really nice one in the Beaucoup Bouquet Sentiments set that was just perfect to go along with the stained glass flower design.

I wasn’t sure of the size at first, though, so I used a little trick to test drive how the words would look: I have a piece of acetate that I use to position and “try on” sentiments before I actually stamp them. It’s saved me from several do-overs in the past!


I liked the placement and how it looked, so I went ahead and finished the stamping portion of the card.


Then it was just a matter of trimming the edges, blackening them with a Copic marker (#100) and adhering the card front to a black cardstock mat with Foam Circles. Finally, I attached the whole thing to a white card base.


Thanks for reading today! Happy coloring!


A Clean & Simple Banner Shaker Card

This cute banner shaker card was the result of me cleaning out my craft area. There was a lot of stuff collecting in there over the past two years (that was the last time I purged it).

I found some lovely watercolor patterned paper and a whole stash of sequins I didn’t know I had. Pretty cool, hey?!


To put this together, I used the Shaker Maker Banner Die Set to cut the top layer of the shaker window, the acetate for the “glass,” and the watercolor paper background.

Next, I stamped the sentiment (from You’re my Favorite) with Nocturne ink and heat embossed it with Clear Embossing Powder, so the shaker bits won’t stick and the words will stand out better.

I put the window frame face down and layered it with adhesive foam so I could add a mix of sequins and beads. Then I attached the patterned paper over it to close the shaker.

The card base needed a little something too, so I embossed it with a wavy embossing folder before I added on my banner shaker piece to finish the card.


That’s the best part of rummaging through craft stuff – you never know what you’ll unearth!

I’m so glad you came by to read today. Have you ever discovered stuff in your stash you forgot you had? Old book pages, maybe? A pompom kit from that one convention? A 2lb bag of sequins? Leave a comment below and tell me what you found!

❤️  Niki • cardstoq.com • @cardstoq (on Instagram, Pinterest & Twitter)

Wish Upon a Star with Copic Markers


Have you ever made a Copic marker scribble background for one of your cards? It’s exactly what it sounds like: grab a few markers and scribble over a stencil until you like the look.

The beauty of this technique is you don’t need to make a smooth blend since the streaky look is what you’re aiming for. And it’s a fast option if you need to make several cards, too.

 For the card today, I needed a little something to go behind this sentiment stamp called Wish Upon A Star. It was so funny - every time I read the words, the song got stuck in my head. I would be humming it for hours afterward!


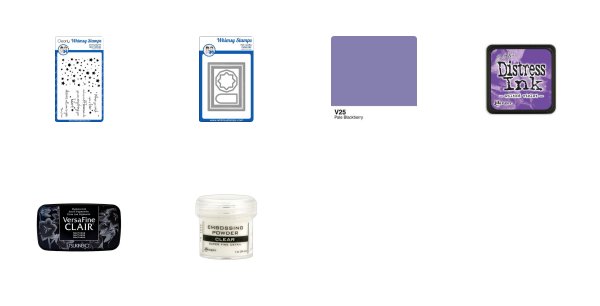
To put this together, die cut a rectangle from a scratch piece of paper, line it up over your card front, and tape it down with some low tack painter’s tape or Post-It® Tape. Grab two to three Copic markers (I used V20, V22, and V25) and scribble back and forth until you get a look you like, then lift off your rectangle stencil.

Don't worry if the ink bled around the edges, that's part of the beauty.

Stamp the stars with a light colored coordinating ink. I used Wilted Violet since it's a muted color. Then, stamp your sentiment with Versafine CLAIR in Nocturne (heat emboss with Detail Embossing Powder if you like), and trim the panel with your favorite frame die. I love the one that comes in the Card Builder Windows Die Set.


Finally, mat your card front with coordinating cardstock and adhere to your card base.

Thanks for reading today. If you liked this card, please share the love by pinning to Pinterest!

❤️  Niki • cardstoq.com • @cardstoq (on Instagram, Pinterest & Twitter)