Showing posts with label heat embossing. Show all posts

Peek-a-boo Shaker Tags


Hi Everyone and welcome back to the Whimsy Stamps Blog! I am excited to share a set of peek-a-boo shaker tags I created with this month's Paper Door kit, the Brushed Stripes Background stamp, and Shaker Maker Banner dies. I have been inspired lately by all of the amazing tags I've seen on social media including several DT members' creations.


Aren't those heat embossed Brushed Stripe tags pretty? I had so much fun playing with that stamp and trying different colors of embossing powders and foils. I used the Shaker Maker Banner dies to create these tags. Usually I discard the middle die cut piece, but decided it would be fun to use for a peek-a-boo tag this time. I scored a line 1/8" from the top, and then adhered it to the acetate window with 1/8" Scor tape.


 I used the Christmas Moments sentiment on the inside of these tags. HINT: If you stamp the sentiment before adhering the flap, make sure you stamp it upside down. Otherwise, it will be the wrong way when you open the tag. LOL!


The Glitter Globe stamps and dies are the perfect size for these shaker tags! I love that there are two different size trees to pair with the snowman and reindeer. The sequins and snowflake mix come with the kit too. HINT: I used two layers of craft foam for these tags because I wanted lots of movement in the shaker.  


So there you have it! Peek-a-boo shaker tags! What do you think? Have you ordered your Glitter Globe Paper Door Card Kit yet? It's only available for a few more days, and I can't wait to see what you create! Love and crafty hugs!

Erin


**PAPER DOOR - with USA shipping included** Shaker Maker Banner Die Set  Brushed Stripes Background Rubber Cling Stamp  Christmas Moments


31 Nights of Halloween - Night 27


Hello and welcome to Day 27 of the 31 Nights of Halloween! 

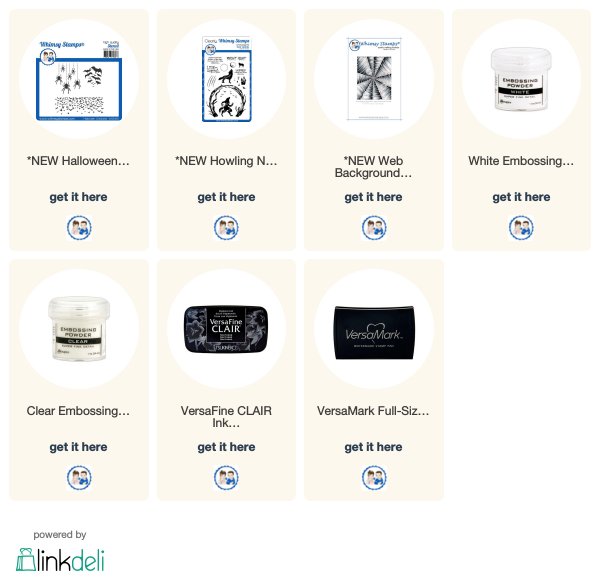
My card tonight is made using the Web Background stamp with Hero Arts Shadow Ink in Grape Juice, and the fabulous Halloween Creatures stencil.

I stamped the sentiment from the Howling Night stamp set with Versamark, and heat embossed it with White Embossing Powder. After trimming out the lower section of black cardstock to fit my card front, I drew stitching around the edges with a Uniball Signo Gel Pen.


To add the spiders, I used Versafine CLAIR in Nocturne over the stencil since I was going to heat emboss them with Clear Embossing Powder

To get the spider web string details and spider leg points, I used a small sponge dauber and touched up with a black Micron pen. After they were embossed, I added a little “shine” to the spiders with the same gel pen I used for the faux stitching.


And to finish everything off, I added a pretty ribbon along the black cardstock, then adhered everything together with some glue tape. 

Thank you for reading today! Come back tomorrow evening for more spooky inspiration!


Mazarine Butterfly Fairy


Hi Everyone and welcome back! I want to ask you a question today: What inspires you when coloring or crafting? I think we all fall into slumps and lose some of our crafting mojo once in a while. So how do we pull ourselves out of it? Well, I was super busy the last couple weeks with my kids heading back to school, and honestly, I was in a creative fog. Seriously, I had nothing!

So I wandered into the craft room, and I began by cleaning and organizing for a few minutes. Then I pulled my Whimsy stamps and die tub out, and started flipping through - just to see what caught my eye... And there was ... Mazarine! A sweet little fairy stamp I purchased a couple of months ago, and from the moment I first saw her I thought she looked like a cute ladybug with her wings ready to take flight and spread special wishes with her magic wand.


Now, I'm going to admit that I am a little intimidated by coloring with Copics, because I just started practicing in the last year or so. Two of the most challenging color families are reds and blacks, and of course a ladybug is, well,  red and black. So again I needed a little inspiration; Pinterest to the rescue! (You can see my Inspirational Images board HERE.) I found an adorable picture of a ladybug taking flight with her wings spread, and that was all of the inspiration I needed to begin coloring my Mazarine.


 So what do you think? The card techniques are pretty basic, so I won't go into the steps today. I mostly wanted to begin the conversation of how we find inspiration. Do you look for pictures? Flip through your stash? Share your thoughts and ideas in the comments. I can't wait to see what inspires you! Love and crafty hugs!
Erin


Copic Colors Used:

Skin: E000, E00, E11, E13, R20
Hair: E27, E29, E49, E57
Wings and Dots: N0, N2, N4, N6, N8, N9
Dress: R22, R24, R27, R29

Whimsy Products Used:

Mazarine Butterfly Fairy Rubber Cling Stamp   *NEW Cherry Blossom Background Rubber Cling Stamp  You're My Favorite Clear Stamps   Wavy Edgers Die SetBlack Embossing PowderVersaMark Full-Size Ink Pad - Original (Clear) Copic Markers