Showing posts with label Zig Zag Stitched Rectangles Die Set. Show all posts

Tuesday Tutorial - Copic Coloring Polka Dot Pals Syeda

Hey there!  It's Tricia with you today sharing a Copic coloring tutorial using Polka Dot Pals Syeda stamp set.  I stamped the image onto Neenah 80 lb. cardstock and then trimmed the image out.  I always like to start with skin tones.   I love to see the image start to come to life as you are coloring.   


Face and arm:  E000, E00, E21, E11, R20 
Pig: R30, R11, R32

I typically do two layers of color and really depending on the color I swap back and forth from light to dark or dark to light.   With colors that tend to bleed, I will use the dark to light method so I don't lay down too much ink.   I have found as long as I keep the marker area wet, I get a better blend. 


For her outfit, I knew for sure that I wanted a red apron and paired it with a pair of jeans and a white t-shirt.   Of course, she needed some fancy boots to go with her outfit, I colored them as if they were a pair of Ugg's.   I had a little of the red bleed over into the T-shirt.   I color on top of a stack of papers and when a mistake happens I use my 0 to lift the color.   Once I use the Colorless blender, I will push the paper down and the papers underneath will absorb the color.   

Apron and Headband: R22, R24, R27, R29, C0, C1
T-shirt: C0, C1
Jeans: B95, B97, B99
Boots: E30, E31, E35, E37
Hair: YR21, YR24, E99


  To finish off the image I added some details with a white gel pen.  A few polka dots for her apron pocket and then I used the gel pen to add highlights to the image. 


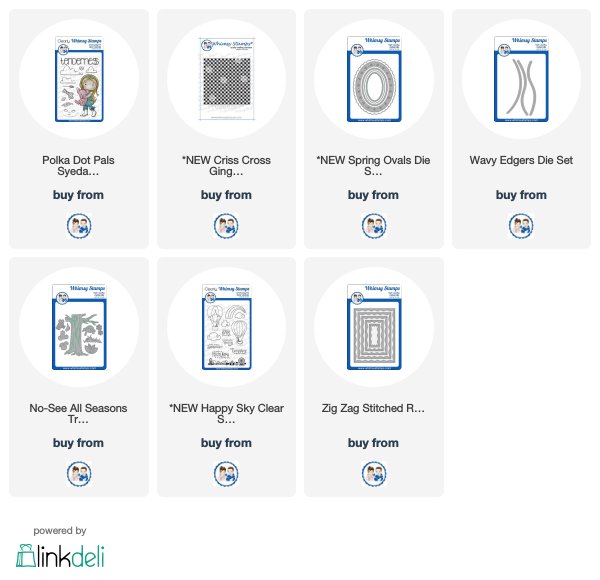
For my main card panel, I stamped a card base of light aqua cardstock with the new Criss Cross Gingham Background Rubber stamp with some aqua ink.   I cut another panel of light aqua cardstock with the largest scalloped oval from the Spring Ovals Die Set.   I cut some white and green cardstock with the next largest die.  I just love the die cut flowers around the die cut and the detail that it adds.   I trimmed the green cardstock down with the Wavy Edgers Die set.   


I used a sentiment from the Happy Sky stamp set and stamped it onto the smallest Zig Zag Stitched Rectangles Die Set.    I added a flower created with the No See All Seasons Tree Die set.   

Thank you so much for joining me today!   


Whimsy Stamps and Tombow Collaboration - Day 2


All week long, Whimsy Stamps and Tombow will be joining forces to bring you some amazing inspiration combining products from these great companies! Be sure to visit both companies' blogs each day this week to see all of the incredible projects the designers have created AND to enter the giveaways (see instructions below my project).

_____________________________________________________________________________

It's Alanna here, and I am super excited to share my projects with you today.  I had so much fun making them and using some awesome products from Tombow along with lots of fun goodies from Whimsy Stamps.

For my first card, I stamped out one of the super cute owls from the Happy Owlidays Too stamp set. I then colored it with the new ABT PRO alcohol markers that were just released last month from Tombow.  I am loving these markers and was able to get some good blends, as you can see from the photo below.


After my image was colored, I fussy cut the little guy out and then got to work on my background.  I took one of the original Dual Brush Pens from Tombow, which are water-based markers and good for all sorts of techniques, and scribbled some onto my glass surface.  I then added just a bit of water and then painted on my background.  I then took more of the marker and this time with less water, I splattered on some larger flecks of color to add more interest and dimension to the background.

I figured out where the placement of my owl was going to be and then stamped my sentiment, which is from the Happy Owlidays set.

After this panel was dry, I die cut it using one of the Zig Zag Stitched Rectangle dies, and I also die cut a piece of aqua card stock using the largest die from that collection.  I popped up the white panel with foam tape along with the cute little owl.

 For my second project today, I used more of the Dual Brush Pens from Tombow to create my background like I did above. I used various shades of blues to achieve the look, making sure to dry my watercolor card stock in between so that the colors would layer on top of each other.

I then stamped, colored and die cut the adorable penguins from the brand new Penguin Farts stamp set. The only coloring I did was to add an orange marker from Tombow to their beaks and feet. The coordinating dies can be found here for this set.

I die cut the new Slimline Windows die from some white card stock and then got to work on assembling my card. The sentiments are from the Penguin Holiday Squares set.


To enter to win the $25 gift certificate from Whimsy Stamps and the prize package from Tombow, simply leave a comment on each of the collaboration posts this week on the Whimsy blog.  All comments must be left by midnight EST on Friday, December 13th.  Two commenters - one for the Whimsy gift certificate and one for the Tombow package - will be randomly-selected and announced on the Whimsy blog on Saturday, December 14th.


Don’t forget to visit the Tombow blog each day, also, for more inspiration from the Tombow designers!


Wolf!

Hi stamping friends, I love it when a stamp almost colours itself, and this Wolf's Head stamp does just that.  Only a little colouring with W copic markers and a touch of yellow for the eyes and job done!

I stamped the iimage on to Neenah cardstock and coloured with my W5, 3, 1, 0 and 00 markers for the fur and YR24/Y11 for the eyes.  I die cut it using the Zig Zag Stitched Rectangles die set.


I went all masculine with this card, and kept the colours simple so the image would pop.  A sentiment from the  Everyday Banner Sentiments (digi) and a bit of twine just finished the card off.


Products used from Whimsy Stamps:


Thanks for stopping by today


Celebrate with Birthday Otters

Hello, Whimsy friends!  It's Andrea with you today sharing a fun card featuring the adorable Birthday Otters stamp set.  If you haven't shopped the new release yet (what are you waiting for - it's awesome!), then hopefully I can persuade you to add these cuties to your collection.  Not only does this set have adorable images, but it also has some really fun sentiments.

Otter Birthday Party Card by Andrea Shell | Birthday Otters stamp by Whimsy Stamps
Didn't I tell you they were adorable?!  I stamped all of the images with Memento Tuxedo Black ink and colored them with Copics (colors listed below).  After trimming them out, I added details and highlights with a white gel pen.

Otter Birthday Party Card by Andrea Shell | Birthday Otters stamp by Whimsy Stamps
I die-cut Bristol paper with the Zig Zag Stitched Rectangles Die Set and inked up the center with Mustard Seed distress ink.  I flicked on water droplets for interest and backed the panel with some Chilly Designer Paper, which I adhered to a white card.

Otter Birthday Party Card by Andrea Shell | Birthday Otters stamp by Whimsy Stamps

I adhered my colored images to the panel, popping up the otters and cake with foam tape and grounding the images with gray Copics.  I stamped a sentiment from Birthday Otters with Versafine Onyx Black ink and added "celebrate", which was die-cut from red glitter paper with the Celebrate Word and Shadow Die Set.  For more sparkle I brushed clear Wink of Stella over the images.

Thanks for stopping by!  Be sure to subscribe to the Whimsy newsletter so you don't miss out on any sales notifications or other important info!

Penguin - C1, C3, C5, C7, C9, YR04, R24, R29, R59, V000, V12, V15 Y06, Y18
Otters - E51, E53, E33, E35, E40, E41, E42, 0, R20, B000
Hats - BG000, BG45, BG07, R22, R24
Cake - Y06, Y18, R24, R29, R59, BG000, BG45, BG07, BG09

Zig Zag Stitched Rectangles Die Set
6x6 Paper Pack - Chilly
Celebrate Word and Shadow Die Set

~ May All Your Dreams Come True ~

Hello My Crafty Peeps!

Nicolette here sharing with you a card showcasing Whimsy Stamp's new Sleepy Sloths Clear Stamp Set and their new super fun Zig Zag Stitched Rectangles Die Set.  This sleepy little sloth is dreaming BIG dreams. Isn't he precious?!


To complete this scene, I used the Pierced Border Trio Die Set to create the hills and the smallest circle die from the Pierced and Stitched Circles Die Set for the moon.  The adorable teeny tiny stars come from the shaker bits die plate that comes in the Shaker Maker Rectangle Die Set.  The banner is from the Quick Strips Die Set.  I love all the banner choices there are to choose from in this set.

Whimsy Stamps ~


~ Copics ~
Sloth:  E51 E34 E35 E37 E57 C5 C7
Face:  E50 E51 E00 R000 R00 R01
Nose:  C0 C1 C3 C5 C7
Branch:  E31 E35 E57
Leaves:  YG03 YG17 YG67

**I participate in Whimsy Stamp's affiliate program.  That means I receive a commission when products are purchased through links here on my blog. (At NO additional cost to you).  This allows me to be able to make more projects to share and hopefully inspire you!  From the bottom of my heart, I appreciate your support!!!

I would love for you to follow me on my blog, Stella Rue Studios or on Instagram, @stellaruestudios!

Happy Stamping!