All week long, Whimsy Stamps and Tombow will be joining forces to bring you some amazing inspiration combining products from these great companies! Be sure to visit both companies' blogs each day this week to see all of the incredible projects the designers have created AND to enter the giveaways (see instructions below my project).
_____________________________________________________________________________
_____________________________________________________________________________
It's Alanna here, and I am super excited to share my projects with you today. I had so much fun making them and using some awesome products from Tombow along with lots of fun goodies from Whimsy Stamps.
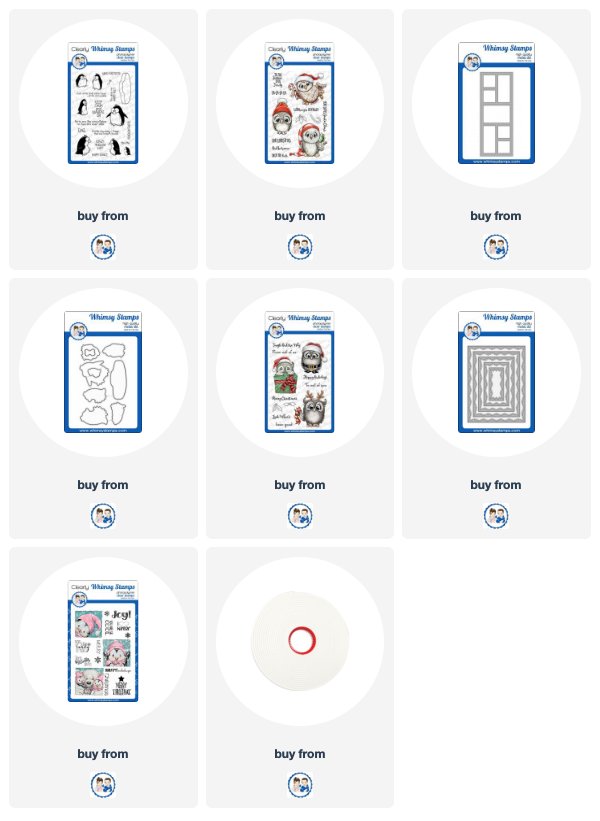
For my first card, I stamped out one of the super cute owls from the Happy Owlidays Too stamp set. I then colored it with the new ABT PRO alcohol markers that were just released last month from Tombow. I am loving these markers and was able to get some good blends, as you can see from the photo below.

After my image was colored, I fussy cut the little guy out and then got to work on my background. I took one of the original Dual Brush Pens from Tombow, which are water-based markers and good for all sorts of techniques, and scribbled some onto my glass surface. I then added just a bit of water and then painted on my background. I then took more of the marker and this time with less water, I splattered on some larger flecks of color to add more interest and dimension to the background.
I figured out where the placement of my owl was going to be and then stamped my sentiment, which is from the Happy Owlidays set.
After this panel was dry, I die cut it using one of the Zig Zag Stitched Rectangle dies, and I also die cut a piece of aqua card stock using the largest die from that collection. I popped up the white panel with foam tape along with the cute little owl.

 I then stamped, colored and die cut the adorable penguins from the brand new Penguin Farts stamp set. The only coloring I did was to add an orange marker from Tombow to their beaks and feet. The coordinating dies can be found here for this set.
I die cut the new Slimline Windows die from some white card stock and then got to work on assembling my card. The sentiments are from the Penguin Holiday Squares set.

I figured out where the placement of my owl was going to be and then stamped my sentiment, which is from the Happy Owlidays set.
After this panel was dry, I die cut it using one of the Zig Zag Stitched Rectangle dies, and I also die cut a piece of aqua card stock using the largest die from that collection. I popped up the white panel with foam tape along with the cute little owl.

For my second project today, I used more of the Dual Brush Pens from Tombow to create my background like I did above. I used various shades of blues to achieve the look, making sure to dry my watercolor card stock in between so that the colors would layer on top of each other.

I die cut the new Slimline Windows die from some white card stock and then got to work on assembling my card. The sentiments are from the Penguin Holiday Squares set.

To enter to win the $25 gift certificate from Whimsy Stamps and the prize package from Tombow, simply leave a comment on each of the collaboration posts this week on the Whimsy blog. All comments must be left by midnight EST on Friday, December 13th. Two commenters - one for the Whimsy gift certificate and one for the Tombow package - will be randomly-selected and announced on the Whimsy blog on Saturday, December 14th.
Don’t forget to visit the Tombow blog each day, also, for more inspiration from the Tombow designers!