Showing posts with label Happy Sky. Show all posts

Tuesday Tutorial with Andrea

 Hi, Whimsy friends!  It's Andrea with you today, and I'm taking a break from Christmas crafting to share a fun, colorful, birthday card with you.


Have you checked out the Retiring Products section of the shop?  There are some fabulous products in it, including the Happy Sky stamp set I've used, and everything is 60% off!  I love a good deal, and that is an amazing one!  Hurry, though, because supplies are limited.

I started by stamping those adorable images from Happy Sky in black and colored them with my Copics.  I have listed all of the colors I used at the end of this post.  Once I was finished coloring, I cut  out the images with the coordinating dies (retired).


To create my background, I blended a panel of white cardstock with the following colors of Distress Oxides: Spun Sugar, Picked Raspberry, Wilted Violet, and Blueprint Sketch.  I went back and forth between the colors, allowing them to overlap a bit, to achieve a (mostly) seamless blend.  After I was finished blending, I splattered Shimmer Spritz all over the background.


I die-cut the Slimline Wonky Window 1 Die from white cardstock and trimmed my ink-blended panel to size.  After adhering the frame to my panel, I white heat-embossed a sentiment from Magical Birthday Wishes.


I adhered my framed panel to a white card and arranged my colored images on top with foam tape. I finished the card with a scattering of Crystal Stars Sparkletz.


Thanks for stopping by!  I hope you have a very Merry Christmas and a Happy New Year!


Copics:
Clouds - N0, N1, N3
Giraffe Balloon - YR21, YR24, E50, E51, E53, E55, E57, E59, 
BG02, BG05, BG07, BG09, Y11, Y13, Y15, Y18,
RV02, RV04, RV06, RV09, V15, R35
Zebra Balloon - E51, E53, E55, W1, W3, R11, R20, Y11, Y13,
Y15, Y18, R32, R35, R37, R49, RV02, RV04, RV06, RV09


*Affiliate links used at no cost to you.

31 Nights of Halloween - Night 27


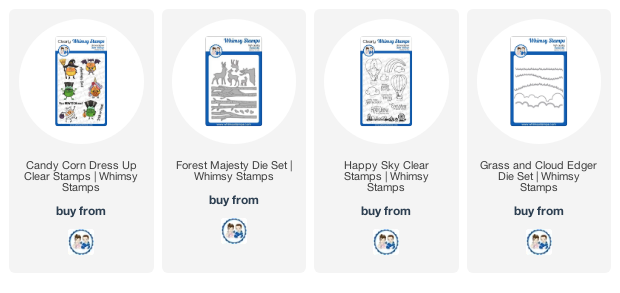
Hi crafty friends! Are you enjoying the month-long inspiration of Halloween and prizes? It’s Donna from the Whimsy Stamps Video Team, and I am sharing a cutesy Halloween card featuring the Candy Corn Dress Up stamp set.

I started by stamping out all of the images onto solar white cardstock with Copic friendly ink and colored them in with Copic Markers. Then I used my ScanNCut to cut the images out.

Copic Markers: E35, YR07, YR04, YR12, E34, Y15, Y08, Y00, B17, B13, B04, B02, YG17, YG03, N7, N5, N3, N1, N0, C3, C1, C00


For the background, I trimmed a piece of smooth cardstock down to 8.50” by 3.50” and ink blended the background using Distress Ink in Seedless Preserve, Picked Raspberry, and Dried Marigold.

I blended a small panel of smooth cardstock with Distress inks in Twisted Citron and Mowed Lawn for the grass. I die cut the panel with the grass die from the Grass and Cloud Edger Dies.

Next, I added water splatters and white diluted paint across both of the panels and set those aside to dry.

While the panels were drying, I die cut several trees from the Forest Majesty Die Set and added Walnut Stain and Vintage Photo to ink them.


At this point, I had all of the elements, and it was time to start assembling the card. I added the background panel using liquid adhesive to a slimline card base. I used foam tape to add dimension to the grass border and added in all of the images.

To complete this card, I trimmed a piece of black cardstock, stamped the sentiment from the stamp set, popped it up on foam adhesive on the card front, and finally, added the clouds from the Happy Sky stamp set.

I hope you are enjoying the 31 Nights of Halloween and are inspired by all of the projects so far, don’t forget to enter the grand prize giveaway on the Whimsy Stamps Blog!


Tuesday Tutorial - Copic Coloring Polka Dot Pals Syeda

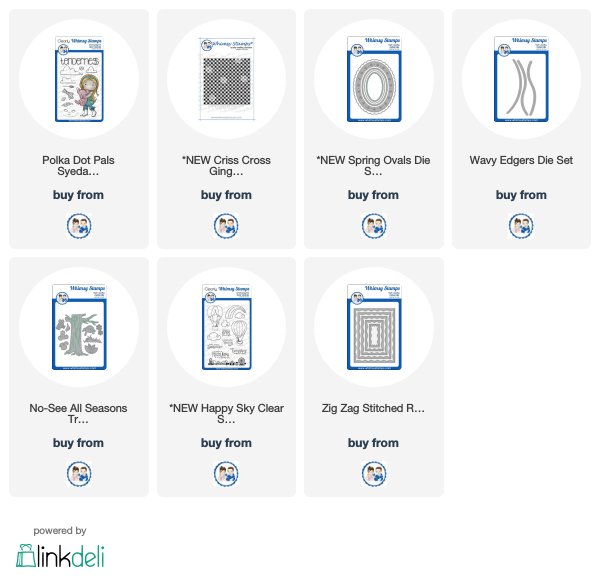
Hey there!  It's Tricia with you today sharing a Copic coloring tutorial using Polka Dot Pals Syeda stamp set.  I stamped the image onto Neenah 80 lb. cardstock and then trimmed the image out.  I always like to start with skin tones.   I love to see the image start to come to life as you are coloring.   


Face and arm:  E000, E00, E21, E11, R20 
Pig: R30, R11, R32

I typically do two layers of color and really depending on the color I swap back and forth from light to dark or dark to light.   With colors that tend to bleed, I will use the dark to light method so I don't lay down too much ink.   I have found as long as I keep the marker area wet, I get a better blend. 


For her outfit, I knew for sure that I wanted a red apron and paired it with a pair of jeans and a white t-shirt.   Of course, she needed some fancy boots to go with her outfit, I colored them as if they were a pair of Ugg's.   I had a little of the red bleed over into the T-shirt.   I color on top of a stack of papers and when a mistake happens I use my 0 to lift the color.   Once I use the Colorless blender, I will push the paper down and the papers underneath will absorb the color.   

Apron and Headband: R22, R24, R27, R29, C0, C1
T-shirt: C0, C1
Jeans: B95, B97, B99
Boots: E30, E31, E35, E37
Hair: YR21, YR24, E99


  To finish off the image I added some details with a white gel pen.  A few polka dots for her apron pocket and then I used the gel pen to add highlights to the image. 


For my main card panel, I stamped a card base of light aqua cardstock with the new Criss Cross Gingham Background Rubber stamp with some aqua ink.   I cut another panel of light aqua cardstock with the largest scalloped oval from the Spring Ovals Die Set.   I cut some white and green cardstock with the next largest die.  I just love the die cut flowers around the die cut and the detail that it adds.   I trimmed the green cardstock down with the Wavy Edgers Die set.   


I used a sentiment from the Happy Sky stamp set and stamped it onto the smallest Zig Zag Stitched Rectangles Die Set.    I added a flower created with the No See All Seasons Tree Die set.   

Thank you so much for joining me today!   


Happy Skies

Hello, Whimsy friends! Lisa here with you today, sharing two quick and simple cards featuring the Whimsy Stamps Happy Sky Stamp Set, Happy Sayings Stamp Set, and Happy Large Word Die. 
I'm starting to believe this trio of products is a match made in crafty heaven!


I have a short video tutorial for you.


I start with a panel cut to 3.25" x 4.5" #110 cardstock, ink blend with Distress Oxides ink, Abandoned Coral, Scattered Straw, Squeezed Lemonade on the first panel. Distress Oxides; Wilted Violet, Picked Raspberry, Spun Sugar on the second panel.

Stamp the silhouette image from the Happy Sky Stamp Set using black ink.


Run panels through the die-cut machine with the Happy Word die center and cut six of the word die out of white cardstock. Using liquid adhesive adhere panels to 4.25" x 5.5" card bases, stack three of the happy die-cut words together, one stack for each card. 


Inlay the happy word onto the card, making sure to add the ink blended centers of each letter back in place. Stamp the words adventures and retirement from the Happy Sayings Stamp Set onto white cardstock, trim down with paper trimmer, add mounting foam strips to the back and adhere to card. Finish off with black enamel dots. 


Thanks for stopping by today! 


 *NEW Happy Sky Clear Stamps  Happy Sayings Clear Stamps  Happy Large Word Die