Showing posts with label Halloween cards. Show all posts

Tuesday Tutorial- Trick or Treat

 Hello there! Michelle here, sharing my Tuesday Tutorial...


This giraffe has been begging me to dress her up for Halloween! She did not want traditional Halloween colors...yes, she told me that!😂
I used the stamp sets Giraffe Smiles and Candy Corn Dress Up. 
I stamped the giraffe once and the candy corn witch two times. For the candy corn witch, I only colored her hat on one image and the broom on the other image. I chose a no-line coloring technique using Memento Ink in desert sand and stamped onto X-Press Blending Paper. I colored with Copic Markers in shades:
hat: R81, R83, R85, R56, RV99; YR21, YR24; C4, C6, C8
giraffe: Y21, Y23, Y26, Y28; R81, R83, R85, R56
broom: Y23, Y26, Y28; C4, C6, C8.


I fussy cut the colored images and put two slits in the hat so it fits over the giraffe's head. I folded down the horns and glued the hat.
Next I inked up a piece of X-Press Blending Paper using fossilized amber and black soot distress oxide inks. I die cut stars and bats using Elvira Moonlighting Die Set and Array of Rainbows Die Set.

Next, I inked up Giraffe Stencil with spun sugar, picked raspberry and black soot distress oxide inks. 
Before arranging the elements I die cut a panel for the giraffe using Wonky Stitched Recangles Dies. I trimmed the stencil panel and a strip of silver glitter paper to fit the width of an A2 (4 1/4) card base.
When happy with the arrangement, adhere the elements.
Turn the card over and trim the excess image that hangs over the edges.

I adhered the giraffe on top of the broom to appear she is flying. Than adhere to the die cut panel with foam tape. I embossed the sentiment with silver embossing powder onto black cardstock. 


As always, for a finishing touch I add some shimmer with Stickles clear glitter glue and added some iridescent gems. I just love her!
In the mail box she goes....my niece will enjoy this cute card!
Thanks for stopping by!




31 Nights of Halloween, Night 6 and a Give Away!!


40797684_10217097148569233_6543290578472271872_o

Hello, and welcome to another day of the 31 Nights of Halloween Blog Celebration where I not only have a card to share but also a fabulous Paper Door Kit to give away, details below.

Paper_Door_FINAL_text_update_square_medium

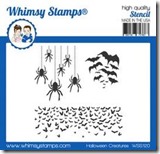
My card is super quick and easy.  All I did was ink through the Halloween Creatures stencil with some black ink (dab the blending tool over the spiders till you get the depth of colour you want, rubbing the ink on may smear the ink under the fine spiders legs).  I finished off the spider with an enamelled dot on their bellies and finished it off with a stamped sentiment from this months CAS stamp set – You’re My Boo.  I created the envelope shape with the Envelope Edgers Die Set.

bev-rochester-whimsy-stamps-youre-my-boo-cas


Whimsy Stamps products used:


Youre My Boo  display_preview Halloween Creatures Stencil display_preview summer_20breeze_20enamel_20dots_20display_20rgb_grande envelope_edgers_display_large

For your chance to win this fabulous Paper Door Kit, go to my blog and leave a comment there telling me what your favourite Halloween candy treat is (my answer would be simple …. ALL OF IT ha!)

Winners will be announced here on the Whimsy Stamps Blog on Halloween night, and all prizes must be claimed by 7th November 2018.

Be sure to check back every night for more Halloween fun, and keep your eyes peeled for more prizes!

31 Nights of Halloween - Night 29 Special Guest Amy Young


Hello again! 
It's Amy from A Thousand Sheets of Paper back with one more post as a guest designer for Whimsy Stamps' 31 Nights of Halloween. It's night 29 and that means the big day, ummm... I mean night, is almost here! Can you believe all of the fa-BOO-lous cards and projects that have already been shared? SO much talent and creativity! For my final card I have used some wonky borders from the FaDoodles stamp set to create a fun frame around the cute little Pumpkin Witchy by Kristen Winkelbauer. By masking her off I could easily take the two check patterned borders and stamp this frame that, once the mask was removed, gives the illusion of her hat and the pumpkins spilling out of the 'window' that is created. I colored in an outdoorsy background using glowing fall colors to really set the scene of Pumpkin Witchy showing off her prize picks from the patch. With the sun just about to set she should be heading home to carve them all into scary jack o'lanterns for the front porch. :) 


Thank you again for letting me share in all of this Halloween fun. I have had such a wonderful time guesting for WHIMSY STAMPS these past couple months!  Be sure to check back tomorrow night for more Whimsy Stamps Halloween festivities, we're approaching the witching hour.

FaDoodles  Pumpkin Witchy

31 Nights of Halloween–Night 26

FB_IMG_1506020466717

Hi Everyone!  Can you believe we’re already nearing the end of the 31 nights of Halloween? 

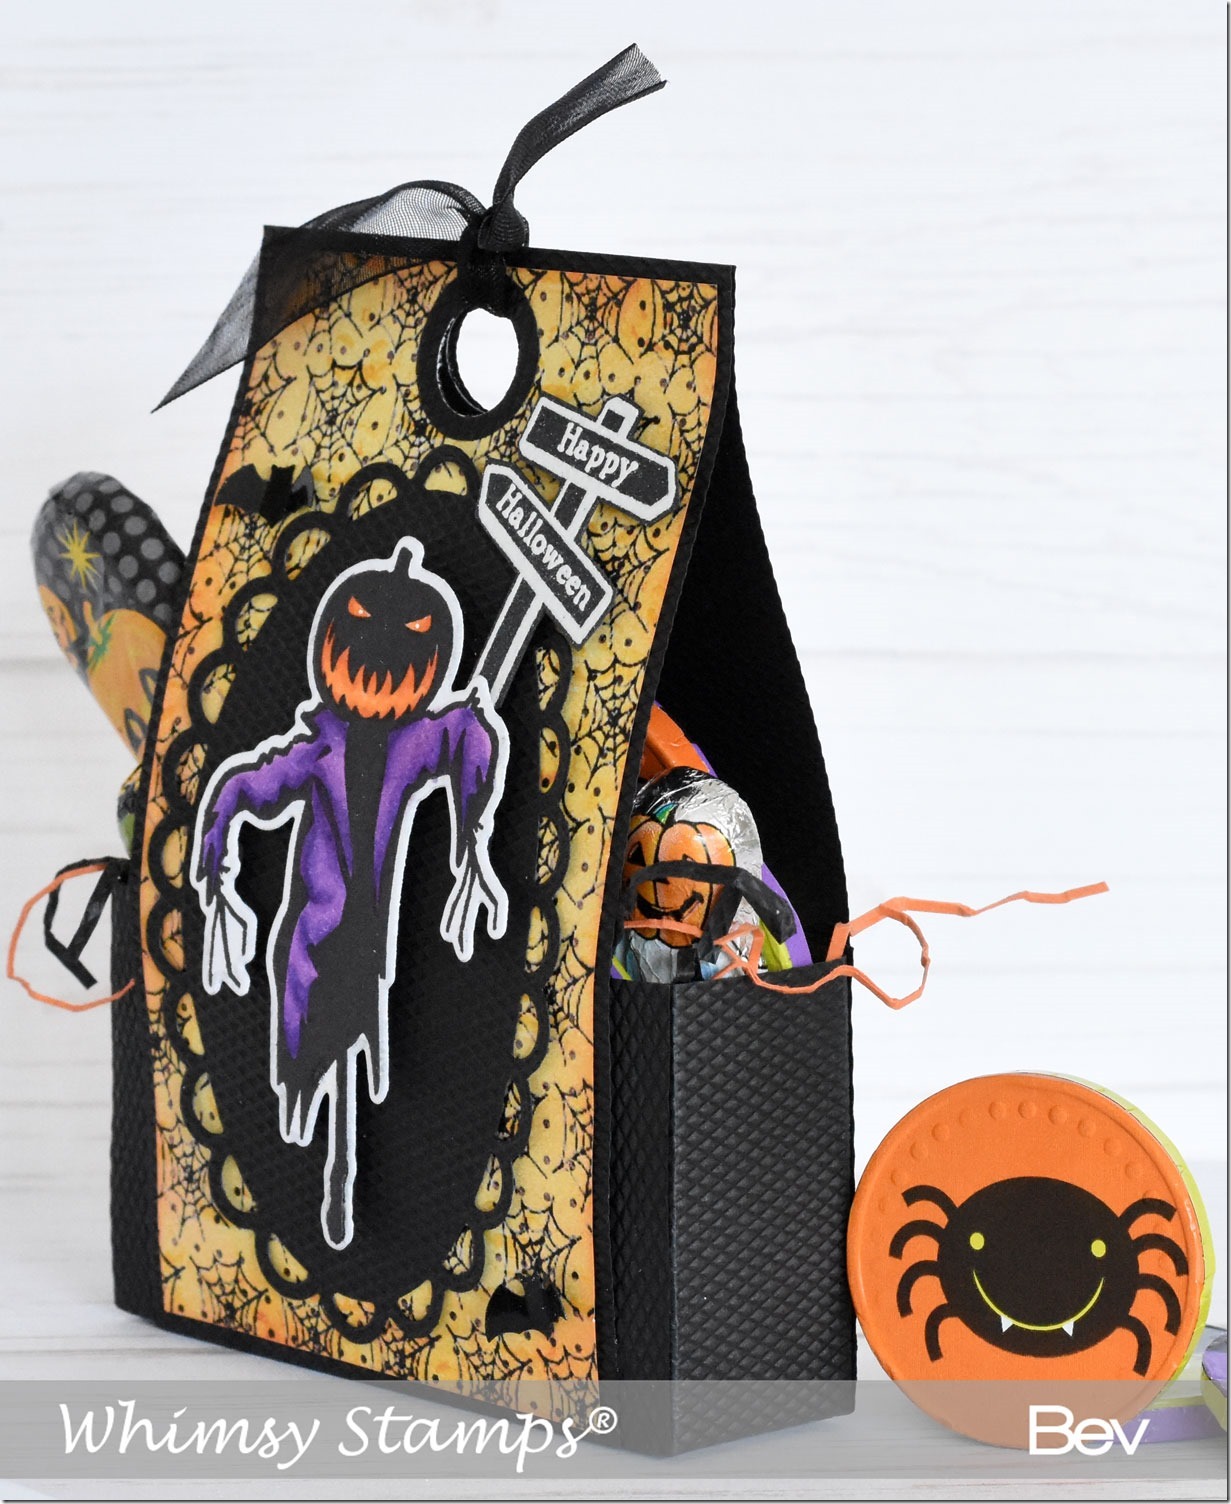
I decided not to make a card, as I don’t celebrate Halloween, but my grandkids do.  So after scouring Pinterest I decided to make up some simple little bag to pop some candy.  I used the Sleepy Hollow Stamp set and matching Sleepy Hollow Die set, along with the fab Haunted Halloween Digital Papers to make my little gift bag.

bev-rochester-whimsy-halloween-2017-1

The scarecrow is so easy to colour!


bev-rochester-whimsy-halloween-2017-2

My granddaughter saw this and came along the next day to make some for her friends.  Winner winner chicken dinner ðŸ˜œ


bev-rochester-whimsy-halloween-2017

Thanks for stopping by tonight, don’t forget to pop back tomorrow for more spooky fun.

31 Nights of Halloween - Night 22 Special Guest Amy Young


Hello, hello! 
It's Amy from A Thousand Sheets of Paper and I am thrilled to be participating in the 31 Nights of Halloween as a guest designer here at Whimsy Stamps this month. It's hard to believe we are at night 22 already and so much frightfully fun inspiration has already been shared. For my card tonight I have combined stamps from Deb Davis's awesome Attempted Murder set and the sassy Jack o Lantern Joy by Kristen Winkelbauer. I love creating scenes for my character stamps to live in and the Attempted Murder set has so many great images for building perfectly spooky backgrounds that I know it is going to quickly become a go-to set for future cards. I stamped everything in Memento desert sand ink so that I could do the scene using the no-line coloring technique with my Copics. I really like the soft, sort of dreamy quality this lends to the over all design of the card. I imagine Jack o Lantern Joy is all dressed up and heading to a big Halloween party right at that witchy twilight hour. I would not be tempted to go explore that abandoned farm house along the way but she looks to be a lot braver than I ever would be! ;)


Well, thanks for letting me share in all of this Halloween excitement. I'll be back next Sunday with another whimsical witchy card. In the meantime, be sure to check back here tomorrow night for more WHIMSY STAMPS festivities! Have fun!

Attempted Murder  Jack o Lantern Joy

31 Nights of Halloween Night 16


Hi Everyone!
I am so excited to be here for my first Whimsy post.  My name is Alexandra from Hedgehog Hollow; I am a new design team member, so you will see me regularly over here; plus we have Whimsy Wednesdays on my blog with regular Whimspiration!  All my posts will contain a video tutorial as well, and tonight is no exception.  Let's look at tonight's 31 Nights of Halloween project using Crissy Armstrong's adorable Penguin Trick-or-Treaters rubber stamp image...


Aren't they just the cutest? I had so much fun coloring these in! Let's look at the tutorial, I added in some tips as to how I choose colors for copic coloring too...


I hope you enjoyed seeing how they came together.  Now let's look at their cute little faces again up close...


Thanks so much for joining me here tonight, I can't wait to be back very soon (in fact later this week!), don't forget to stop by every evening for more spooky inspiration and great prizes throughout the month!

Happy Stamping!
Alexandra

Penguin Trick or Treaters

31 Nights of Halloween - Night 11 with Special Guest Andrea Ockey Parr


Do you ever see a stamp set and know that you absolutely must have it in order for life to continue??  That's how I felt when I saw a stamp and die set called Franken Bad Hair Day.  It was designed by the flippin' fantastically talented Deb Davis for Whimsy Stamps and I was honored when they invited me to participate in their 31 Nights of Halloween Blog Celebration. Here's the card I made featuring the aforementioned lovable Frank set:


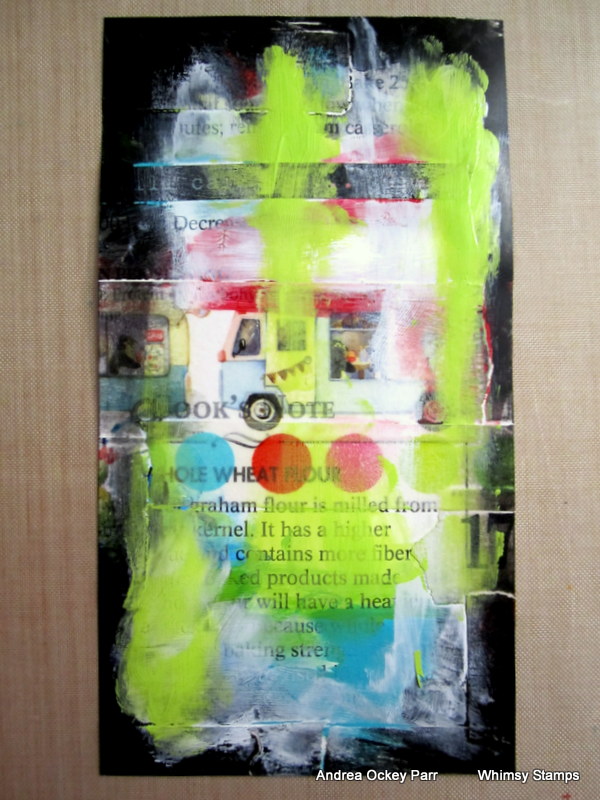
So how did I bring Frankie to life?  I started with a cook book page (cause I never use cook books for cooking) and covered it with acrylic paint and Washi tape.


It was looking a little too festive for Frankie, so I added black, white and green acrylic paint, which I smeared on using my fingers.


Next I added my favorite liquid-y paint: Golden High Flow acrylics in teal, black and fluorescent pink.  I spritzed the paint with water to ensure some blending and drizzling.  Then I let it dry..


Next I worked on Frank.  I stamped his head on white paper, then his shoulders on some plaid paper.  I cut his chin-shape out of the plaid paper so that he would have a stylin' shirt.  I smeared some Distress Ink  and Simon Says Stamp ink onto his shirt to give it a bit more oomph.


I tore a square section out of a grammar book and circle-punched a hole through the middle.  I outlined the circle with a Sharpie and glued it to my background.  I stamped the "friend" and "good" sentiments from the stamp set, glued them to some black patterned Washi tape and put Frank together.


I assembled all the components and cut out a triangle hat for Frank (the set comes with the most adorable selection of hats, too) and I added a Washi tape number to the hat.  I finished off the card with some faux stitching from Whimsy's In Stitches stamp set.


Here are the Whimsy products I used on my card:
 Franken Bad Hair Day
Franken Bad Hair Day Stamp Set

Franken Bad Hair Day Die Set

In Stitches Stamp Set

I love the variety of stamps at Whimsy and thoroughly enjoyed this project.  I can't wait to see what else they have in store for their incredible 31 Nights of Halloween Blog Celebration!


Be sure to check back tomorrow night and every night this month for more
 WHIMSY STAMPS HALLOWEEN FESTIVITIES and random PRIZES!
And I'd love for you to visit my blog and say hello from Whimsy Stamps

31 Nights of Halloween - Night 8 Special Guest Mindy Eggen


Welcome! I am proudly participating in the 31 Days of Halloween with Whimsy Stamps.
Today's card is featuring the stamp set It's A Nail Biter by Deb Davis!

I created a background using Seedless Preserve and Faded Denim distress inks and added that to a black cardbase. Next, I cut a circle from white cardstock  and stamped a sentiment right above the window. Then added my die cut graveyard pieces right behind the circle window. I  attached foam adhesive all the way around the white card panel and attached that to my distressed panel. I love how this creates a cool graveyard scene for my zombie.


Copics
Pants - E49-47-44
Shirt - B39-28-24
Skin - YG95-93-03
Eyes - W2-1


Thanks for letting me share in all the Halloween fun, I'll be back at the end of the month with another post to share with you too.  In the meantime, be sure to check back here tomorrow night and every night this month for more WHIMSY STAMPS HALLOWEEN FESTIVITIES and random PRIZES!
HAVE FUN!
Mindy

For a complete process video for this project you can view it on my youtube channel HERE. 

Stop by my Mindy Eggen Design blog and say hello some time too