Showing posts with label Spooky Kitties. Show all posts

31 Nights of Halloween - Night 26 - Special Guest Jennifer Snyder


Good evening, Whimsy friends!  
You are in for a real treat tonight as welcome back the inspiring Jennifer Snyder to the blog!

Today I am thrilled to be a special guest blogger for Whimsy Stamps for their 31 Nights of Halloween Celebration on their blog.  You can find all the spooktacular fun on their blog, right here.  

What can be more spooky this time of year than a grave yard?!  I gathered some goodies from Whimsy Stamps and set to work on a 3D home decor graveyard.

  Scroll, down for DIY instructions. 


Whimsy Stamps is more than stamps.  They have an amazing selection of unique dies which were used to help make this decor piece today.  

The gravestones, cats, fencing and accessories were created using The Build-a-Graveyard die set designed by Deb Davis from Amped2Stamp.  


Instructions for the DIY Graveyard

Here are the finished 3D gravestones 

The sentiments and creepy cobwebs on the gravestones were from the two stamp sets below: 


Instructions for DIY Crypt (Houses)


Here are more images of the finished crypts and stones.  Enjoy!  I know I sure did.  


Thanks so much for stopping here to enjoy the Whimsy Stamps 31 Nights of Halloween Celebration.  You can find all the spooktacular fun on their blog, right here.  
You can also find more inspirational pieces using #whimsystamps and #whimsystampshalloween.

Wow!  Thank you, Jennifer, for this awesome inspiration!  
To see more of Jennifer's work, be sure to visit her on her blog and Instagram 

31 Nights of Halloween - Night 15 - Special Guest Tami Bastiaans


Good evening, Whimsy friends!
Tonight we welcome the talented Tami Bastiaans back to the blog.


Hello again! My name is Tami and I am so pleased to have been invited back to share a card for the Whimsy Stamps 31 Nights of Halloween. I love cats, so I wanted to make a fun card with the 
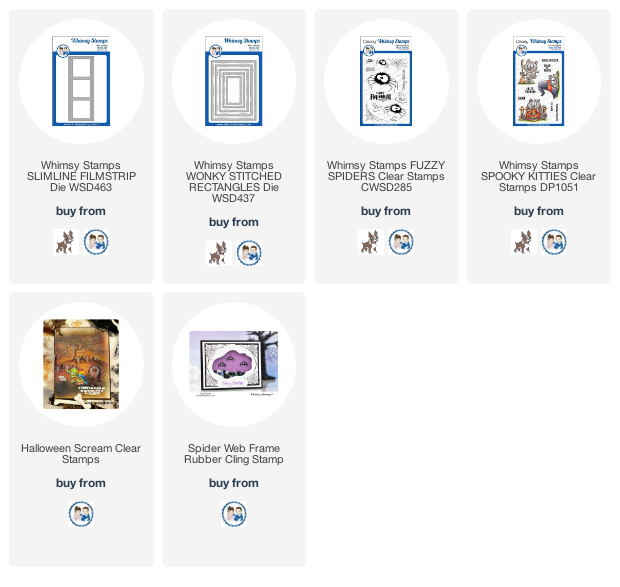
Spooky Kitties stamps.  This is a simple shaker card that uses an old technique called Iron-off Resist that I learned just last year from Jennifer McGuire, and I love it!
 

Begin by stamping the Whimsy Spider Web Frame rubber cling stamp in clear embossing ink on a piece of watercolor cardstock, then heat emboss with clear embossing powder.


The clear embossing will act like a resist, so you can blend or spray color onto the piece. I chose to spray some water and then some of the Distress Halloween Mica Stains from Tim Holtz. Let this dry naturally before the next step.


Get a clean piece of watercolor cardstock and place it directly on top of the stamped/embossed piece. This picture is just to show you the stamped piece is covered by a clean piece. But you need to make sure they are completely aligned.


Then using a hot dry iron, slowly iron over the papers long enough that the embossing powder reheats and soaks into the other piece of cardstock.


You will end up with two pieces with the image. The original, colored piece will no longer have shiny embossing powder, it will be matte. It kind of has a batik look. The Mica stain will still be shimmery even though the embossing powder has lost it's shine.


I cut the largest Wonky Stitched Rectangle out of some Black Metallic Kraftstock and cut a window out with the second largest Wonky Stitched Rectangle. 


To make the stitches stand out, I scribbled some of the Jack-o Lantern Distress Mica Crayon over them and rubbed the pearlescent crayon into the stitches and I love how they stand out.


I cut multiple large Wonky Rectangles from heavy cardstock and layered them to make a raised window for a shaker card. I cut the centers out and adhered all the frames together. 


Then I attached a piece of acetate to the top frame and covered it with the black, metallic frame.


I put some shaker bits in the middle of the spiderweb and then attached the Wonky frame. The spiders and webs were some confetti I found on Amazon.


I stamped a Spooky Kitty on some watercolor cardstock with Distress Archival Black Soot ink. Then watercolor the cat whatever colors you want. I chose the kitty with the broom because he is cleaning up all the spiders and spider webs. And I colored him orange because my alpha male cat is an orange kitty.


For the sentiment, I stamped the word BOO! In Ripe Persimmon and Wilted Violet Distress Oxide and clear heat-embossed it. 


Then I colored the watercolor paper with Black Soot Distress Stain. 


I adhered the sentiment and the cat to the front of the acetate, and there you have a quick, cute little Halloween card.

Thank you so much for reading this blog and thank you so much to Whimsy Stamps for inviting me to be a part of their fun 31 Nights of Halloween Blog Celebration this year! I really enjoyed it!

Tami

I am an affiliate with Simon Says Stamp, and Whimsy Stamps so the links below send you to one of those stores depending on which logo you choose.  If you wish to purchase something from either store and use one of my affiliate links below, I get a small percentage of your order, at no additional cost to you. This helps me to defray the costs of this blog, the time, the ideas and tutorials I post here. Your help is greatly appreciated! Thank you!


Special Guest - Jennifer Snyder


Hello, Whimsy fans!  You are in for a treat today as we welcome the talented Jennifer Snyder to the blog!


Today I am thrilled to be a special guest blogger for Whimsy Stamps as we celebrate the start to the Halloween season.   I created shakers cards using some of the sweet and some of the spooky designs.  

Whimsy Stamps is more than stamps.  They have an amazing selection of unique dies with a variety of themes including build-a-scene die sets that really caught my eye. 

Sweet Shaker Card
Here is my first shaker card - sweet before scary - stamped onto watercolor paper and painted with watercolor pencils. 


Easy DIY Instructions
Here are my easy DIY instructions:  


I'd also like to take a moment to mention the embellishments added to the card. The shaker mix is Monster Mash Sprinkletz (NK150) shaker mix from Buttons Galore. Totally adorable and perfect for this crazy shaker.  

I also added a 3D button Bat and spider also from Buttons Galore and More.  These are from the Happy Hauntings 3D button pack HH104. They make perfect finishing touches.


Next up - spooky.  


This card features the  Whimsy Stamps - Build -a-Graveyard Die Set - designed by Deb Davis (Amped2Stamp).  Well actually this is a combo of the sweet and the spooky because I used the sentiments from Spooky Kitties Clear Stamp by Dustin Pike as the stamped sentiments  for the grave stones.   

This is the wonderful way to mix and match products.  I like to keep thinking of ways to combine products to get the most "bang for my buck" as the saying goes. 


I want to highlight that 31 Days of Halloween hosted by the Whimsy Stamps team.  Stay tuned because there are prizes, frightful inspiration and lots of fun.  

Thanks for stopping here today.  Happy crafting. 

To see more of Jennifer's work, be sure to visit her blog.


Special Guest - Amy Young


Hello, Whimsy friends!  We're super excited to welcome Amy Young back to the blog today!  

Hello again!  
Amy here with my second guest designer post for Whimsy Stamps. I mentioned last week that I couldn't wait to dive into a Halloween card, so, of course, I went all out in the spooky-cute department for my card today. 


This frightfully fun scene actually combines three newly released stamps from Whimsy: Haunted Parlor, Spooky Kitties and Fuzzy Spiders. Black cats and Halloween just go hand in hand, or should I say hand in paw? LOL, anywho... so I stamped and masked this Spooky Kitty with the broom then stamped the Haunted Parlor right over top. Once the mask was pulled off, it looked like the kitty was caught standing there red handed as he 'borrows' the witch's broom for a midnight ride all on his own. The parlor itself was decked out in traditional Halloween colors, and the spider webs (from Fuzzy Spiders) were added at the very end of the creative process to help push the kitty back into the scene a bit more. That and the addition of a sentiment really helped pull this fun story all together. :)

Once again I would like to thank Whimsy Stamps for inviting me to join the fun this month, and I can't wait to see what you have planned for Christmas!   

Stay crafty my friends!  

Amy, thank you so much for the wonderful inspiration this month!  Be sure to follow Amy on her blog and Instagram for more amazing projects.