

Hi, everyone! It's Jenny back today with my second guest post. In case you missed it, you can find my first post here. Today I'm featuring the gorgeous Flower Puffs Background stamp, and I will show you how to use it two different ways.
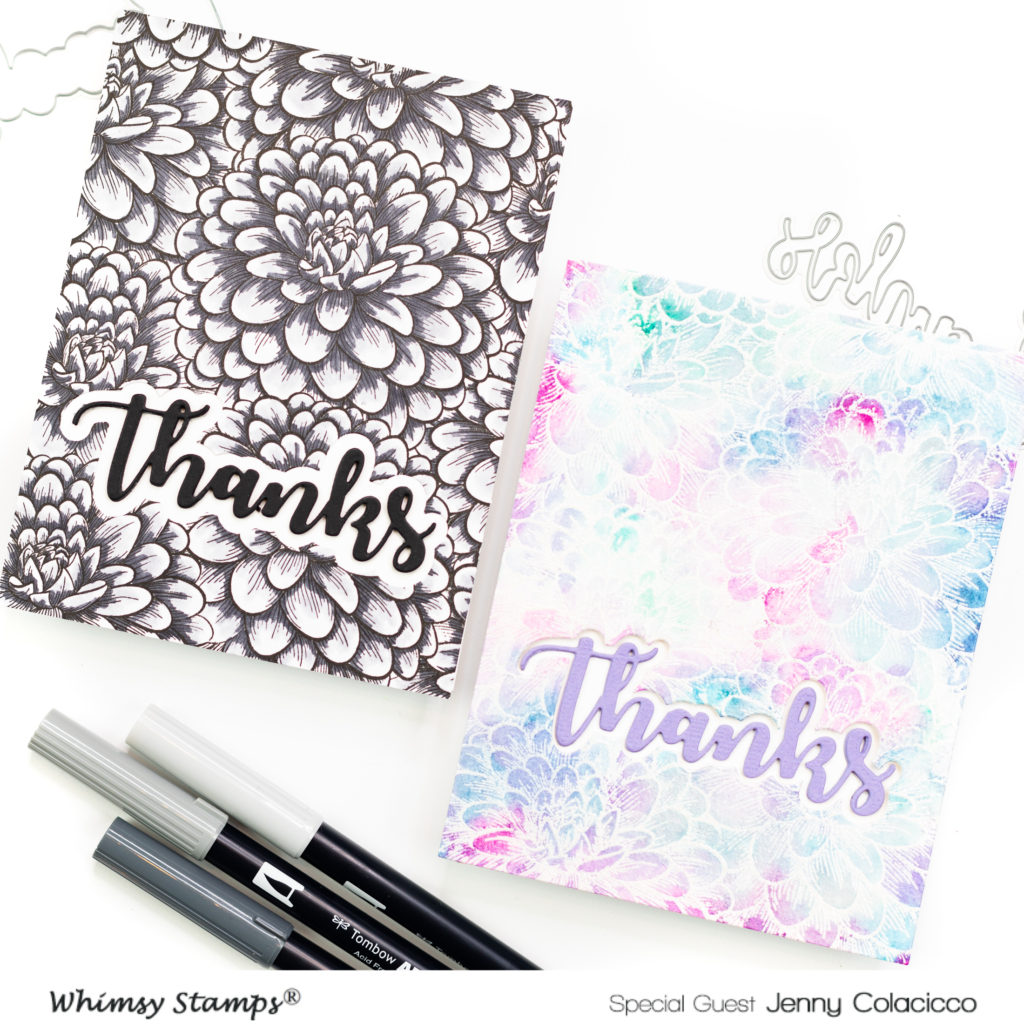
For my first card, I decided to go monochromatic. This is such a gorgeously detailed background stamp, with shading clearly marked, I decided to stamp it in black and then add shading with Tombow Dual Brush markers. I used Versafine Onyx Black Ink to stamp the image onto Solar White cardstock. The ink is great for detailed stamps like this. When dry, I came in with the darkest grey Tombow marker and added some depth in the areas with the shading already marked.
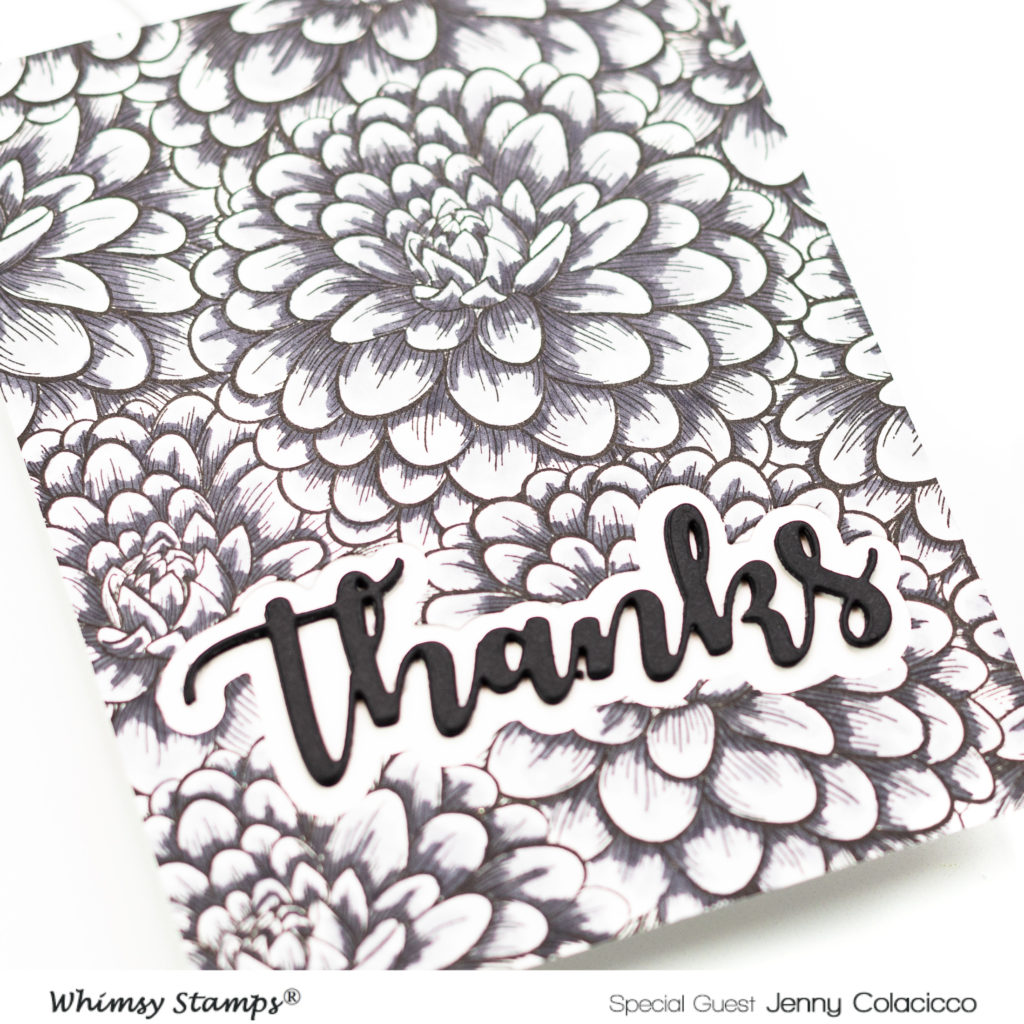
I then came in with a lighter gray and added some scribbled grey over the rest of each petal, leaving some white towards the edge. I wanted this to be slightly whimsical and roughly colored.
To create my sentiment, I used the Whimsy Thanks Word and Shadow die set. I used the larger shadow to die cut a window out of my colored panel, before adhering it to a white notecard. I then die cut the Thanks word itself four times from black cardstock, adhering them together, and aligning into the window on the notecard.
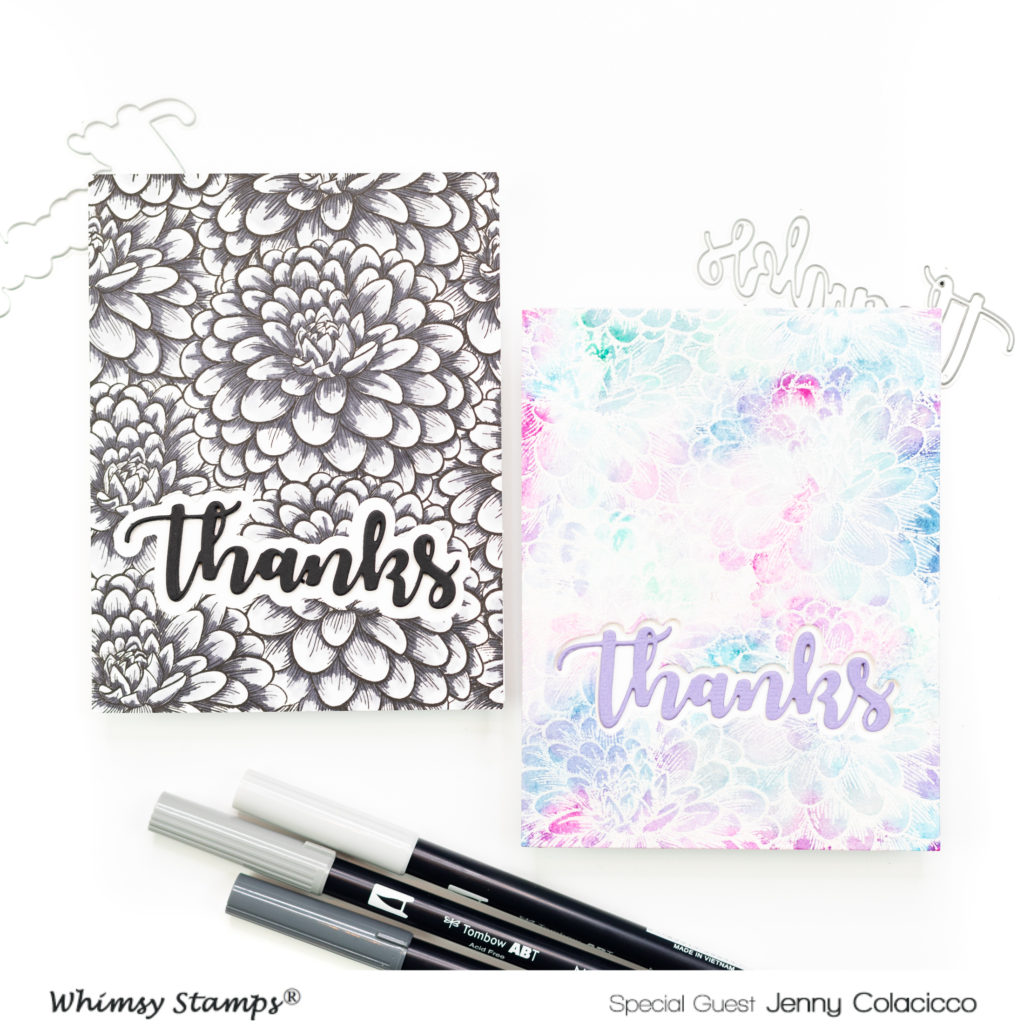
You can see in this side-by-side comparison that I tried a similar design with my second card. This time though, I heat embossed the background stamp by stamping in embossing ink onto watercolor cardstock, then heat embossing with WOW! White Pearl embossing powder. This powder has a beautiful pearly sheen to it in real life.
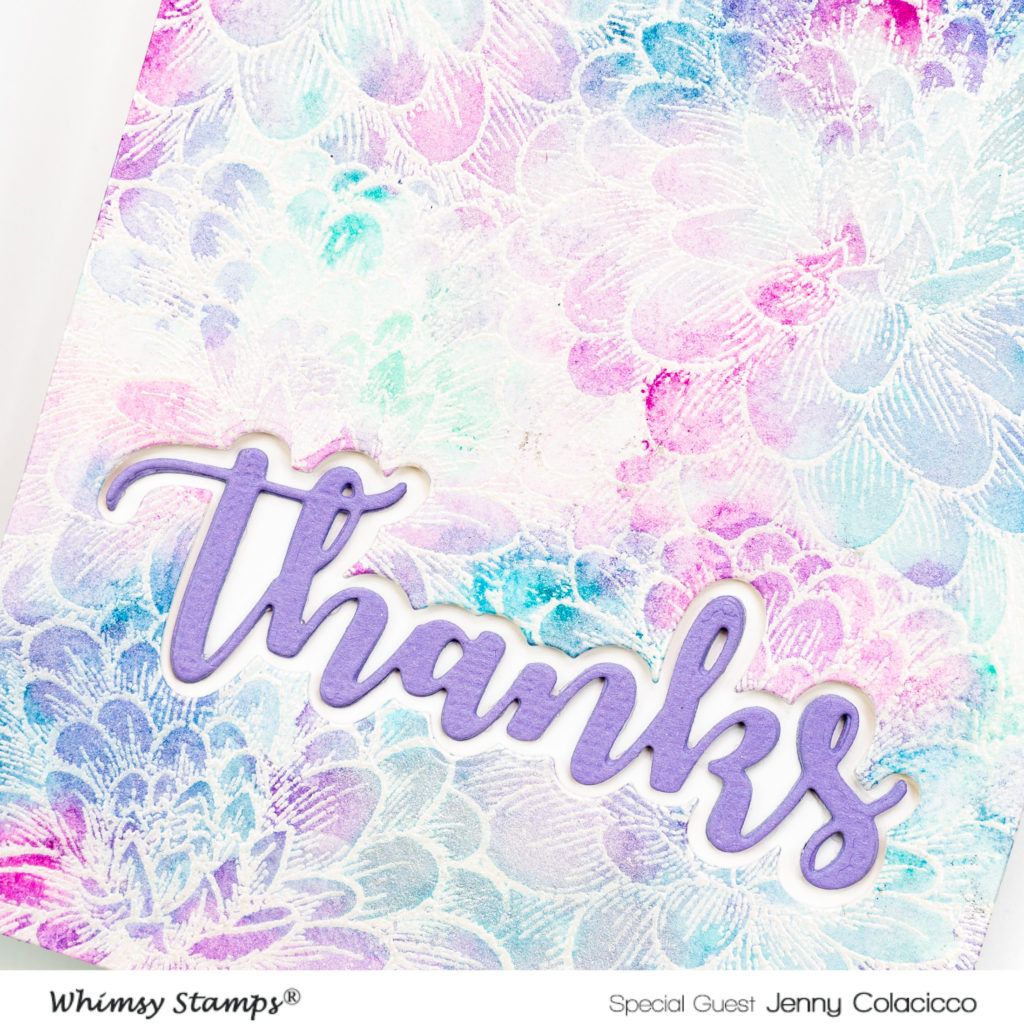
I spritzed my heat embossed panel with clear water, then proceeded to drop different paint colors into the panel - mostly blues and aquas, with a touch of pink. When they blended together, they created a gorgeous purple shade. When dry, I did this one more time (without the initial water spritz) then dried again. As a final touch, I used a pearly white translucent metallic watercolor paint and went over some of the flowers before drying one more time. The heat embossing resists the paint and you are left with these gorgeous flower outlines against the paint.
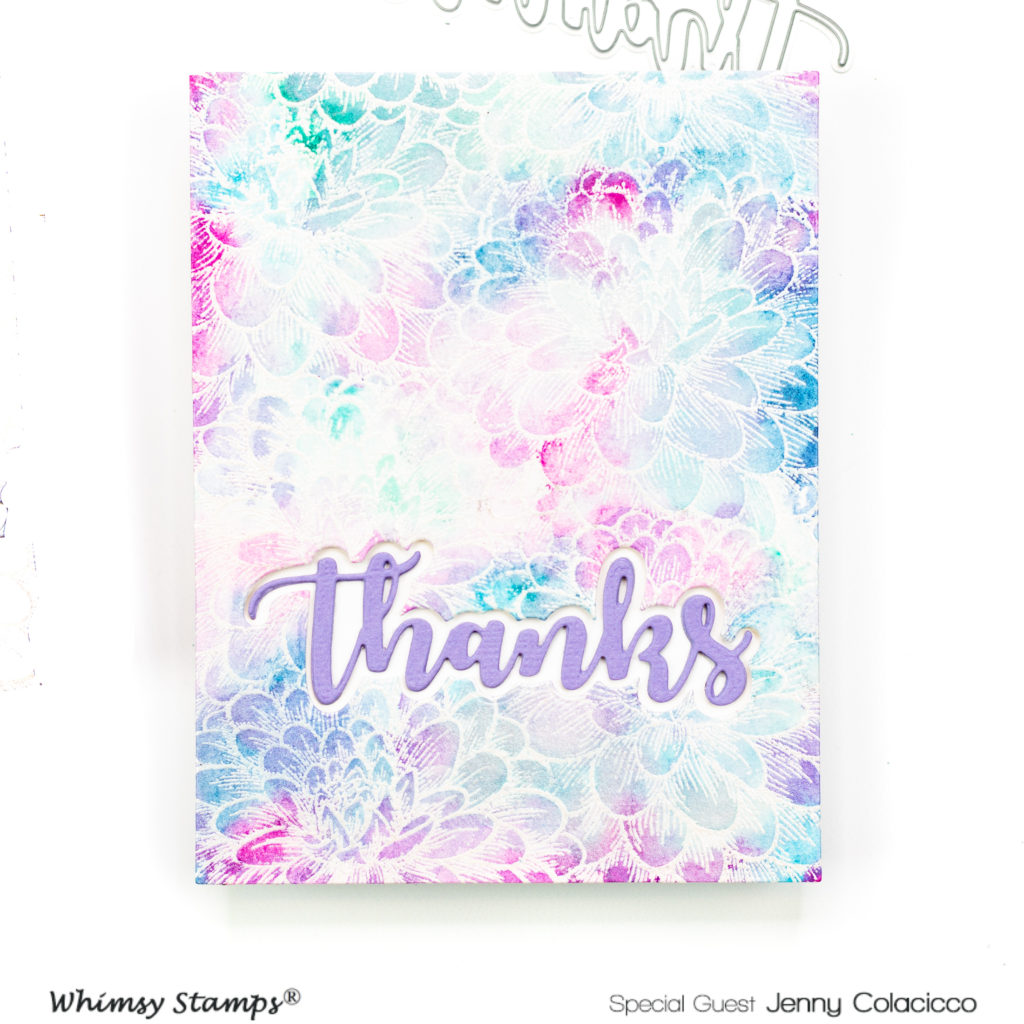
To finish the card, I once again die cut the Thanks shadow, and this time I popped the panel up using foam tape onto a white note card. The Thanks word was die cut four times from purple textured shimmer cardstock and adhered to the centre as before. A very different look using the same stamp and die!
I want to thank Whimsy Stamps for having me guest this month! I've had a fab time playing with the goodies they sent me, and I hope I've managed to inspire you.
Jenny
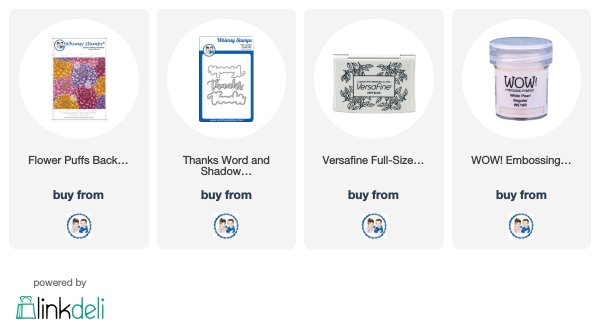
Supplies


![Copic Sketch Markers Cadmium Red [Pack Of 3] (3PK-R27S)](https://www.staples-3p.com/s7/is/image/Staples/m004537088_sc7?$splssku$)


