Showing posts with label Boo to You. Show all posts

31 Nights of Halloween - Night 26 - Special Guest Jen Shults

Hi everyone! It's Jen Shults with you, and I am so excited to be back again for another night of Whimsy Stamps' 31 Nights of Halloween Blog Celebration!! I am so in love with all of the adorable Halloween stamps from Whimsy that I actually have two projects to share with you tonight.


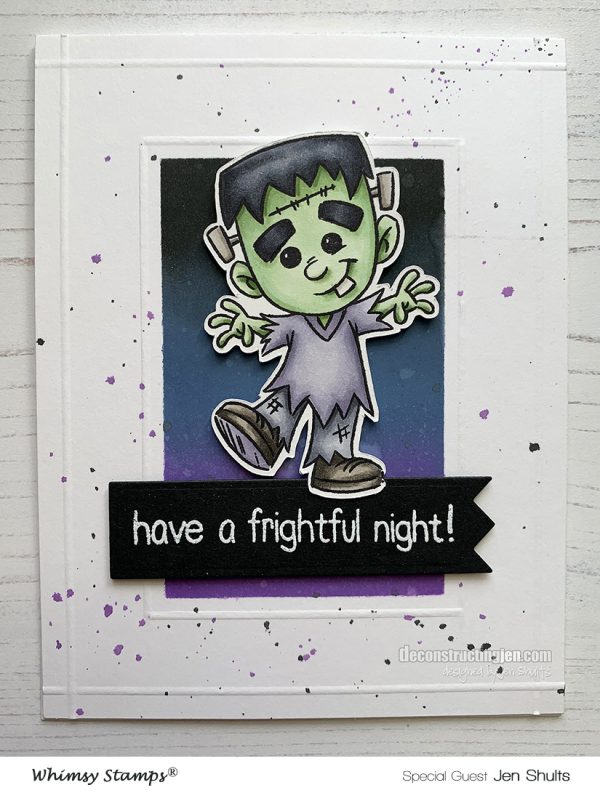
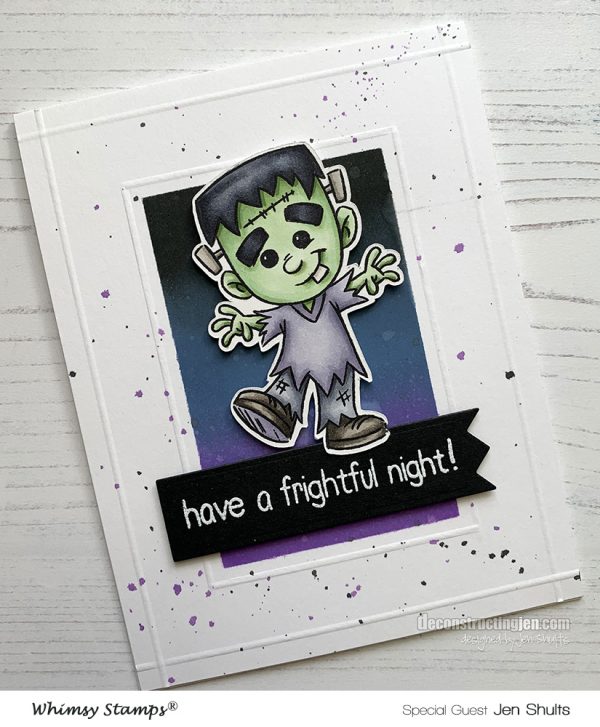
My first card features this adorable zombie from Boo To You. I started by stamping the zombie on white cardstock with Tuxedo Black ink and coloring him with Copics. I fussy cut him and set him off to the side.
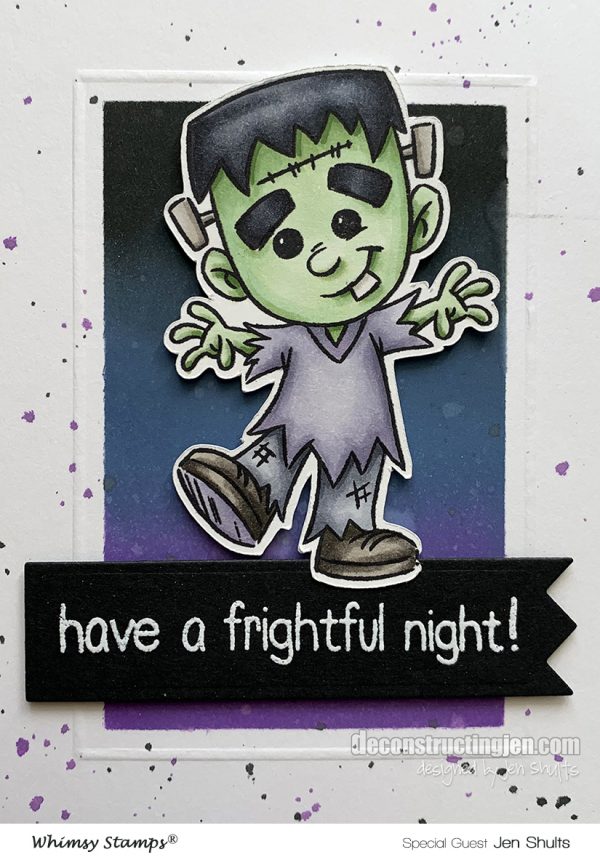

To build the background I used a rectangle masking stencil to ink blend the rectangle with Black Soot, Faded Jeans and Seedless Preserves Distress Oxide ink. I then splattered with water and the same inks. I used my Score Pal to score lines around the rectangle and the edge of the card. I stamped the sentiment on black cardstock with Versamark and embossed with white embossing powder. I die cut the sentiment with a banner die and adhered it to the background with foam tape, then I attached the zombie overlapping the banner, again with foam tape.

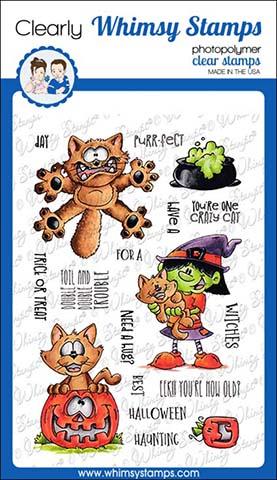
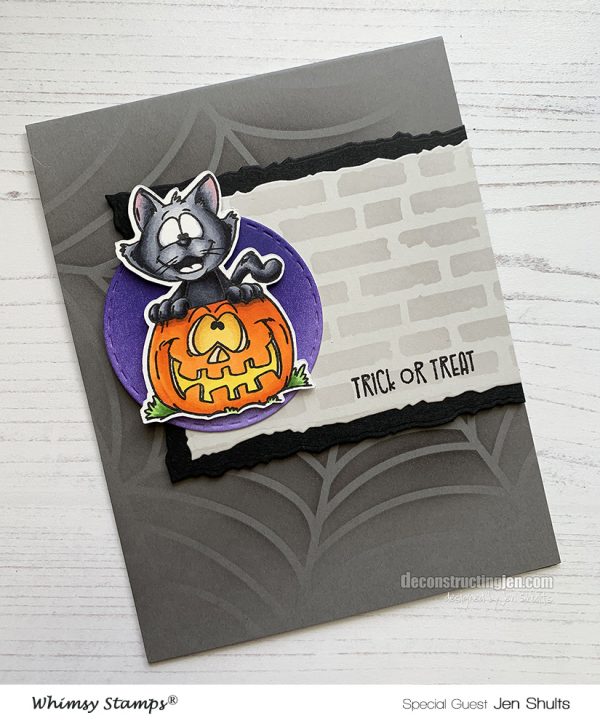
My second card uses the super adorable Going Catty clear stamp set. There are so many cute stamps in this set - I can't wait to use the scaredy cat!
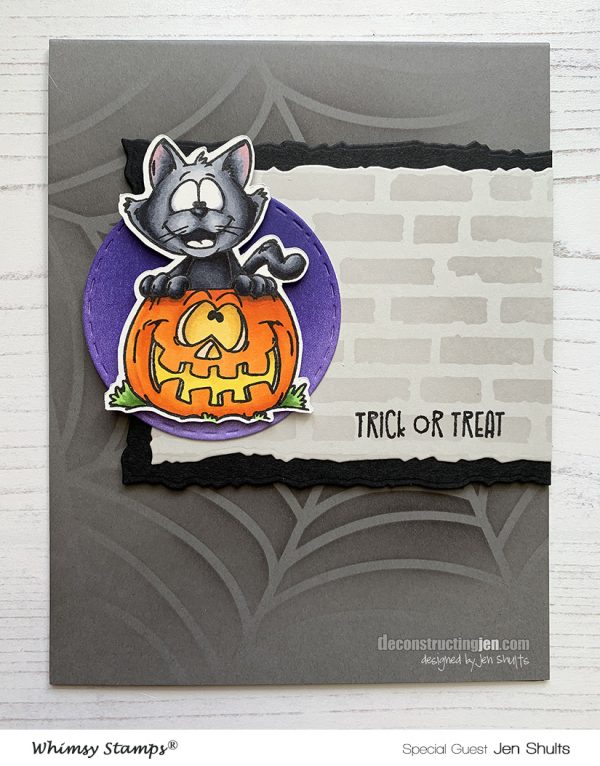

To start my card I stamped the pumpkin cat on white cardstock with Tuxedo Black ink and colored it with Copic Markers. Next I fussy cut the image and set it aside to start the background.
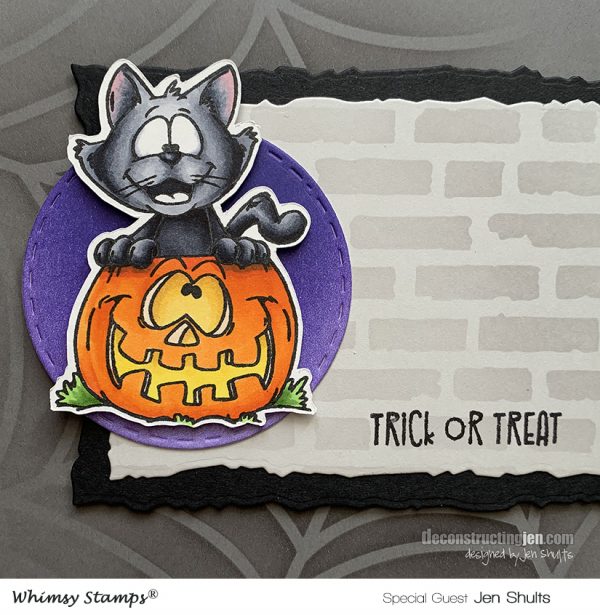

I cut an A2 medium grey cardbase and used a spider web stencil to ink a subtle spider web on the cardbase. I cut two deckle edge rectangles, one from light grey and one from black cardstock. I stenciled a brick texture on the light grey with light grey ink. For the circle behind the cat I die cut a stitched circle and blended purple ink over the circle in a dark to medium gradient. I stamped the sentiment on the light grey and assembled the card with foam tape.

For more amazing projects and ideas from Whimsy Stamps and their Design Team, as well as Guest Designers, follow Whimsy Stamps on the following Social Media Platforms:


Find me over on:
Instagram: Jenevey (@jenevey)
Youtube: Jenevey
Facebook: @deconstructingjenblog

Thanks, Jen, for those adorable projects!  We'll see you back here tomorrow evening for more Halloween fun!
31 Nights of Halloween - Night 25 - Special Guest Lisa Mensing


Welcome, crafty friends! Lisa here, spooky special guest, bringing you night 25 of the 31 Nights of Halloween Blog Celebration! I hope you've been joining in the nightly fun!


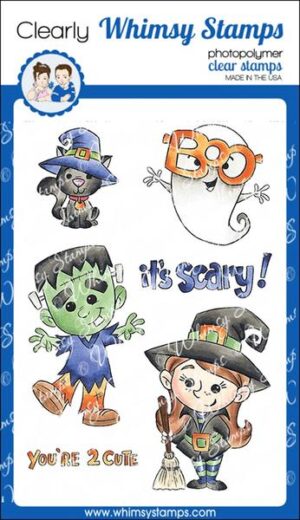
I have two Halloween cards to share featuring the Kinetic Dies and Boo to You Stamps along with a video tutorial. Step-by-step instructions are below, and you can view the video tutorial here or over on my YouTube channel.


HOW TO
  • Stamp and color images; I used COPIC makers.
  • You can fussy cut the images or use a ScanNCut; it just makes things easier.

BACKGROUNDS
  • Die-cut two pieces of masking paper using a round die and position on the watercolor paper
WITCH CARD
  • Add Distress Ink in the color Black Soot to the edges of the paper, follow with Picked Raspberry ink, and blend the colors together, remove the masking paper.
  • Using a blender detail tool, add Squeezed Lemonade and Fossilized Amber ink to the moon.
  • Add splatters to the card panel.

FRANKENSTEIN CARD
  • Add Distress Ink in the color Black Soot to the edges of the paper, follow with Shabby Shutters ink and blend the colors together.
  • Using Distress Oxide inks in the colors Weathered Wood, Hickory Smoke, Squeezed Lemonade, and Mustard Seed watercolor the moon.

ASSEMBLING CARDS
(see video)

  • Die-cut the hidden slider track


Die-cut pieces from the No See Kinetic Dies using black cardstock.


Don't forget the foam dots; one goes between these circles allowing everything to move along the hidden slider track.

  • Assemble the pieces using liquid adhesive
  • Add 3D mounting foam to the back of the panel, make sure the mounting foam does not interfere with the movement of the parts, then attach to a 4.25" x 5.5" card base, make sure everything is moving freely.
  • Die-cut the fence from the Kinetic Curved Hills Die Set
  • Stamp and heat emboss the sentiment onto the fence before adding it to the card base.
  • Add 3D mounting foam to the back of the die-cut fence; adhere to the card base to cover the slider track.
  • Glue witch to the slider; I used a mini action wobble
  • Die-cut headstones and bat from the Dracula's Coffin Die Set
  • Add headstones behind the fence right about the hidden slider track; make sure the headstones don't interfere with the movement of the slider.
  • Add foam strips to the back of a bat and add to the card. 
  • Add sequins to the moon and finish off with details using a white gel pen.


Kinetic Curved Basics Die Set     Kinetic Curved Hills Die Set   No-See Kinetic Basics Die Set  

No-See All Seasons Tree Die Set     Dracula's Coffin Die Set      Boo to You Clear Stamps  

                          You're My Boo Clear Stamps3D Foam Circles - Black                
              
Thanks for stopping by tonight. Be sure to come back tomorrow night at 6PM for more BOO-tiful projects and frightful fun!

Thank you, Lisa, for these amazing projects!  Today is extra special because we're having a mini release of some fun, holiday products.  You can see all of the new products below.

Special Whimsy Weekend Release