Special Guest - Ana Anderson


WS 1-23-1 

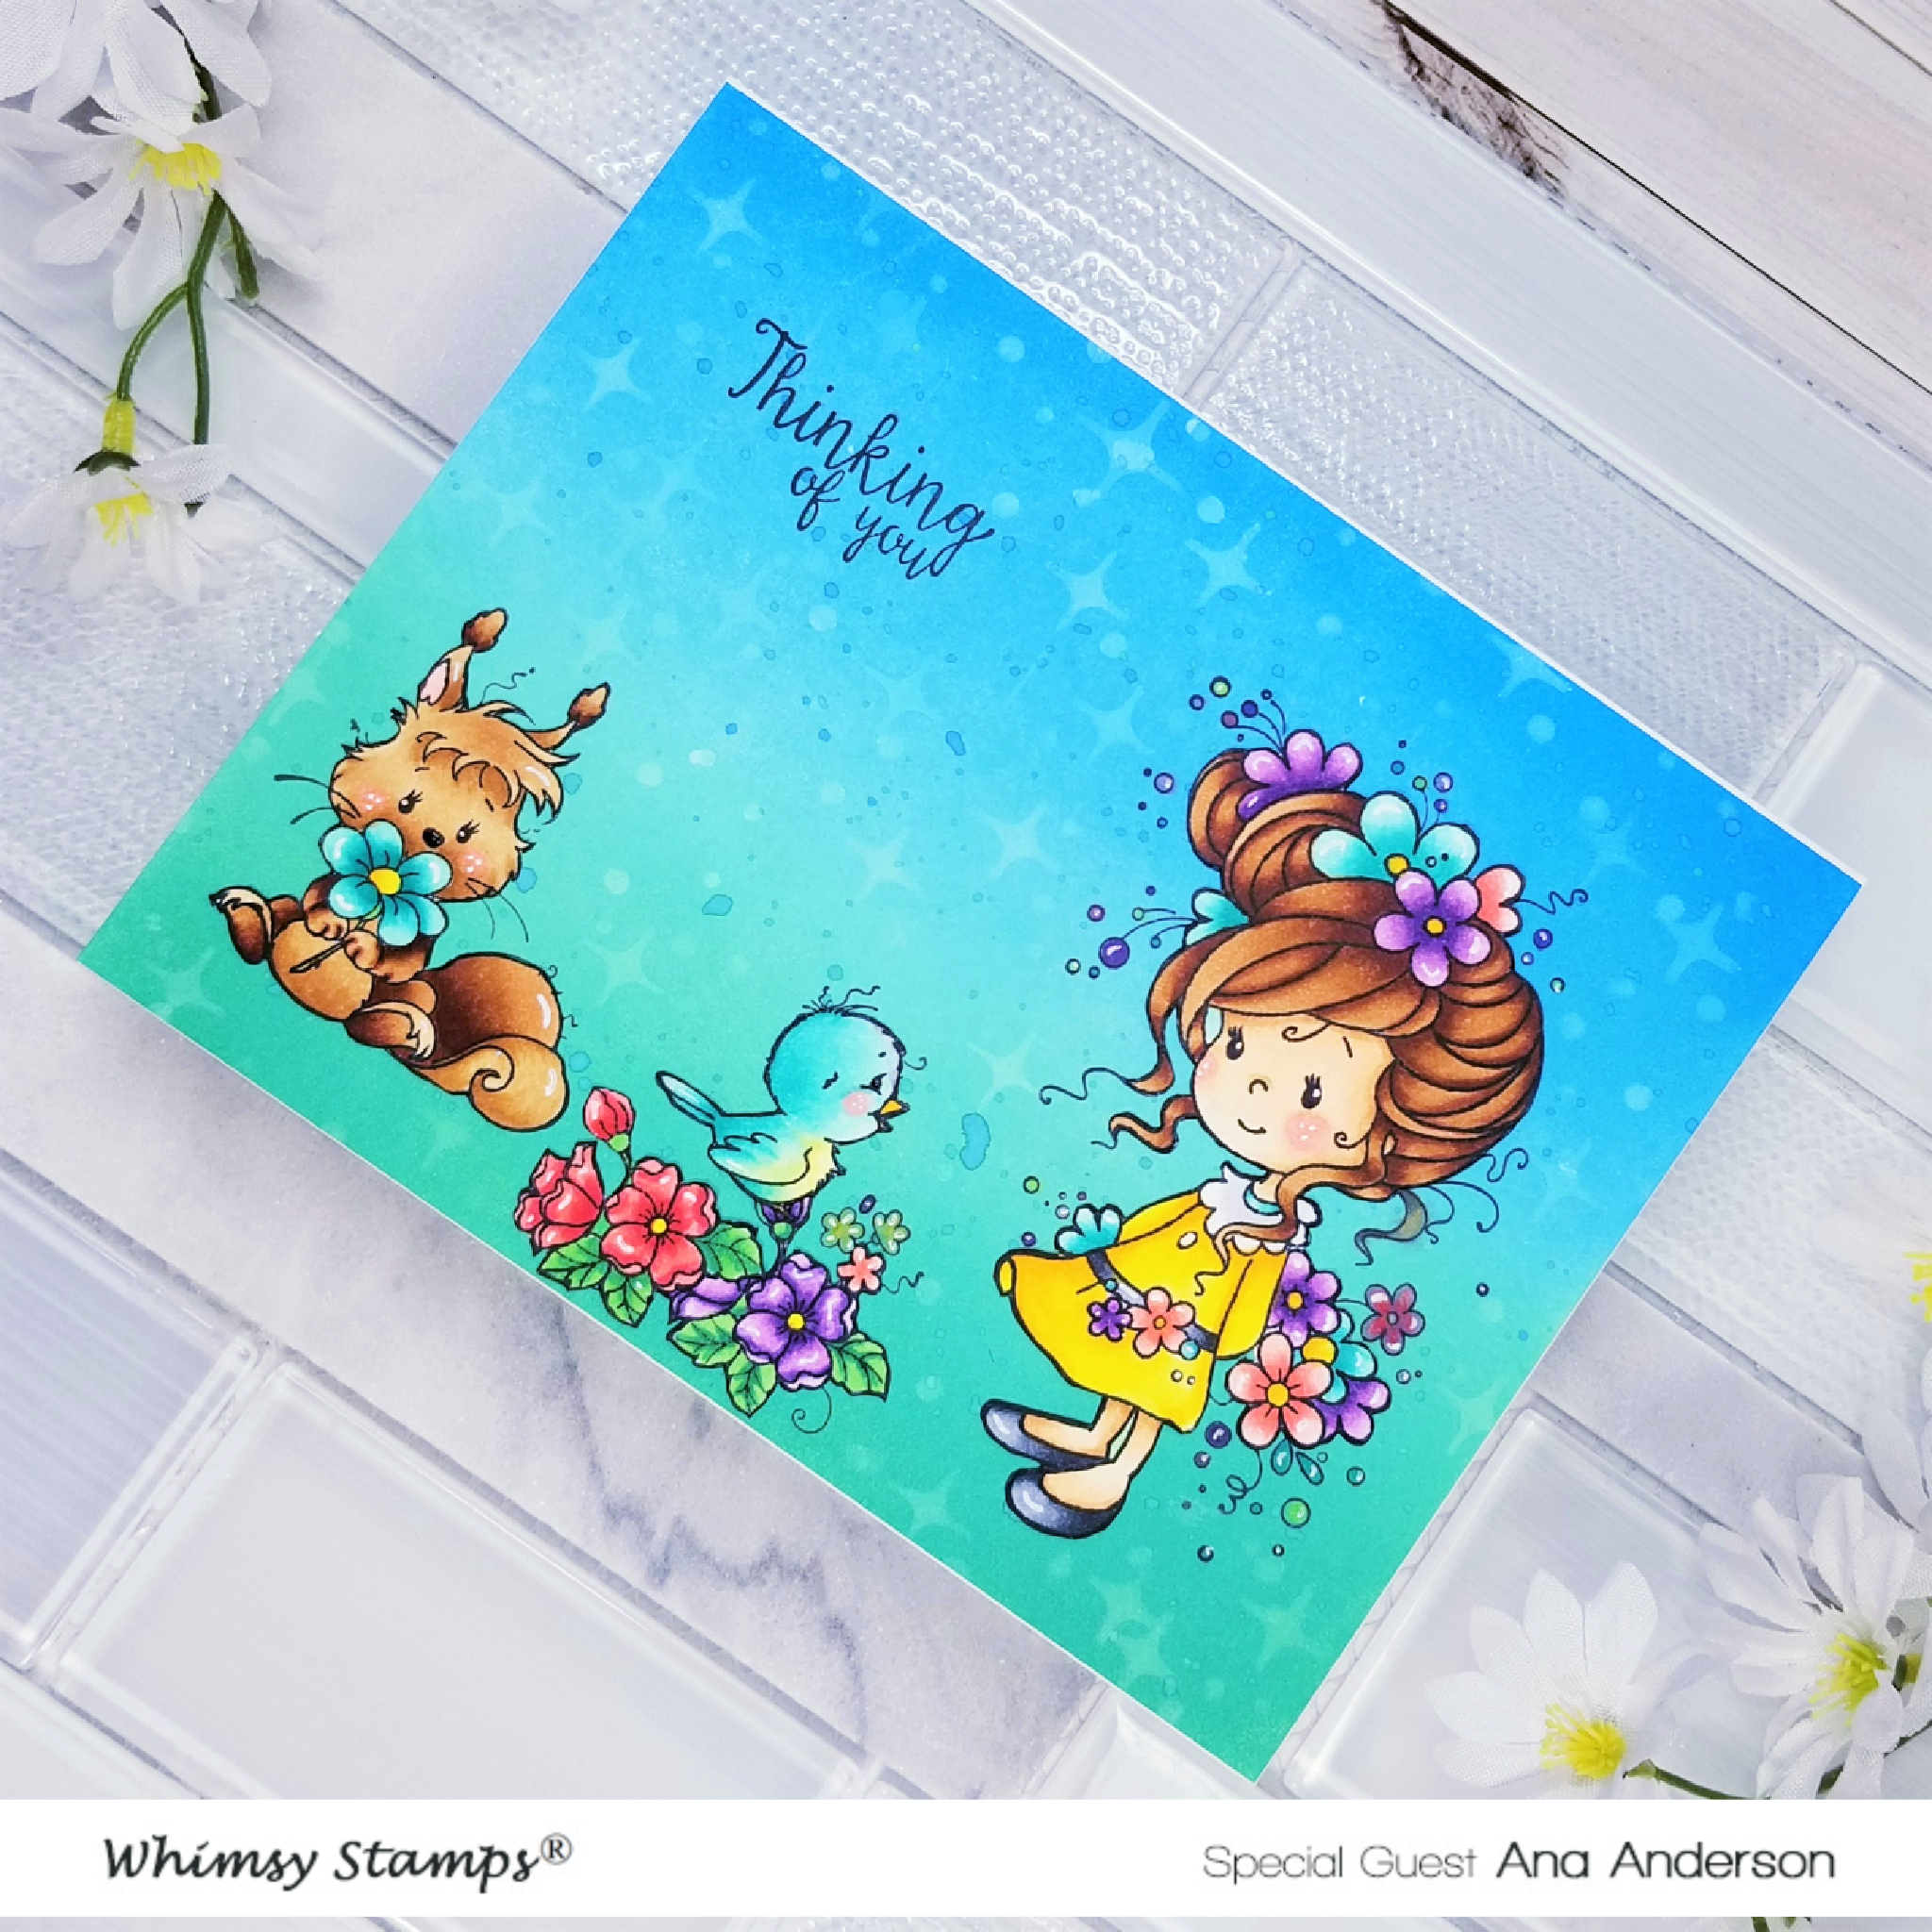
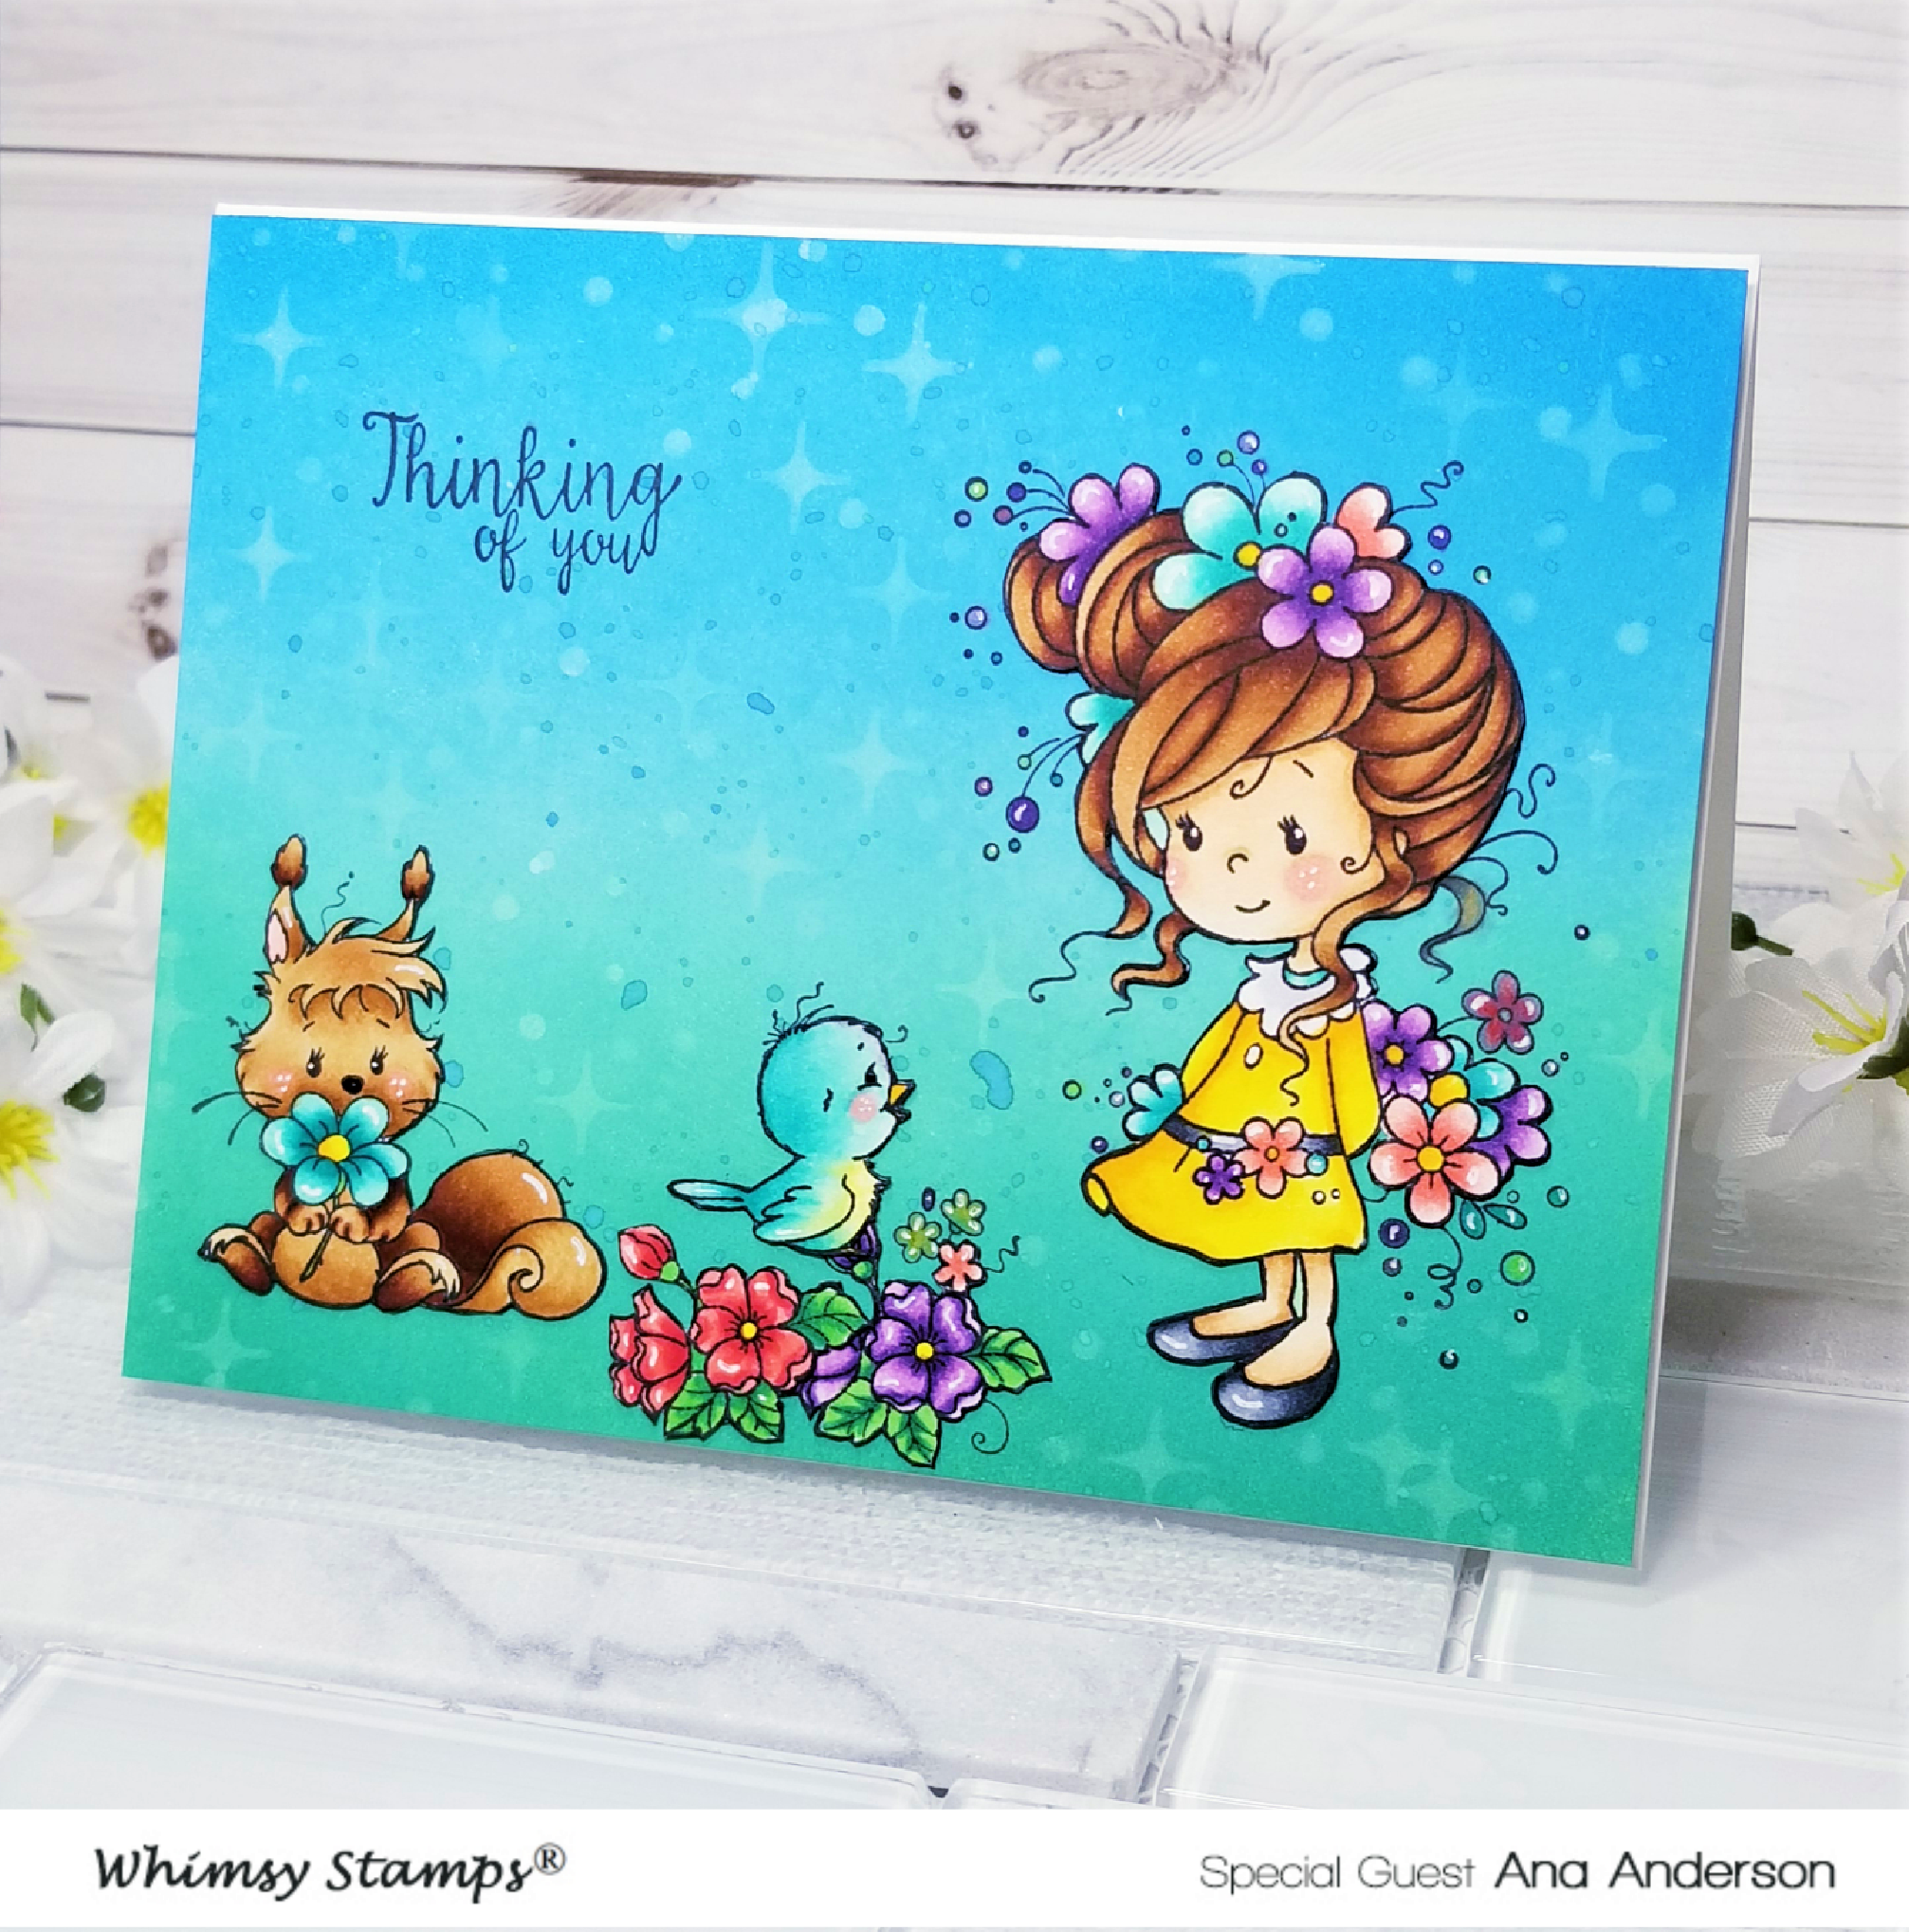
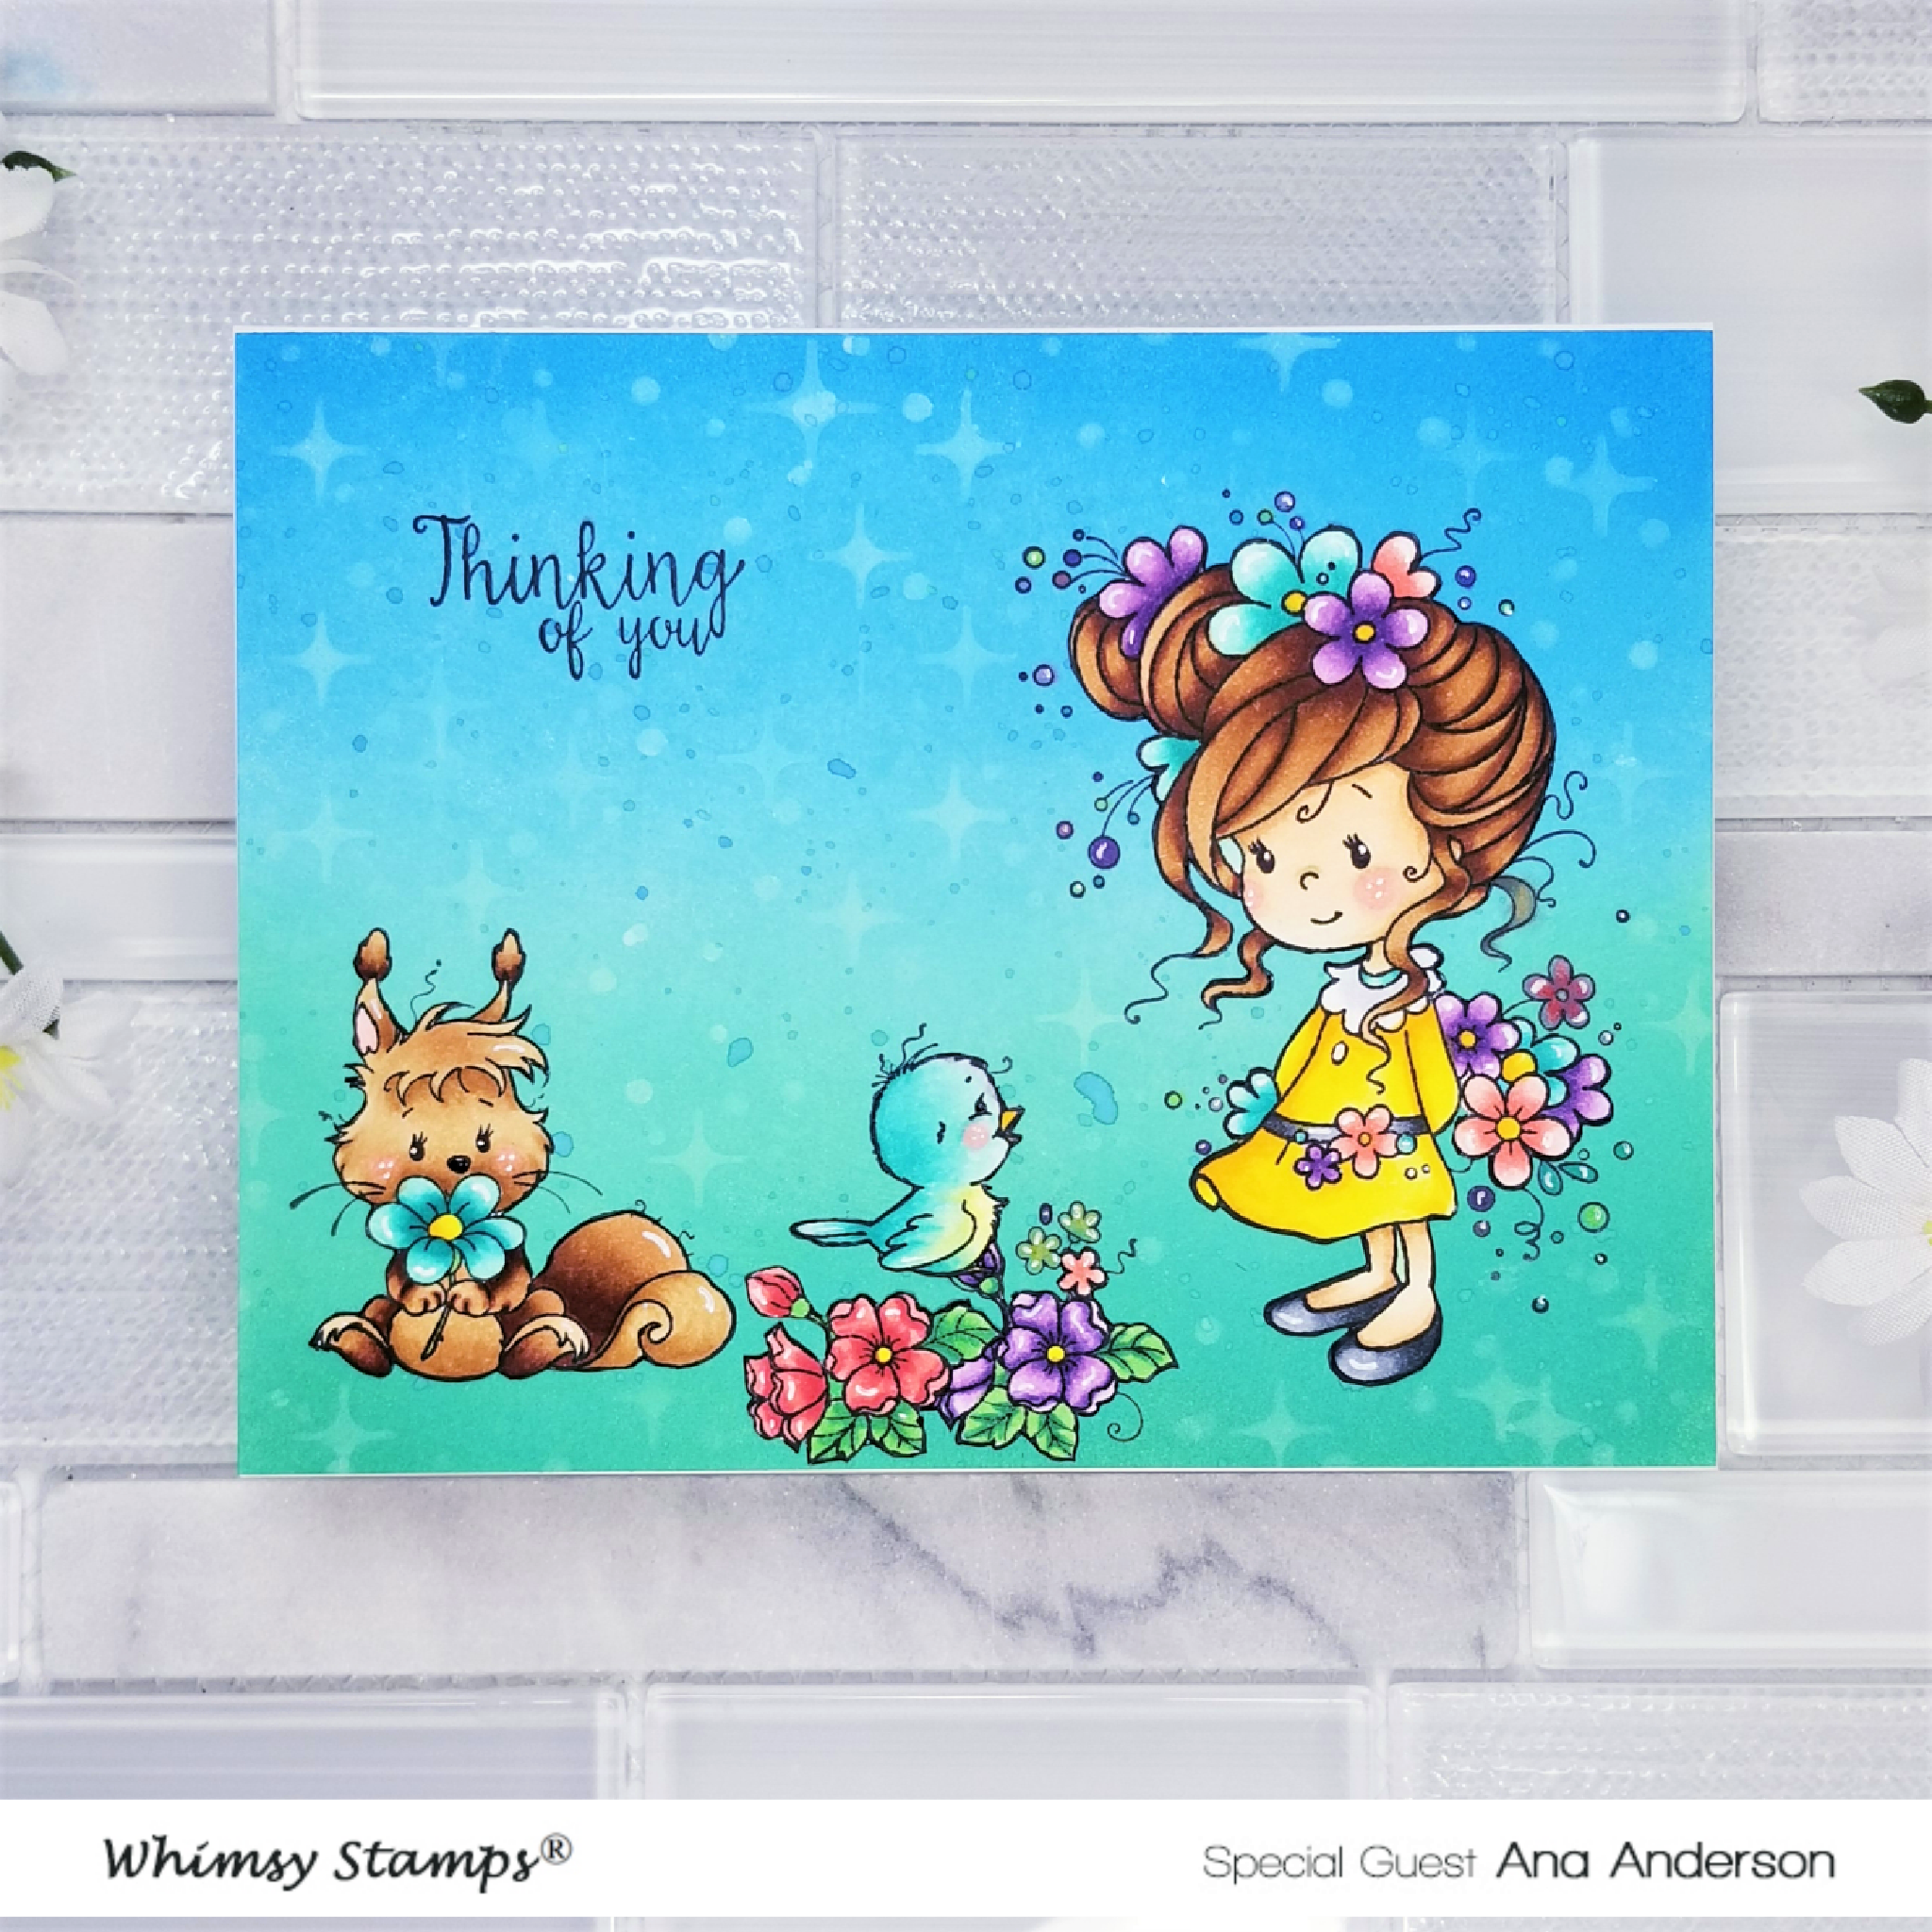
Hey crafties! It's Ana back today with my second project as a special guest for Whimsy Stamps! I have to tell you, I love, love their stamps (the quality and price point are amazing)!  Today I am featuring the Jillian and Friends rubber stamp set (now also available as a digital stamp) and the Twinkle stencil.

To start, I stamped the images from Jillian and Friends stamp set and colored them with Copic markers. Once I had all of the images colored, I fussy cut each one at the stamp line. I lined each image with Memento tuxedo black marker to cover any exposed cut lines.
WS 1-23a 

I created the background next, blending Pine needles, Peacock Feathers and Salty Ocean distress oxide inks starting at the bottom of the panel. I added splatter with leftover ink, set the panel aside to dry and made a card base from white, heavy-weight cardstock.
WS 1-23b 

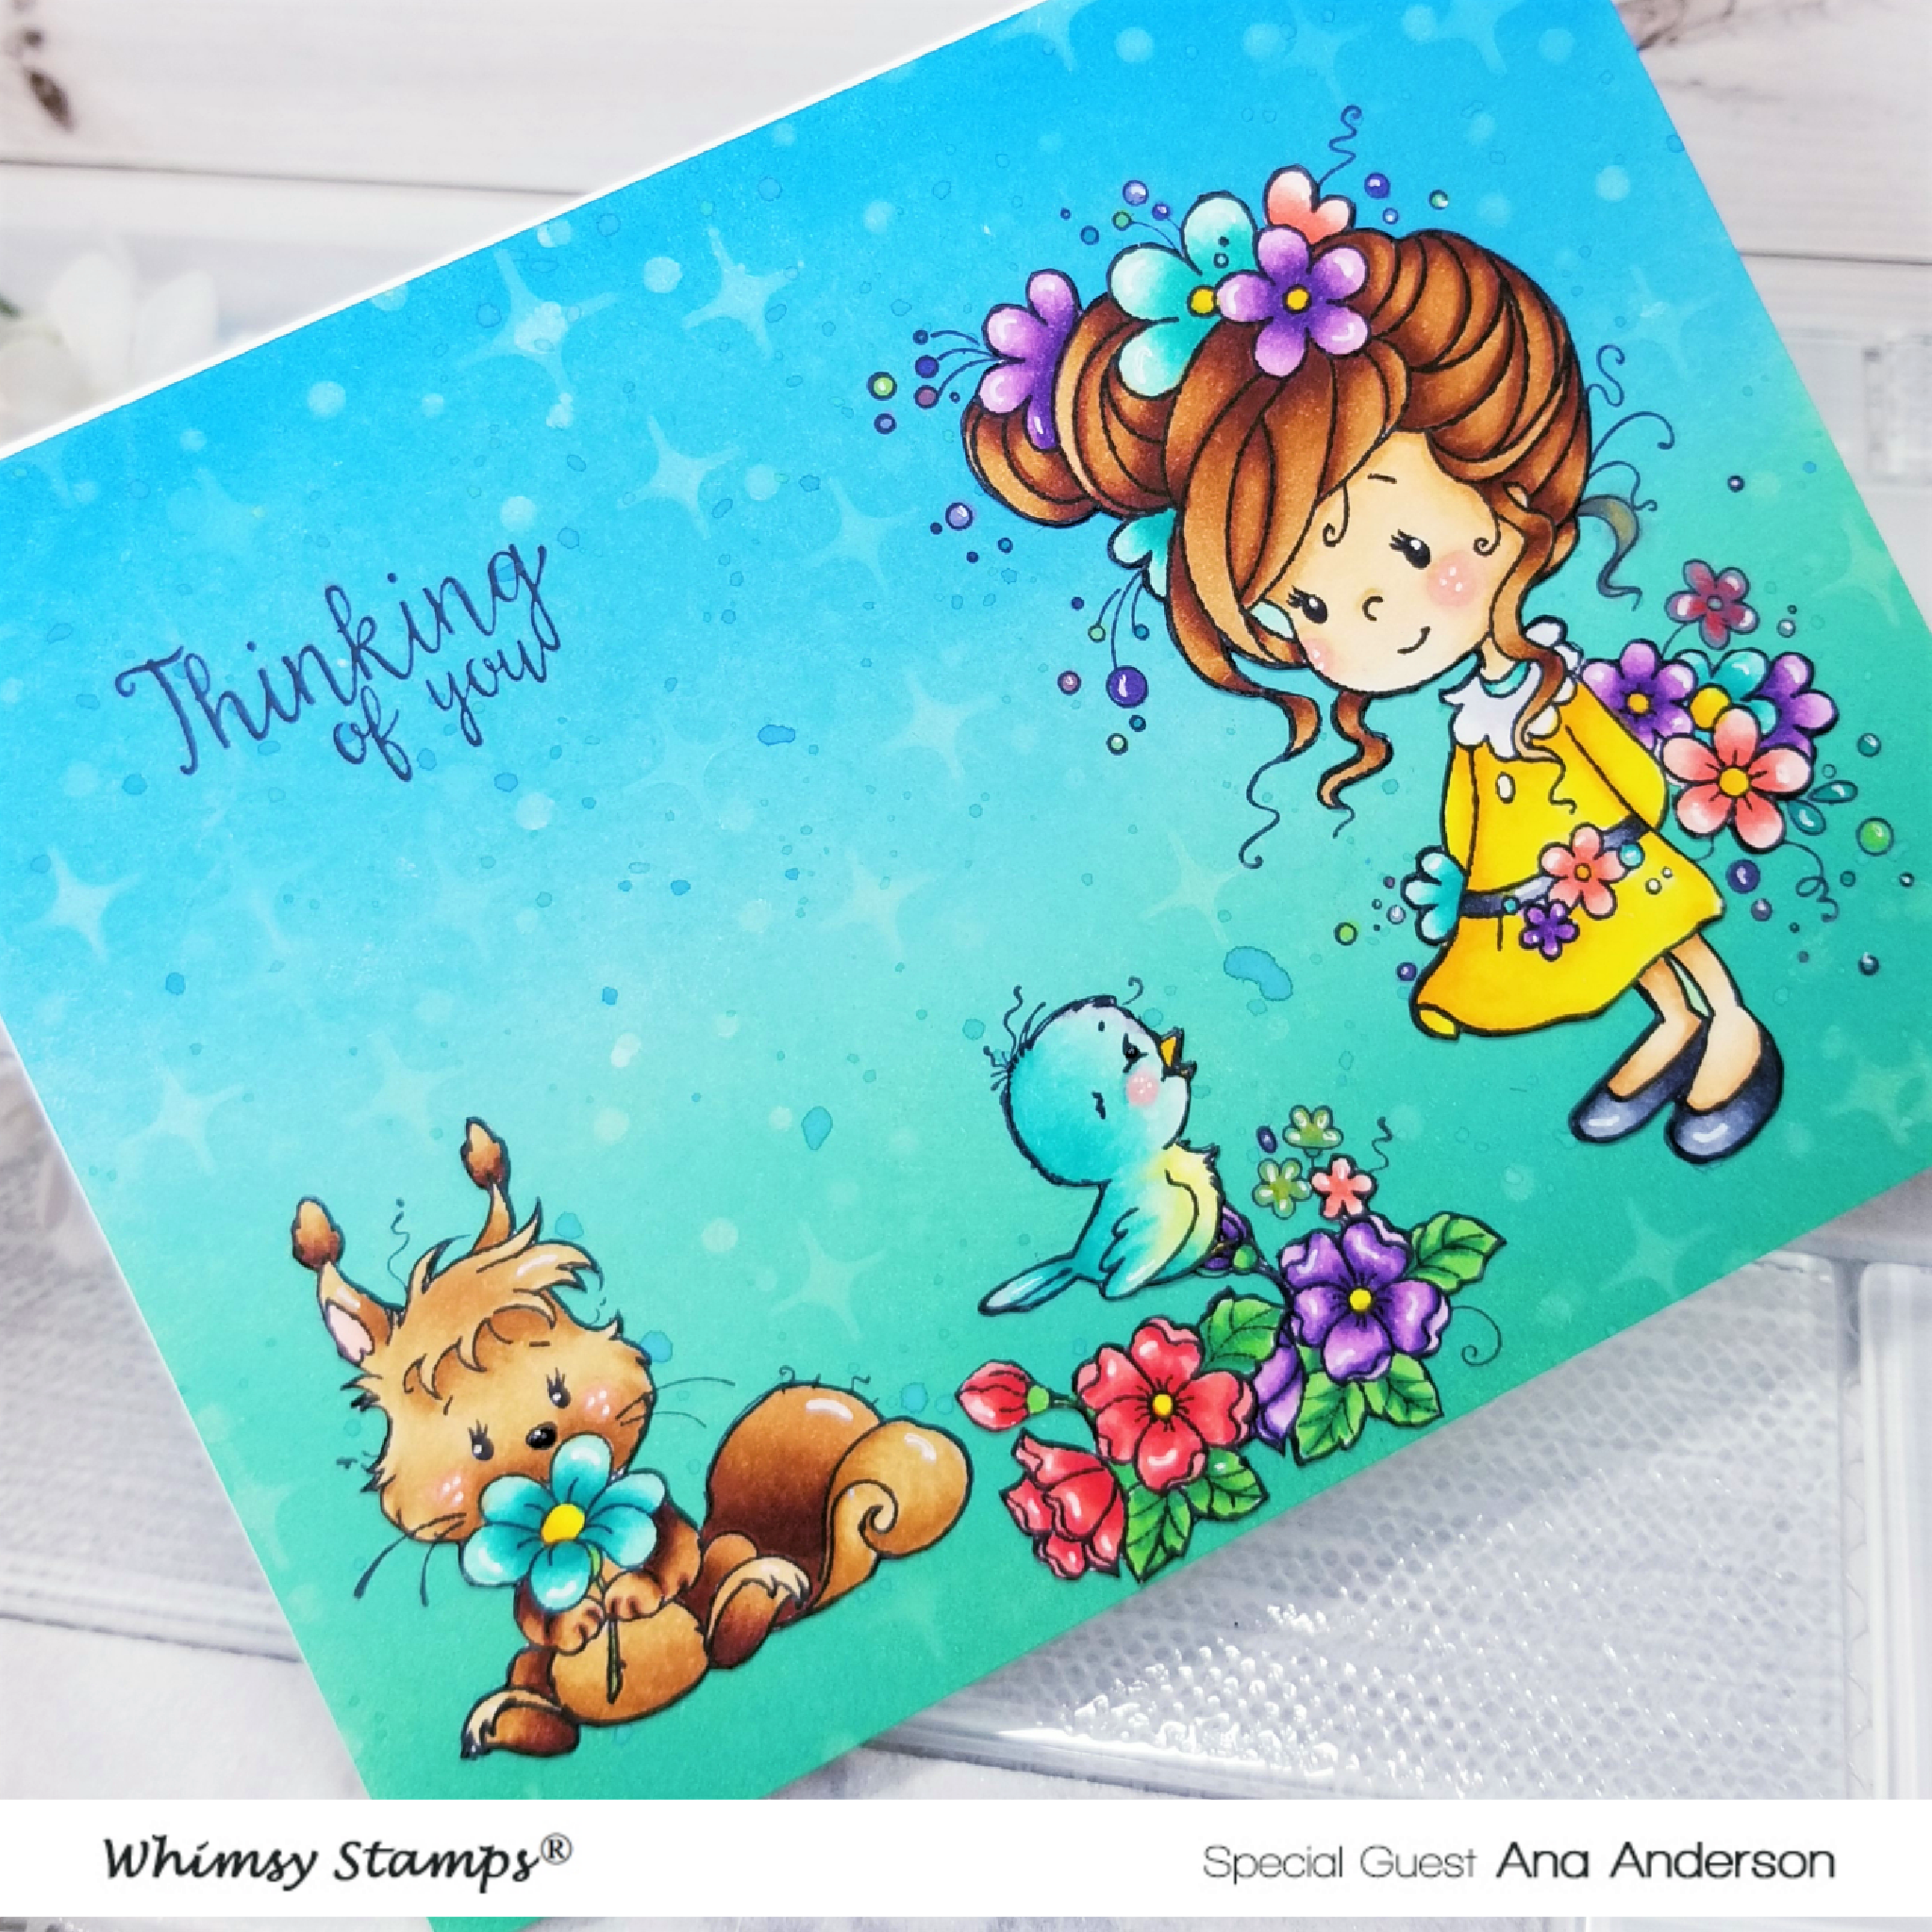
Once the panel was dry, I stamped the sentiment and the images directly to the background, then adhered the colored, fussy-cut images directly on top of the stamped ones. Little swirlies, bubbles and lines were too hard do fussy cut - stamping the images first, then adhering the colored images directly on top created the completed look of each image.
  WS 1-23d (2) 

Using the Twinkle stencil, I lightly inked the stars and dots with white pigment ink and that finished my card! I am so happy with how this card turned out and am very honored to have been able to guest design for Whimsy Stamps this month!
  WS 1-23d 

I really hope you like the card and have enjoyed today's post and been inspired! Until next time, I wish you Happy Crafting!

Thank you, Ana, for sharing your beautiful card!  If you'd like to see more of Ana's work, please visit her blog.

Jillian and Friends Rubber Cling Stamp Twinkle Stencil

Wobbly Bird - Tuesday Tutorial with Sue

Hello everyone!

I'm here today with a tutorial for a really easy to put together interactive card!

Early Bird Wobbly Card


Whimsy Stamps Product List

Other products
Blue Ink Pad for Blending
White Card
Vellum
Copic Markers - C00, C01, C03, YR24, Y38, Y13, Y11, YR09, YR04, YR12 


With White card create a 14.5cm x 11cm card blank and set it aside.  Create two white card rectangles the same size.  


With the Cloud Edger Die cut a cloud template and use it to blend tumbled glass distress ink clouds over both card rectangles. 


 With the Rectangle Frame die from the Shaker Maker set die cut one of the cloudy backgrounds. 


4.With the cloud edger die cut two pieces of vellum and trim them so that they will fit inside the top and the bottom of cloudy frame.  


Stamp the early bird with black ink and colour with markers.  (You can use pencils or paper piece the bird if you prefer).  Fussy cut the image and fix a Wobble Spring to the back.


With the largest cloud die from the Up In The Clouds Set die cut a piece of vellum and a piece of white card.  With black ink stamp the dare to soar sentiment in the centre of the card cloud.


With Nuvo glue fix the vellum clouds to the top and bottom of the cloudy background, placing them so that they will sit just inside the frame.  Fix the frame to the background with foam tape.  Fix the card design to the card blank set aside earlier.


Attach the die cut clouds and the early bird to the card design as shown and add some Nuvo Crystal Drops to finish.  


Please have a good look around the 
at the gorgeous cards by the rest of the Whimsy Stamps Creative Team – and then follow that with a trip to 
store for some essential retail therapy!

Happy Crafting

From Sue…xxx

Grass and Cloud Edger Die Set Shaker Maker Rectangle Die Set Up in the Clouds Die Set Early Birds Clear Stamps

Mini Action Wobbles Springs - 12 pack Crafty Foam Tape White

Nuvo - Deluxe AdhesiveNuvo - Crystal Drops - Ivory Seashell 


Sweet Sunday ~ Digital Team Tutorials

Whimsy friends, we're bringing something new
and fun and fabulous to you today.

This is the first of our brand new

Sweet Sunday Digital Team Tutorials!


Our talented Digital Diva Ute Berger, has created the most wonderful tutorial
for this beautiful box frame card with a shaker card front.

She shows two versions are possible, a beautiful understated white on white version
and a stunning full colour version using distress ink blending.

Ute's tutorial is a step by step tutorial available in full here via this link.
You can download and print the tutorial and use it as a guide.
Please if you give this a go, be sure to share it with us,
on the Whimsy Stamps Facebook Page,
and be sure to tag Ute!


Here is the beautiful front of the card in the 'white on white' version


Now the colour version with beautiful distress ink background


Ute created a box card inside that has beautiful depth and dimension when opened up.
This is the stunning white on white version, which is serene and gorgeous just as it is.


Here is the decorated colour version, with it's enchanting moonlight scene.
Two ways to create this one card design, both breathtaking.


You can see a wonderful overview video of Ute's process below.
Pause the video along the way, if you want to craft along with it.


We really hope you love the first of our Digital Team Tutorials.
We will be bringing you a new tutorial every month,
so be sure to come back and visit often!

All the Whimsy Stamps elements Ute has used
are thumbnail linked below for quick and easy reference
and you can read all about Ute's creative journey with this tutorial
on her personal blog which is linked via her image below.

Huge thanks to our amazing Digital Diva Ute Berger
for this fabulous first Digital Team Tutorial.

We'll be back with you next Sunday with a round up of our
January adventures with the latest Digital Release.
So many gorgeous creations to share,
so come on back then.

Wishing you all and wonderful week,


Love for Australia


Happy Friday Crafty Friends,

Whimsy artist, Crissy Armstrong, has illustrated an adorable set of animals found in Australia with the purpose of raising money to help the animals suffering in the Australian bush fires.  We have put together a digital stamp set of 5 images and some coordinating sentiments.

All proceeds from the sale of this set will benefit WIRES - Emergency Fund for Wildlife. This set is available for a limited time and only through Whimsy Stamps for $10. We hope you will help with this cause.

https://whimsystamps.com/products/love-for-australia-set-digital-stamp