Sending You Some Sparkle

Hello, everyone!  It's Rachel here today and I am sharing a card with you that features the new Unicorn Sparkle Clear Stamps Set.  I love all of the cute and carefree unicorns in this set! (Affiliate links used where applicable.)


I created a somewhat simple card with a bold ink blended background.  To begin, I first blended some Distress Oxide Inks (Spun Sugar, Picked Raspberry, and Seedless Preserves) onto a sheet of Neenah Solar White 110lb Card Stock.  I then splattered this piece loosely with water and let it sit for a minute before blotting it dry with a paper towel.


Once dry, I then splattered it once again but this time, with diluted Opaque White Paint.  I then added some stars with a white gel pen.  Once this entire panel had dried, I trimmed it down to 4.25" x 5.5" and added it to a top-folding A2 sized card base.  For my unicorn image, I stamped her with Memento Tuxedo Black Ink onto another sheet of Neenah card stock and colored her with Copics.  I then cut her out and set her aside while I finished the rest of my card.


I used the Grass and Cloud Edger Die Set to cut two rows of clouds to add to the base of my card.  I wanted it to look like my unicorn was floating through the clouds without a care in the world.  Prior to attaching my clouds to the base of my card, I first stamped my sentiment using my MISTI Stamping Tool to get the sentiment as dark as possible.  I then added the clouds and unicorn using some 3D Foam Squares for both the front cloud piece and unicorn in order to give some added dimension.

That's all for today!  I hope you enjoyed my card!  Thanks you all so much for dropping by.

https://theunpamperedstamper.blogspot.com/


Grass and Cloud Edger Die SetUnicorn Sparkle


Special Guest Kelly Fusco - Delightful Daisies


Say hello to special guest Kelly Fusco, we found Kelly's bright and colorful style on Instagram and we're happy to have her sharing two beautiful Whimsy Stamps projects with you today.
Kelly's first project is a gorgeous no line watercolor using the Delightful Daisies background stamp.


And her second project is using the Beaucoup Bouquet clear stamp set...


For full details and step-by-step instructions on both of these lovely projects 

Delightful Daisies Background Rubber Cling StampBeaucoup Bouquet Clear Stamps

Thank you Kelly for being our Whimsy Stamps special guest!

~ Always Remember Shaker Flag Card Tutorial ~


Hello Whimsy Fans!

Today I am sharing with you a tutorial on how I made this flag shaker card honoring our military.  It is so important to remember where our freedom comes from and the sacrifices not only they but their families have given for us to be free.  I, myself, have experienced and seen the sacrifices having had a father serving in the Air Force and being a child during the Vietnam War.  We also need to remember that many sacrifices are suffered years after serving not only in their health but in their memories.  May we never take for granted the freedom we have at the sacrifice of others!


~ Step by Step Tutorial ~


Step 1.  Cut white cardstock at 5 1/2" x 8 1/2" and score at 4 1/4" to create a card base.

Step 2.  Die cut a piece of white linen cardstock using the largest Hand Stitched Nested Rectangles Die.  Adhere to card base.

Step 3.  Cut a piece of blue cardstock at 5" x 3 3/4".

Step 4.  Cut a piece of white cardstock at 4 3/4" x 3 5/8".

Step 5.  Cut (4) pieces of red cardstock strips and (3) pieces of white linen cardstock  strips at 5 1/8" x 1/2".

Step 6.  Using the straight stitched border die from the Stitched Border Die Trio Set, add stitching to the red and white strips of cardstock.  This die doesn't cut, it only adds stitching.


Step 7.  Adhere strips to white cardstock in Step 4.  Trim edges of strips to fit white cardstock.  Adhere to blue cardstock from Step 3.  Adhere to card using foam tape.


Step 8.  Die cut (2) large dog tags from the Military Die Set out of blue cardstock.

Step 9.  Die cut a medium sized dog tag out of (1) large dog tag.  This will create the shaker opening.


Step 10.  Turn dog tag over and adhere a 1 1/4" x 2" piece of acetate.


Step 11.  Adhere foam tape on top of acetate.


Step 12.  Add shaker bits.  I added tiny stars.


Step 13.  Adhere remaining large dog tag die cut to create shaker.


Step 14.  Add a star die cut from white linen cardstock using the star die from the Military Die Set.  Add chain, if desired.  Adhere to card using foam tape...this will allow room for the chain.


Step 15.  Die cut the military service personnel from the Military Die Set out of black cardstock.  Adhere to card using foam tape.

Step 16.  Stamp sentiment.  I used "Always Remember" from the Military Heroes Clear Stamp Set.  Trim 1/8" away from sentiment.  Adhere to blue piece of cardstock.  Adhere to card using foam tape.

Whimsy Stamps ~

Hand Stitched Nested Rectangles

Stitched Border Die Trio

*NEW Military Heroes Clear Stamps

**I participate in Whimsy Stamp's affiliate program.  That means I receive a commission when products are purchased through links here on my blog. (At NO additional cost to you).  This allows me to be able to make more projects to share and hopefully inspire you!  From the bottom of my heart, I appreciate your support!!!

Happy Stamping!

Special Guest - Candice Fisher - Panda Butt

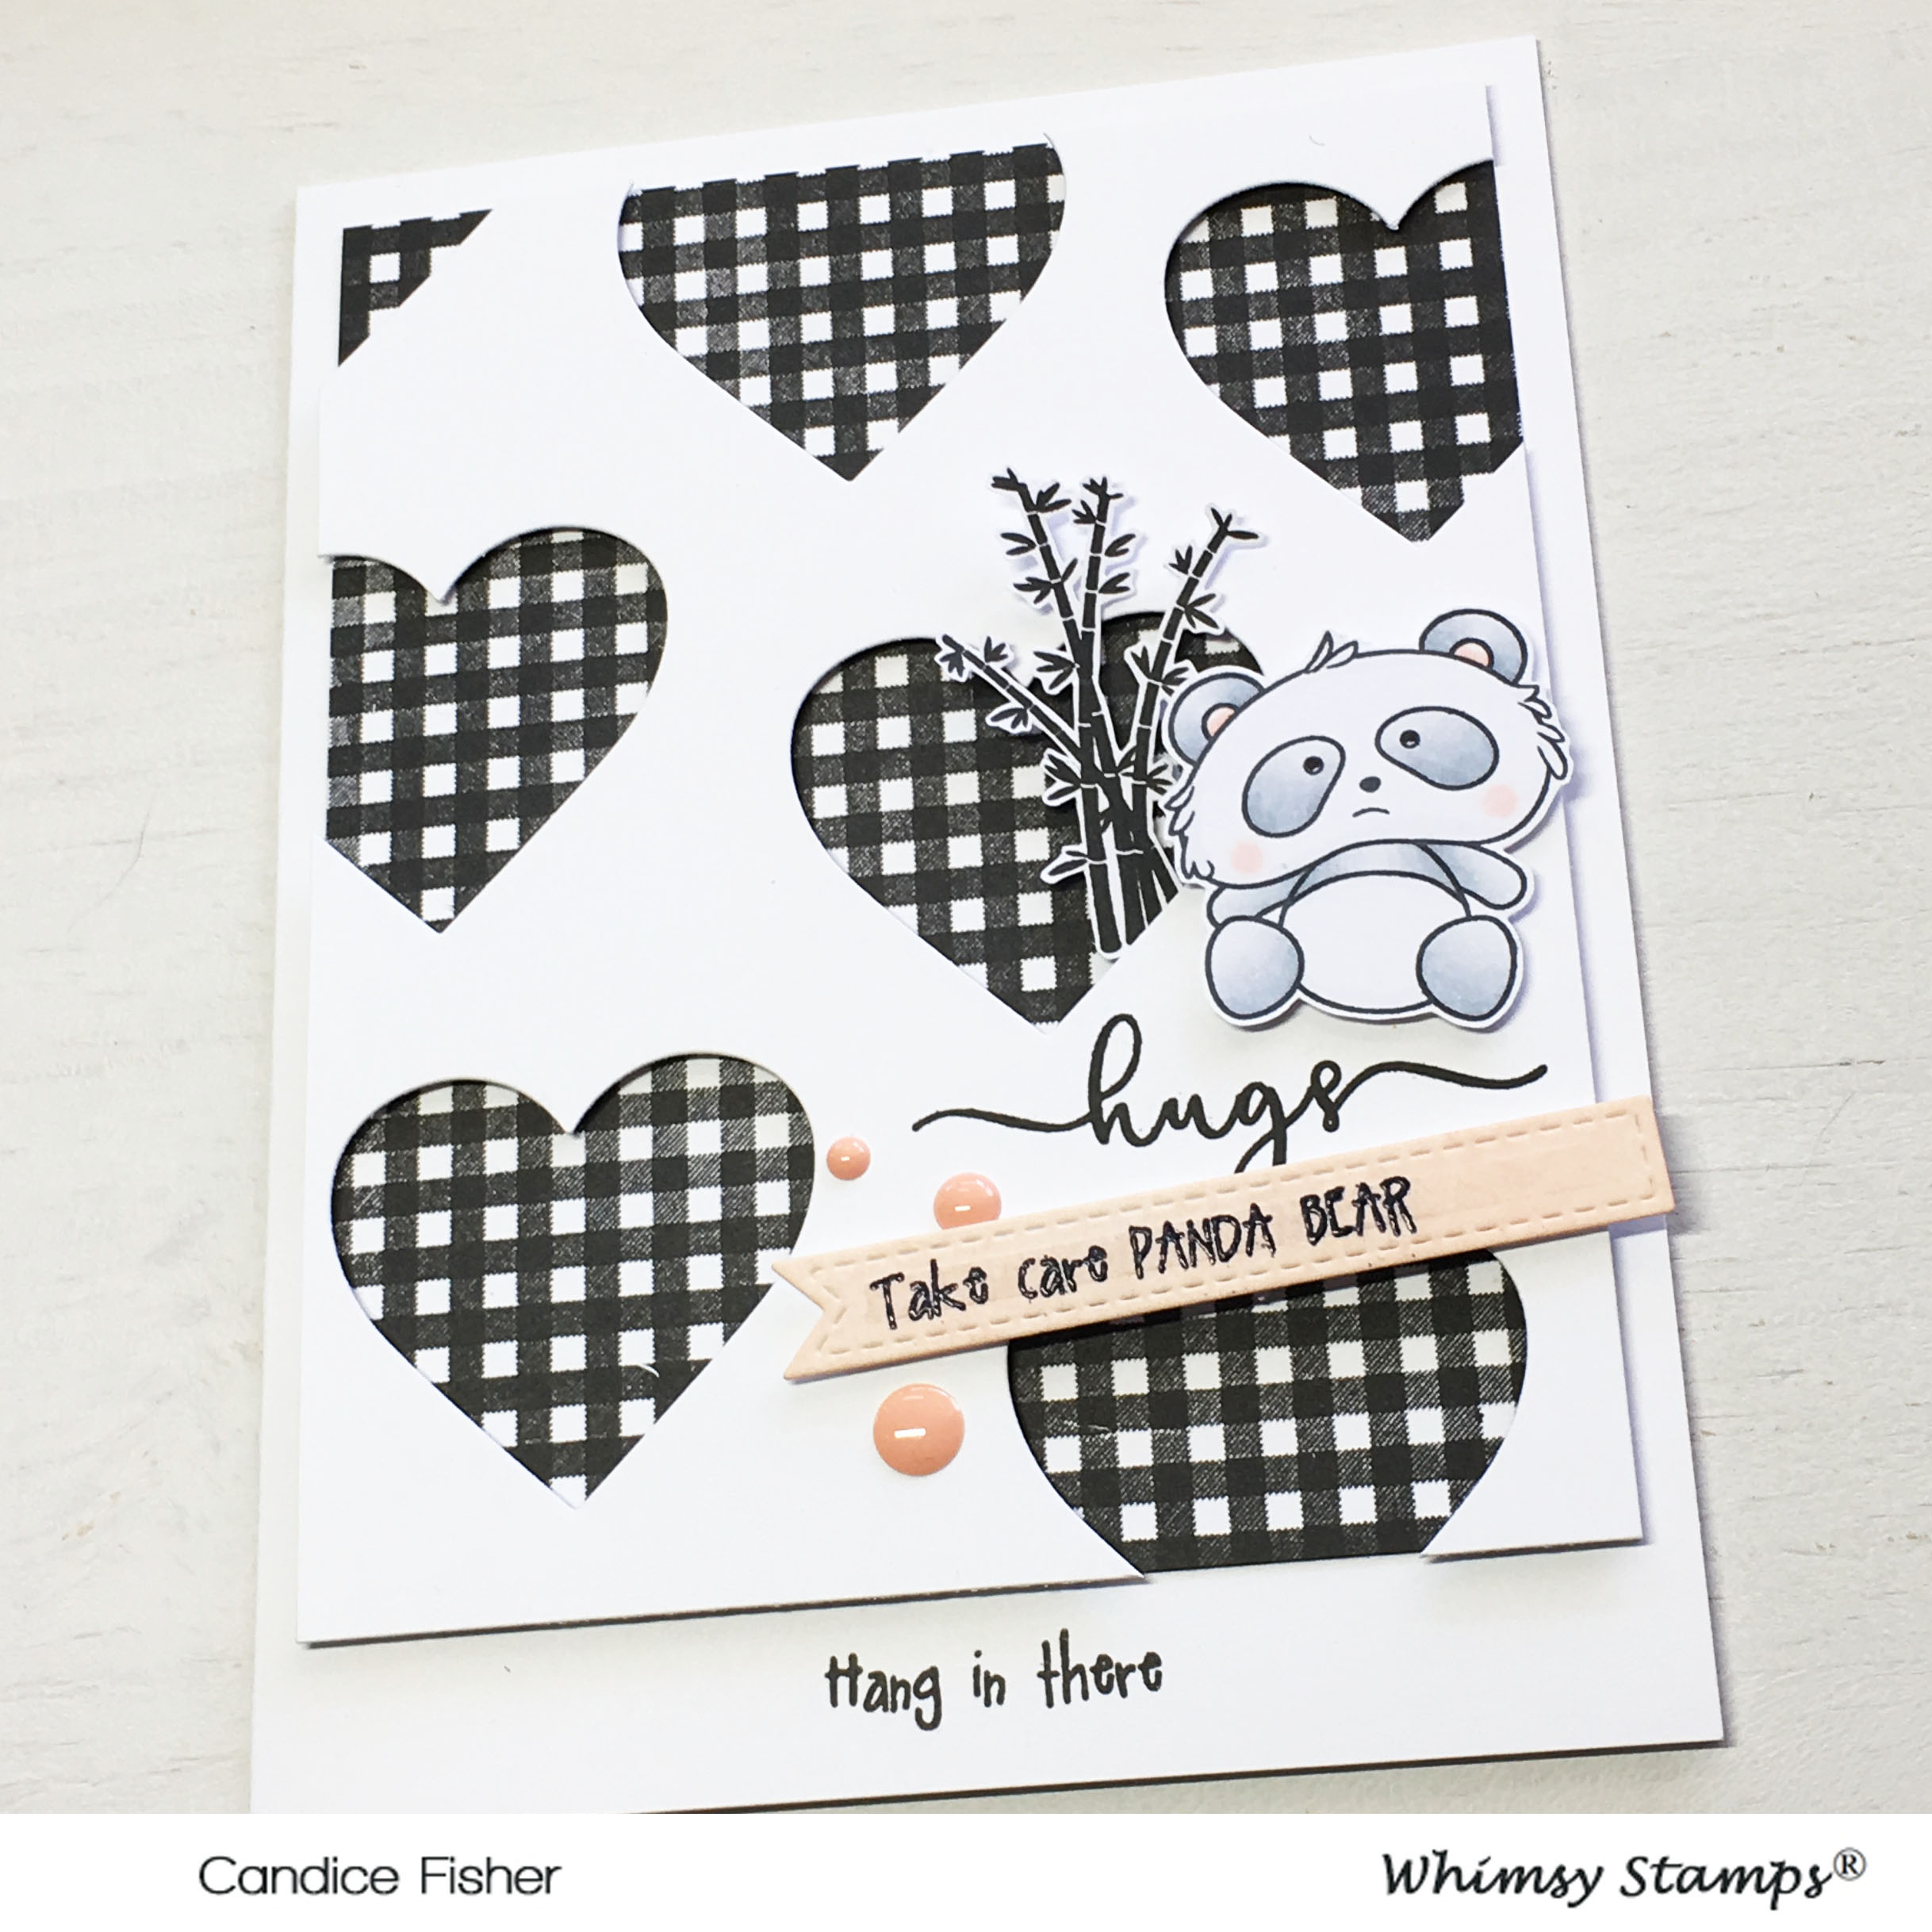
I am absolutely in love with these pandas from the Panda Butt stamp set, just look at those cheeks (this stamp set has both kind of cheeks, hehe!) I love that the stamp sets from Deb Davis's collection at Whimsy Stamps take center stage and you really can keep your cards simple and showcase their cuteness!
  GD whimsy stamps card 3 2nd  
This card was a quick one, but has a lot of detail that makes it look more advanced. Also, it helps that when coloring pandas, it's pretty basic and goes quickly! For this card, I used these Whimsy Stamps products:
GD whimsy stamps card 3 side  
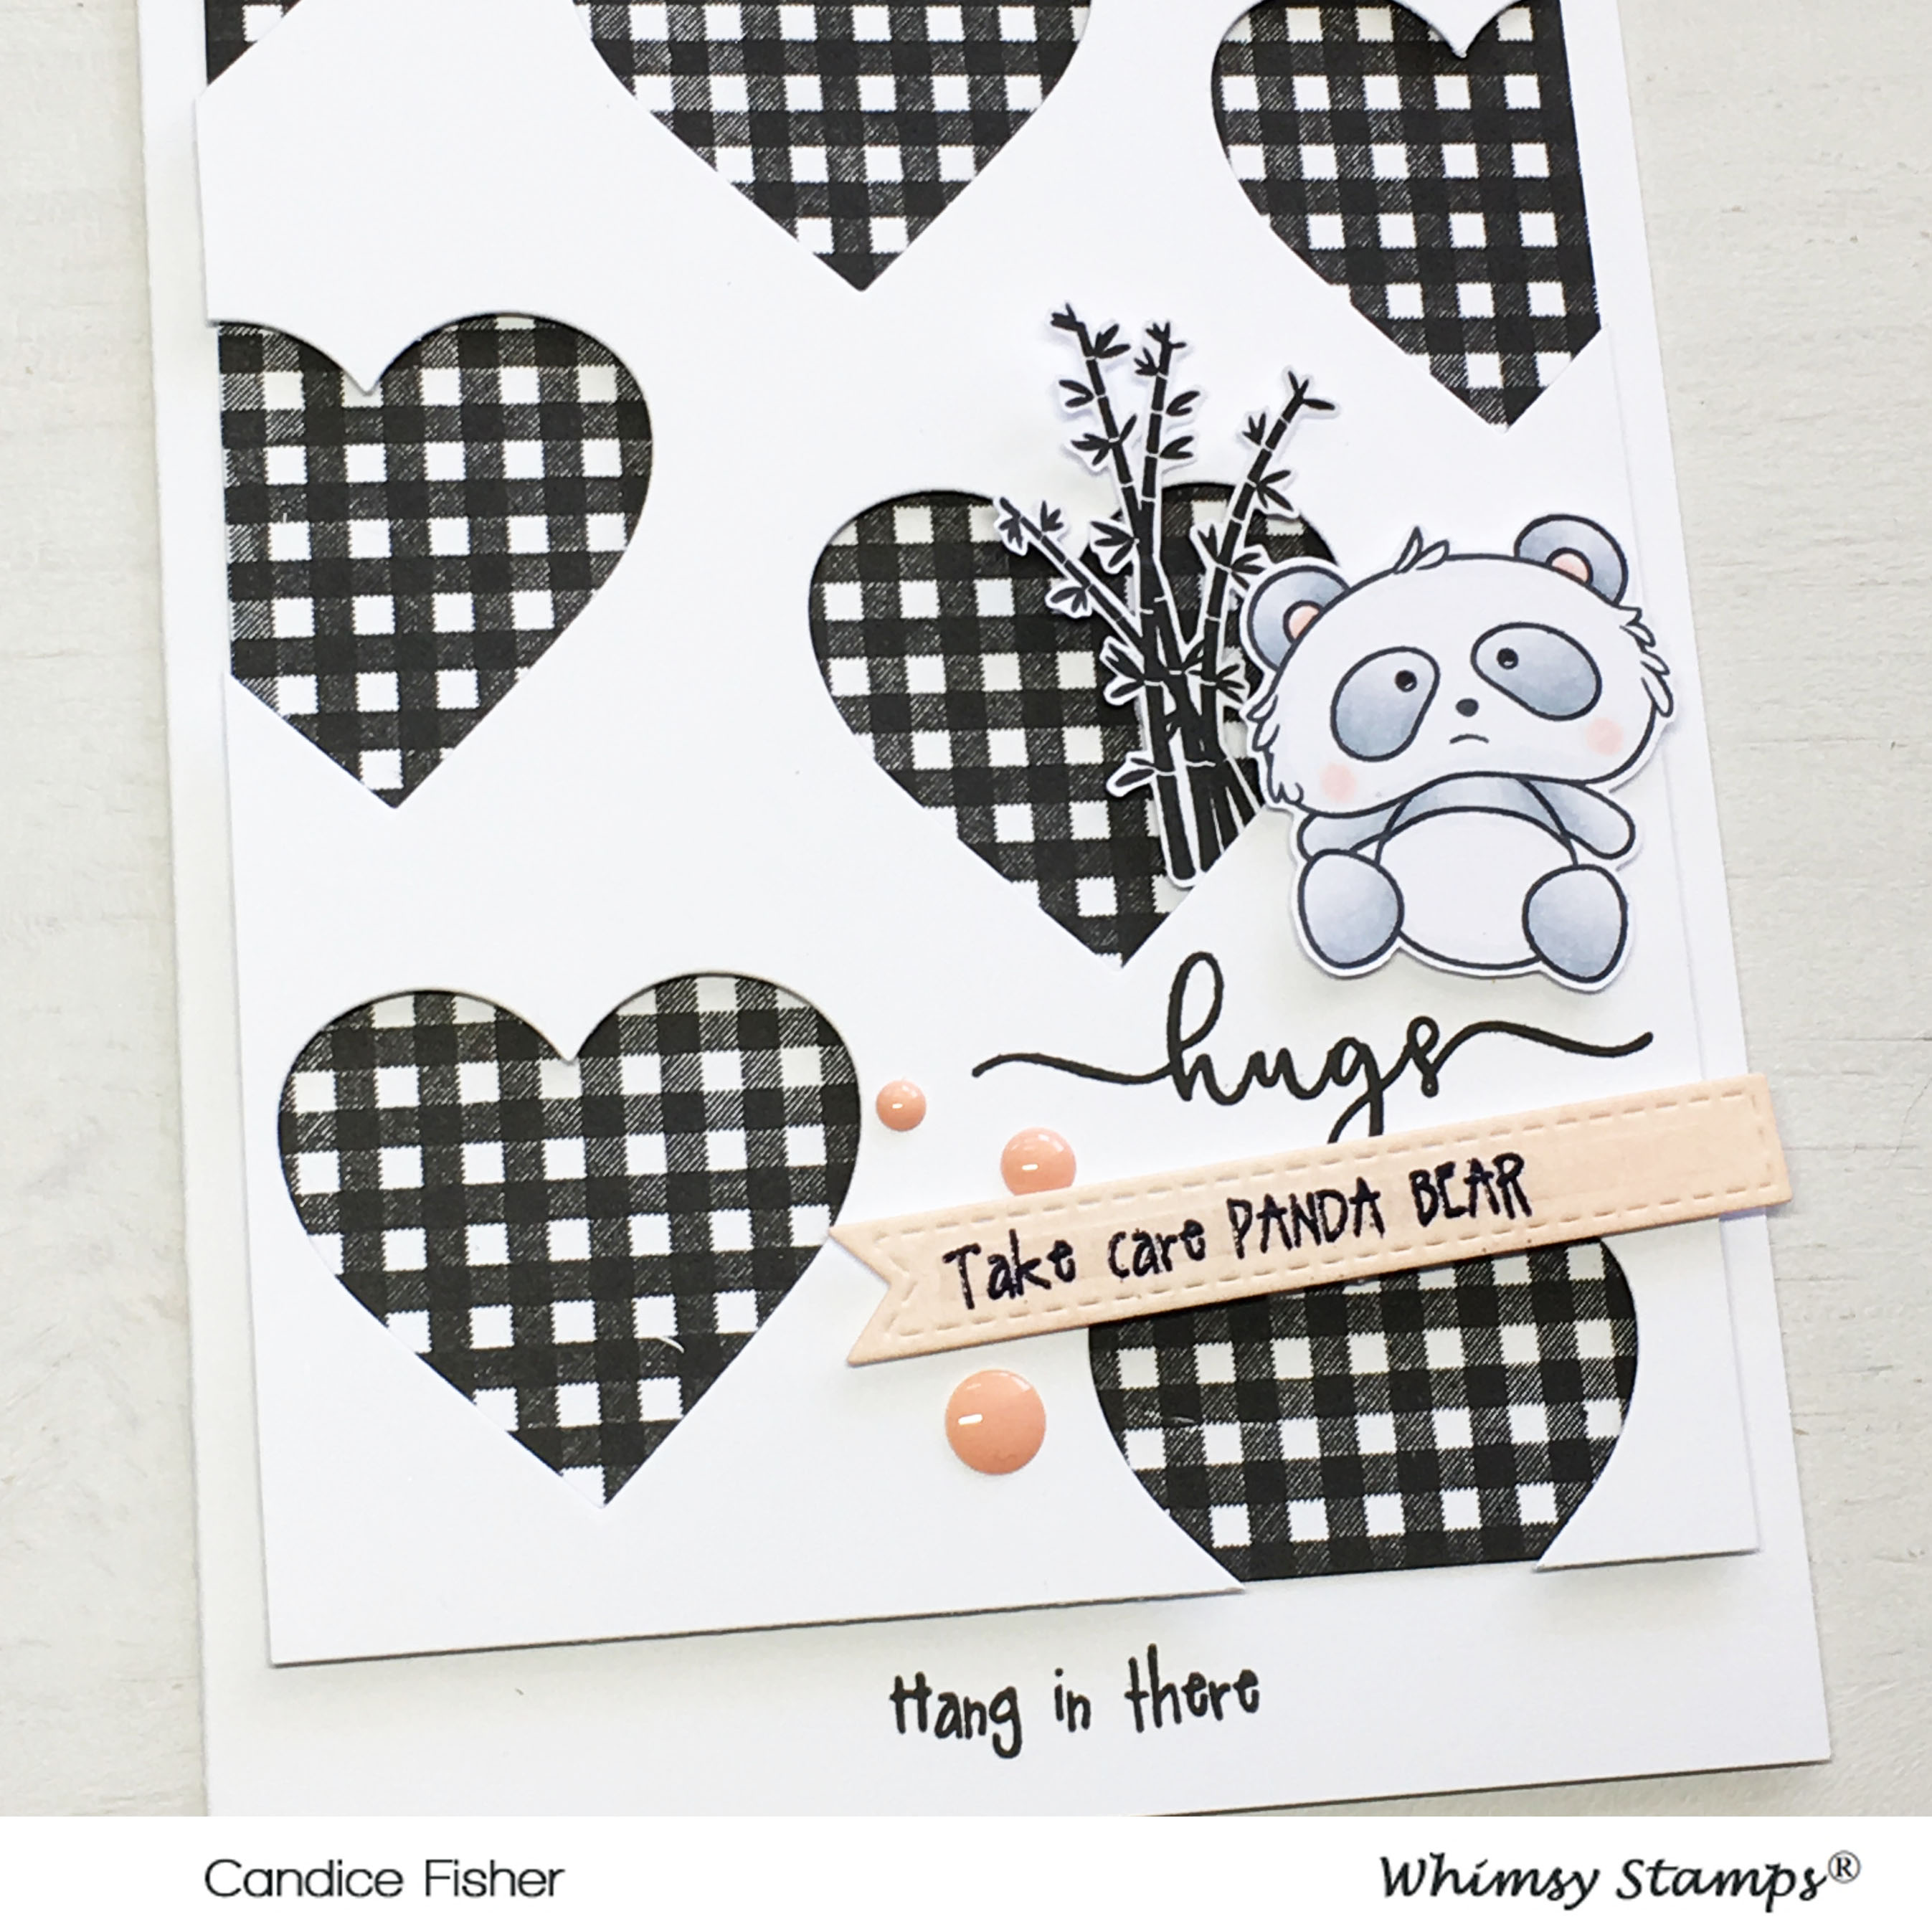
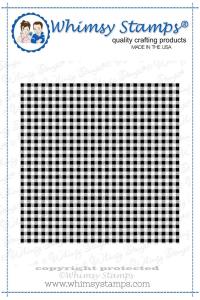
To start my card, I created a 5 x 6.5 card base from thick white cardstock. I then die cut the hearts layover using dies, but you could also use your cameo or cricut too, using the same thick white cardstock as my base. Next, I stamped the gingham background using black versafine ink for a detailed black image. I used the same versafine to stamp the hugs sentiment and the hang in there sentiment. I then stamped the cutest panda ever & the bamboo, colored with copics, and fussy cut out, but you can get the coordinating dies to make it much easier!
  GD whimsy stamps card 3 close up

To put it all together, I pop dotted the heart layover on the gingham piece and glued to the card above the sentiment. I added the panda and bamboo above the hugs. I felt the card needed a little more, and I added the banner. To create the banner, I heat embossed the take care panda bear with black, die cut the small banner, and inked with tattered rose. For my simple embellishments, I added some enamel dots in the color of the panda cheeks and banner. I can't tell you how much I love these stamp designs by Deb Davis, even my husband has commented how much he loves her stamp sets! You can always share your creations with us on Whimsy Stamps and Inspiration on Facebook and also join in the monthly challenge for your chance to win! Thank you again for visiting and will share one more card with you as Guest Designer for the month of May! Candice

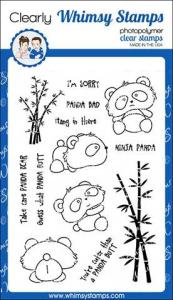
panda butt stamp set
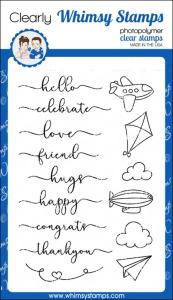
fly by stamp set
gingham background rubber stamp