
Fresh Friday

Hi Whimsy fans! Fridays on the Whimsy blog are now Fresh Fridays, where we are taking a look at previously released products.

We showcased this product collection with you last week and have even more inspiration to share with you today. Make sure to scroll below.


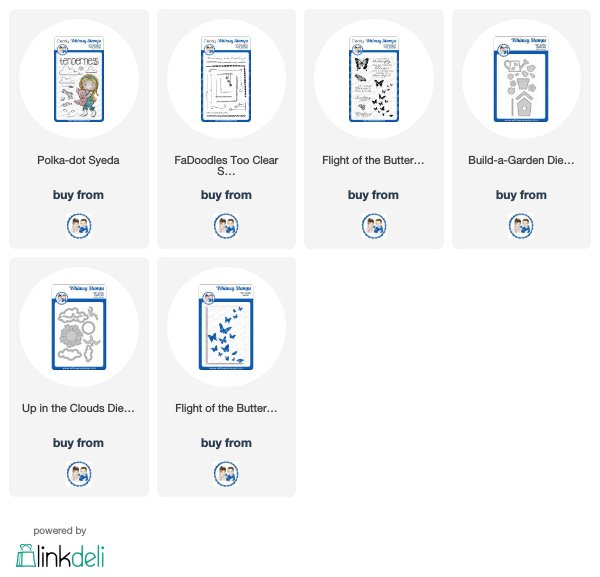
You can find all of these products in our Fresh Friday section of the store, here. You can also click on each of the individual picture links below.


Faye has 2 amazing cards to share with you today and we couldn't love this first one more with no-line Copic coloring that is absolute perfection. 

Polka Dot Pals Syeda is perfectly matched against a background with the gorgeous butterflies from the Flight of the Butterflies stencil.


Faye's second card features an awesome ink blended background with the Flight of the Butterflies stencil added on top with black ink. The heat embossed sentiment is from the You're Birthday set.


Lisa's darling card features Polka Dot Pals Syeda along with the Build-a-Garden die collection and the FaDoodles Too set. We love her fun scene and all the white highlights. This card is sure to brighten anyone's day.

Alanna rounds out our showcase today with a trio of cards featuring the Rainbow paper collection along with the Flight of the Butterflies stencil and Flight of the Butterflies stamp set along with the Wonky Stitched Rectangle dies. We love the bright and cheery nature to these quick and easy cards.


We hope you've been inspired with these cards and products. We will be back next week with another great group of products for the next Fresh Friday.

Special Guest - Amy Young


Hello friends!

It's Amy here back with my second guest post for Whimsy Stamps, and today I've inked up another new Polka Dot Pal. This cute little guy is Raden, and he is quite the adventurous boy, don't you think? I really wanted to play up his intrepid spirit and give him a proper trail to hike. The fallen log and fox that I have him standing on come in the same set with Raden, while I borrowed the tree stump and frog from the Harley set. Because I have so much going on in this scene, I upped my "canvas" size to a larger slimline card rather than my usual standard A2 that I normally create. Then I proceeded to color in a sunlit forest path for Raden to explore, and it sure looks like he is having a blast. 

I have had a blast this month, too!  Thanks so much to Whimsy Stamps for having me; it's been a real treat! I'm actually going to be coloring more Whimsy stamps today, March 26, Live at 3pm PST on my Adventures in Coloring with Amy Facebook page, so I hope you can join me then!     


Thank you, Amy, for another fabulous card!  
You can see more of Amy's work on her blog, A Thousand Sheets of Paper.

*NEW Polka Dot Pals Raden Clear Stamps*NEW Polka Dot Pals Harley Clear Stamps

Tuesday Tutorial - Simple Paper Poppy Flower Video Tutorial


Hello!!  I really hope you are all well and staying safe in these scary and trying times. 

Whimsy Stamps have a March Special Release and this Poppy Flower Die Set and Lattice A2 Die is part of the release.  


I managed to squeeze in some time ....  after 2 years of no video making ....  and filmed a quick video to show just how quick and easy it is to make these paper flowers.  I used 160gsm (60lb)paper for the blue poppies, and 300gsm (110lb) card for the red poppies.  I did try and film the tutorial with the red card but the lighting and the video were not having a bit of it.  After umpteen attempts I went with the blue.  You'll see how much more life-like and crinkled the red flowers are, that's down to using the thicker card so do experiment with scraps, you'll get a different result with different card/paper thicknesses as you can see from the two pictures below (click to enlarge)


I used the Lattice die as the background for both cards, and adhered 3 die cuts together to give more depth to the background and finished off both cards with a sentiment from the Adopt don't Shop Dogs clear stamp set and Nuvo drops in black.


That's it from me today.  Please stay safe and keep your distance!


Whimsy Digital Divas March Tutorial

Welcome Whimsy friends!
We're so excited that you should visit today,
as we have another fabulous digital team tutorial for you!!

Sweet Sunday Digital Team Tutorials!

The lovely Céline from our Digital Team
has created this enchanting Magic Slider Card Tutorial
and I for one am really keen to try this out!

Céline's tutorial is a step by step tutorial available in full here via this link.
You can download and print the tutorial and use it as a guide.
Please if you give this a go, be sure to share it with us,
on the Whimsy Stamps Facebook Page,
and be sure to tag Céline!


This is Céline's fabulous finished creation.

What you need:
 Cardstock - white for the slider, card-base and patterned paper
Whimsy Stamps No-See Kinetic Basics Die Set
Pollycraft Digital Stamp - Sugar
Notched Squares Die Set
Birthday Word Die
Foam Tape
Glue
Scissors
Blade
Ruler
Score Board
Die-Cutting Machine


First print the image "Sugar" from the Whimsy Stamps Pollycraft Collection
on white paper and then the same on acetate, Céline's was 6.9 cm tall.


Then create the "frame slide" Cut a 10.3 x 20.6 cm rectangle on white cardstock and fold it in half.
I cut a 10x10 cm square on patterned paper and glued it on my cardstock base (lower part)
Then I used the Notched Squares die (8cm) and centered it on my patterned paper.


I glued my image inside the "frame slide" as centered as possible.


I added some red tape behind the window to glue the acetate.


Put your acetate sheet (with printed image) over the colored image.
Be careful! Your images must be perfectly superposed or we will see something is wrong when you slide.
Then close up the window over the acetate and it will be glued correctly in place.


Cut the "frame slide" opening IN the fold, just leave 0.6 mm on the left and right.
Then create a white card 9.5 x 8.8 which will slide inside the "frame" and slide the end into the slot made in the fold.
Then add some 3D foam around your colored image (3sides) and close the frame.


I cut 2 tags using the No-See Kinetic Basic die set, (I shortened it so we wouldn’t see it)
and glued it in the middle top of the white card. The second tag is glued on the back of the first one.


So now we can pull the tag to drag it up and reveal the colored image.


Create your card and glue your frame on it, decorate and voilà!


We really hope you love our third Digital Team Tutorial. We will be bringing you a new tutorial every month, so be sure to come back and visit often! All the Whimsy Stamps elements Céline has used are thumbnail linked below for quick and easy reference and you can read all about Céline's creative journey with this tutorial on her personal blog which is linked via her image below.


 Huge thanks to our amazing Digital Diva Céline for this fabulous Digital Team Tutorial

We hope you will enjoy creating with Céline's tutorial. Download a copy for easy reference and do make sure you tag her in our Whimsy Stamps Facebook page if you give this a go, she'd love to see! We'll be back next week with a round up of all the lovely creations this month by the Digital Design Divas, so watch this space. We have so many gorgeous creations to share, so come and check it out.
Wishing you all a wonderful week and happy creating! Hugs xoxo