Hey there! It's Tricia with you today sharing a Copic coloring tutorial using Polka Dot Pals Syeda stamp set. I stamped the image onto Neenah 80 lb. cardstock and then trimmed the image out. I always like to start with skin tones. I love to see the image start to come to life as you are coloring.
Face and arm: E000, E00, E21, E11, R20
Pig: R30, R11, R32
I typically do two layers of color and really depending on the color I swap back and forth from light to dark or dark to light. With colors that tend to bleed, I will use the dark to light method so I don't lay down too much ink. I have found as long as I keep the marker area wet, I get a better blend.
For her outfit, I knew for sure that I wanted a red apron and paired it with a pair of jeans and a white t-shirt. Of course, she needed some fancy boots to go with her outfit, I colored them as if they were a pair of Ugg's. I had a little of the red bleed over into the T-shirt. I color on top of a stack of papers and when a mistake happens I use my 0 to lift the color. Once I use the Colorless blender, I will push the paper down and the papers underneath will absorb the color.
Apron and Headband: R22, R24, R27, R29, C0, C1
T-shirt: C0, C1
Jeans: B95, B97, B99
Boots: E30, E31, E35, E37
Hair: YR21, YR24, E99
To finish off the image I added some details with a white gel pen. A few polka dots for her apron pocket and then I used the gel pen to add highlights to the image.
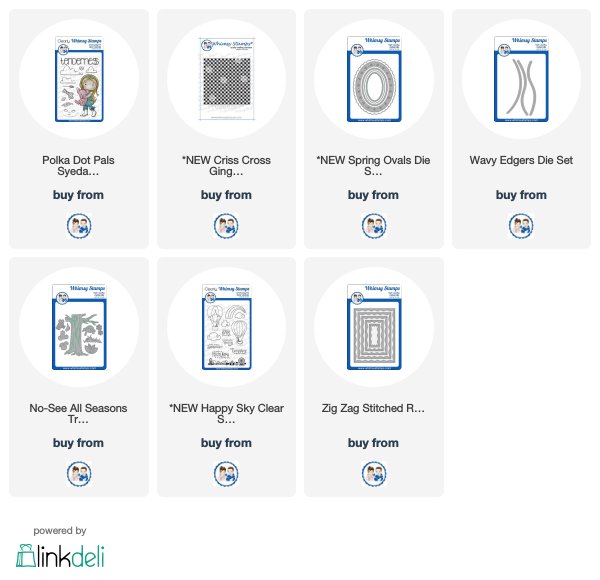
For my main card panel, I stamped a card base of light aqua cardstock with the new Criss Cross Gingham Background Rubber stamp with some aqua ink. I cut another panel of light aqua cardstock with the largest scalloped oval from the Spring Ovals Die Set. I cut some white and green cardstock with the next largest die. I just love the die cut flowers around the die cut and the detail that it adds. I trimmed the green cardstock down with the Wavy Edgers Die set.
I used a sentiment from the Happy Sky stamp set and stamped it onto the smallest Zig Zag Stitched Rectangles Die Set. I added a flower created with the No See All Seasons Tree Die set.
Thank you so much for joining me today!


Super cute!
ReplyDeleteWhat an adorable card! Love the colors you chose!
ReplyDelete